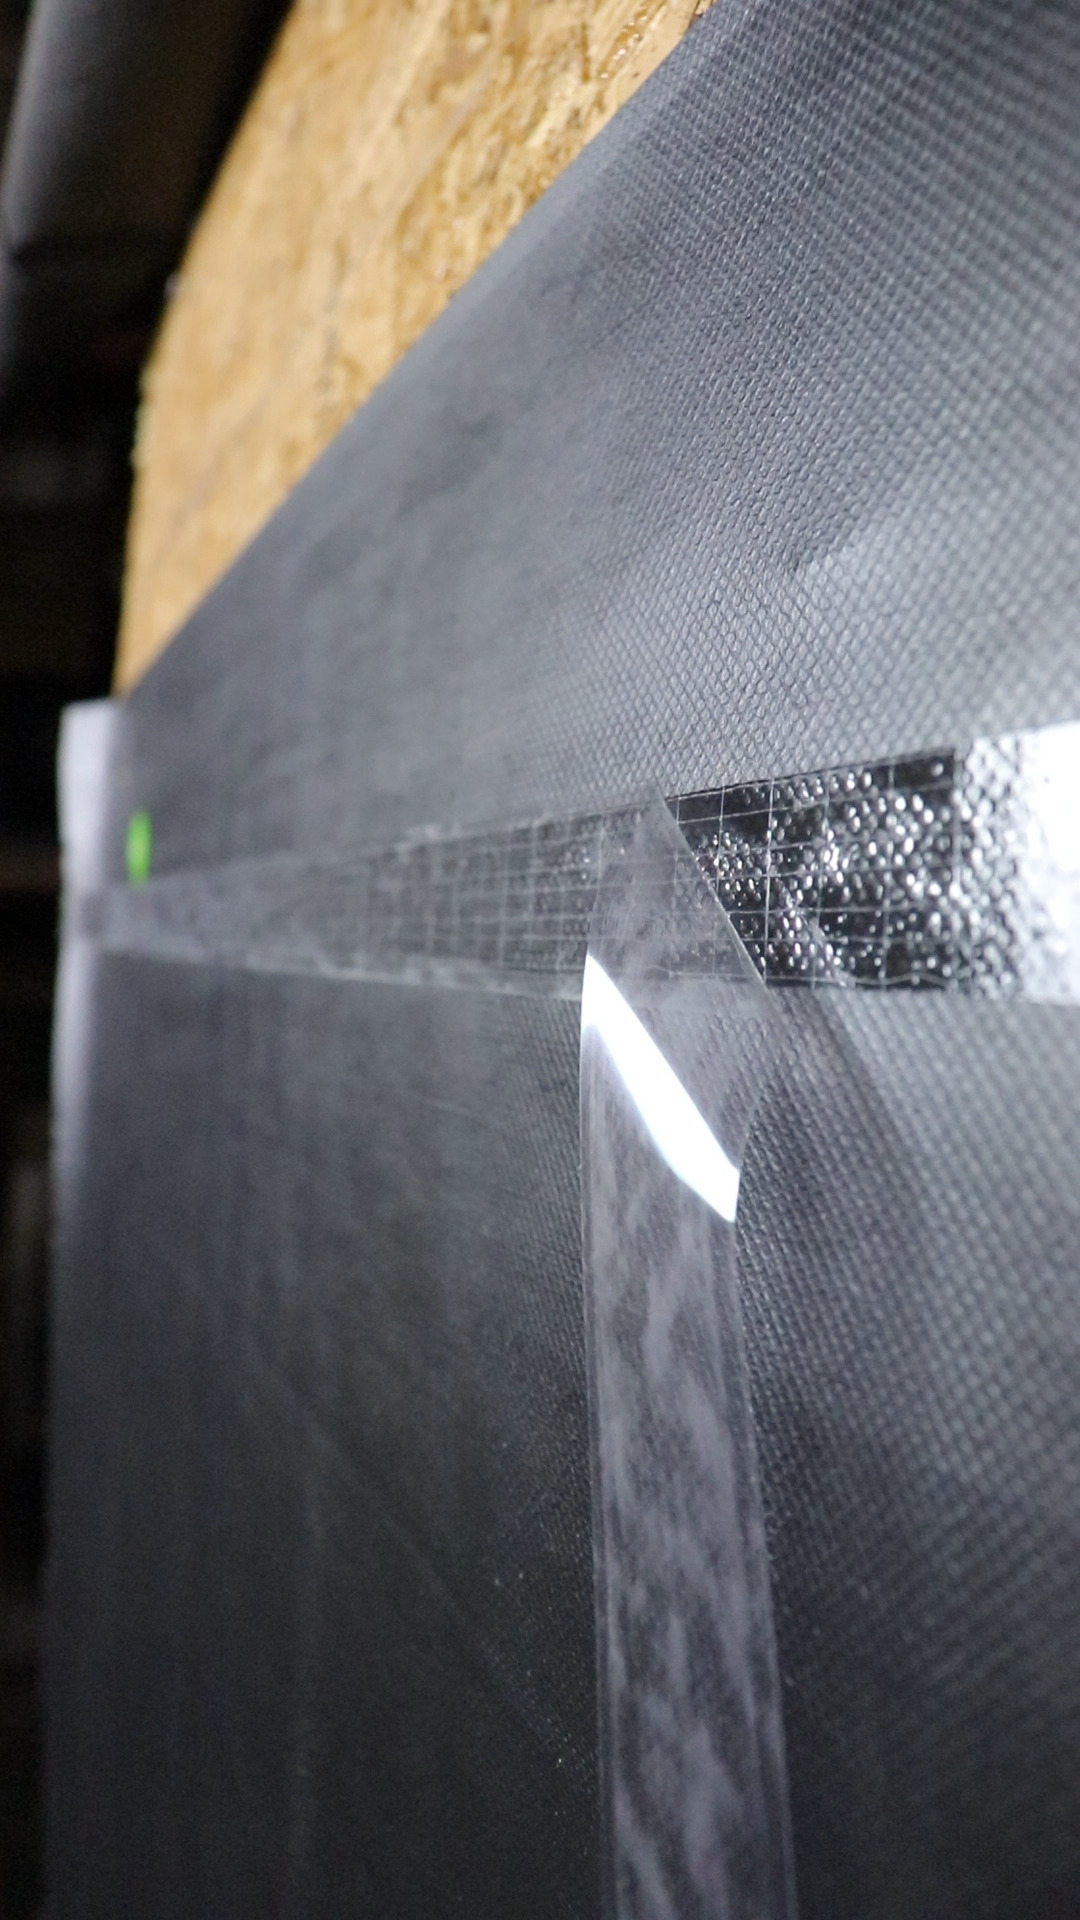
If you’ve used mechanically fastened housewraps, you’re most likely familiar with conventional seam tapes. However, over the years we’ve learned that conventional tape makes your building envelope more prone to moisture intrusion. Building professionals are adapting the practice of sealing seams with double-sided tape. It creates an additional layer of protection against air and water infiltration and eliminates reverse overlaps, ensuring moisture can escape the building envelope instead of becoming trapped and causing deterioration. The type of tape used is just as crucial as your housewrap – now let’s talk about how to use it.
Starting With Mechanically Fastened Housewrap
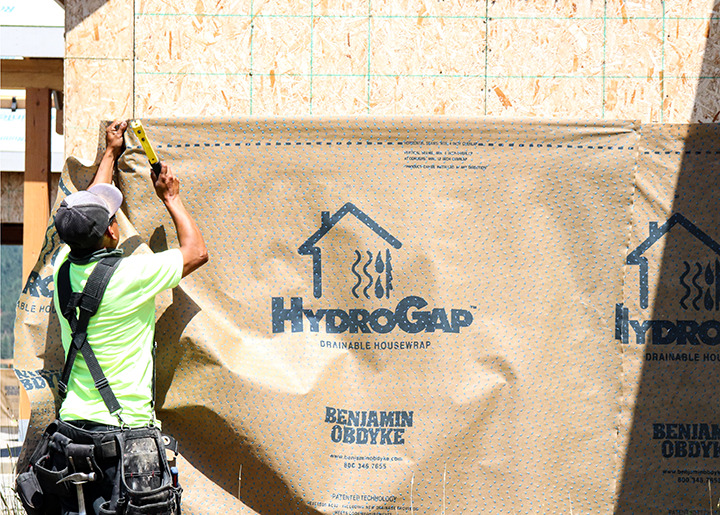
What you’ll want to do first is choose a killer high-performance housewrap (may we suggest BenWrap or HydroGap Drainable Housewrap *wink wink*). It’s important to note that no matter your cladding material, water and moisture will get behind it. The only way to avoid structural damage from trapped water is to install a housewrap to facilitate the drainage and evaporation of water and water vapor as quickly as possible.
In a mechanically fastened housewrap installation, you’ll typically cap nail or cap staple to the sheathing and overlap the seams by several inches. It’s best practice to install your housewrap upwards, like shingle installation, with a high-over-low overlap. If you want more details, check out Housewrap Installation: A Step-by-Step Guide.
Applying a Double-Sided Seam Tape
If you’re looking to avoid the common failures caused by traditional seam tapes, it’s time to upgrade your approach. Utilizing a double-sided seam tape, like our new HydroTape DS (HTDS), is the ideal solution to prevent blow-off, reverse overlap, and trapped moisture. For all the details on this new product, read HydroTape DS – A High-Performance Double Sided Sealing Tape.
Now for the nitty-gritty on installing the tape with a mechanically fastened housewrap for horizontal and vertical seams. It’s as easy as 1,2,3… kind of.
Use With Horizontal Seams
Each project requires a different approach and how you apply housewrap will guide the type of seam installation technique. Below is a quick punch list of all your steps for horizontal and vertical seams. Like we said, it’s as easy as 1,2,3…with a few additional steps.
Step 1:
Install the first row of housewrap
Step 2:
Apply HTDS to the WRB (about two inches from the top)
Step 3:
Apply pressure to the tape to activate the adhesive (check for wrinkles or bubbles)
Step 4:
Install the next row of housewrap in a shingle installation overlapping by at least 4 inches. Leave the bottom 10 inches unfastened.
Step 5:
Remove HTDS release liner
Step 6:
Fold the WRB onto the tape
Step 7:
Place pressure on the housewrap with a hand applicator or roller
Step 8:
Apply cap fasteners to the overlap. The tape’s acrylic adhesive ensures it seals around fasteners to reduce air infiltration at penetration points.
Use with Vertical Seams
You might be able to guess that you’ll use a lot of the same approach for vertical seams with some small nuances.
Step 1:
Install the first row of housewrap
Step 2:
Apply HTDS to the WRB (two inches from where the overlap will occur)
Step 3:
Apply pressure to the tape to activate the adhesive (check for wrinkles or bubbles)
Step 4:
Install the next row of housewrap, leaving six inches of overlap on the vertical seam. Do not fasten the first 10 inches
Step 5:
Remove HTDS release liner
Step 6:
Fold the WRB onto the tape
Step 7:
Apply pressure on the housewrap with hand applicator or roller
Step 8:
Apply cap fasteners to the overlap
And voila – repeat until your whole building is finished!
For full installation instruction, read HydroTape Double Sided Tape Installation Instructions. By combining mechanically a fastened housewrap with double-sided seam tape, you can create a more durable and reliable building envelope that is better equipped to withstand the elements and provide long-term protection.