A housewrap is one of the most critical parts of your wall assembly and installing it correctly will ensure you have a high-performance building envelope. While each housewrap certainly has its own installation nuances, being prepared can be one of the best tools in your belt to ensure success. In this blog, we offer a step-by-step guide for you to use to set your building envelope up for success.
Pick Your System/Housewrap
The first step to properly install a housewrap happens before you even have the product in hand. Choosing the best weather-resistant barrier starts with research. Begin before you buy the product by researching the best system. When researching your system, there are certain selection criteria to look at: cladding, climate and performance. For some extra assistance on picking your system, use our System Selector Tool to help guide you.
Cladding
Certain types of cladding allow more water entry than others. The need for an air space behind the siding should be greatly considered in these assemblies. However, regardless of the type of cladding, if it is tightly installed to a wall, it has the potential to hold trapped moisture. A build-up of water between the siding and the WRB can create hydrostatic pressure that will drive moisture further into the framing materials. Cladding type is one factor to take into consideration when choosing the proper moisture management system.
Climate
The amount of annual rainfall can be an indicator for determining the performance level needed from your moisture management system. If you’re in an area that faces wind-driven rain, you may even be required to use a drainable housewrap or rainscreen. Keep in mind, it only takes one rain event for water to be introduced into a wall assembly, meaning that without adequate drainage, trapped moisture can pose a risk even in dry climates.
Performance
When choosing a housewrap, it’s crucial to remember that you should account for both water-control and air control. Unless otherwise specified, a mechanically fastened or stapled housewrap is best for water control.
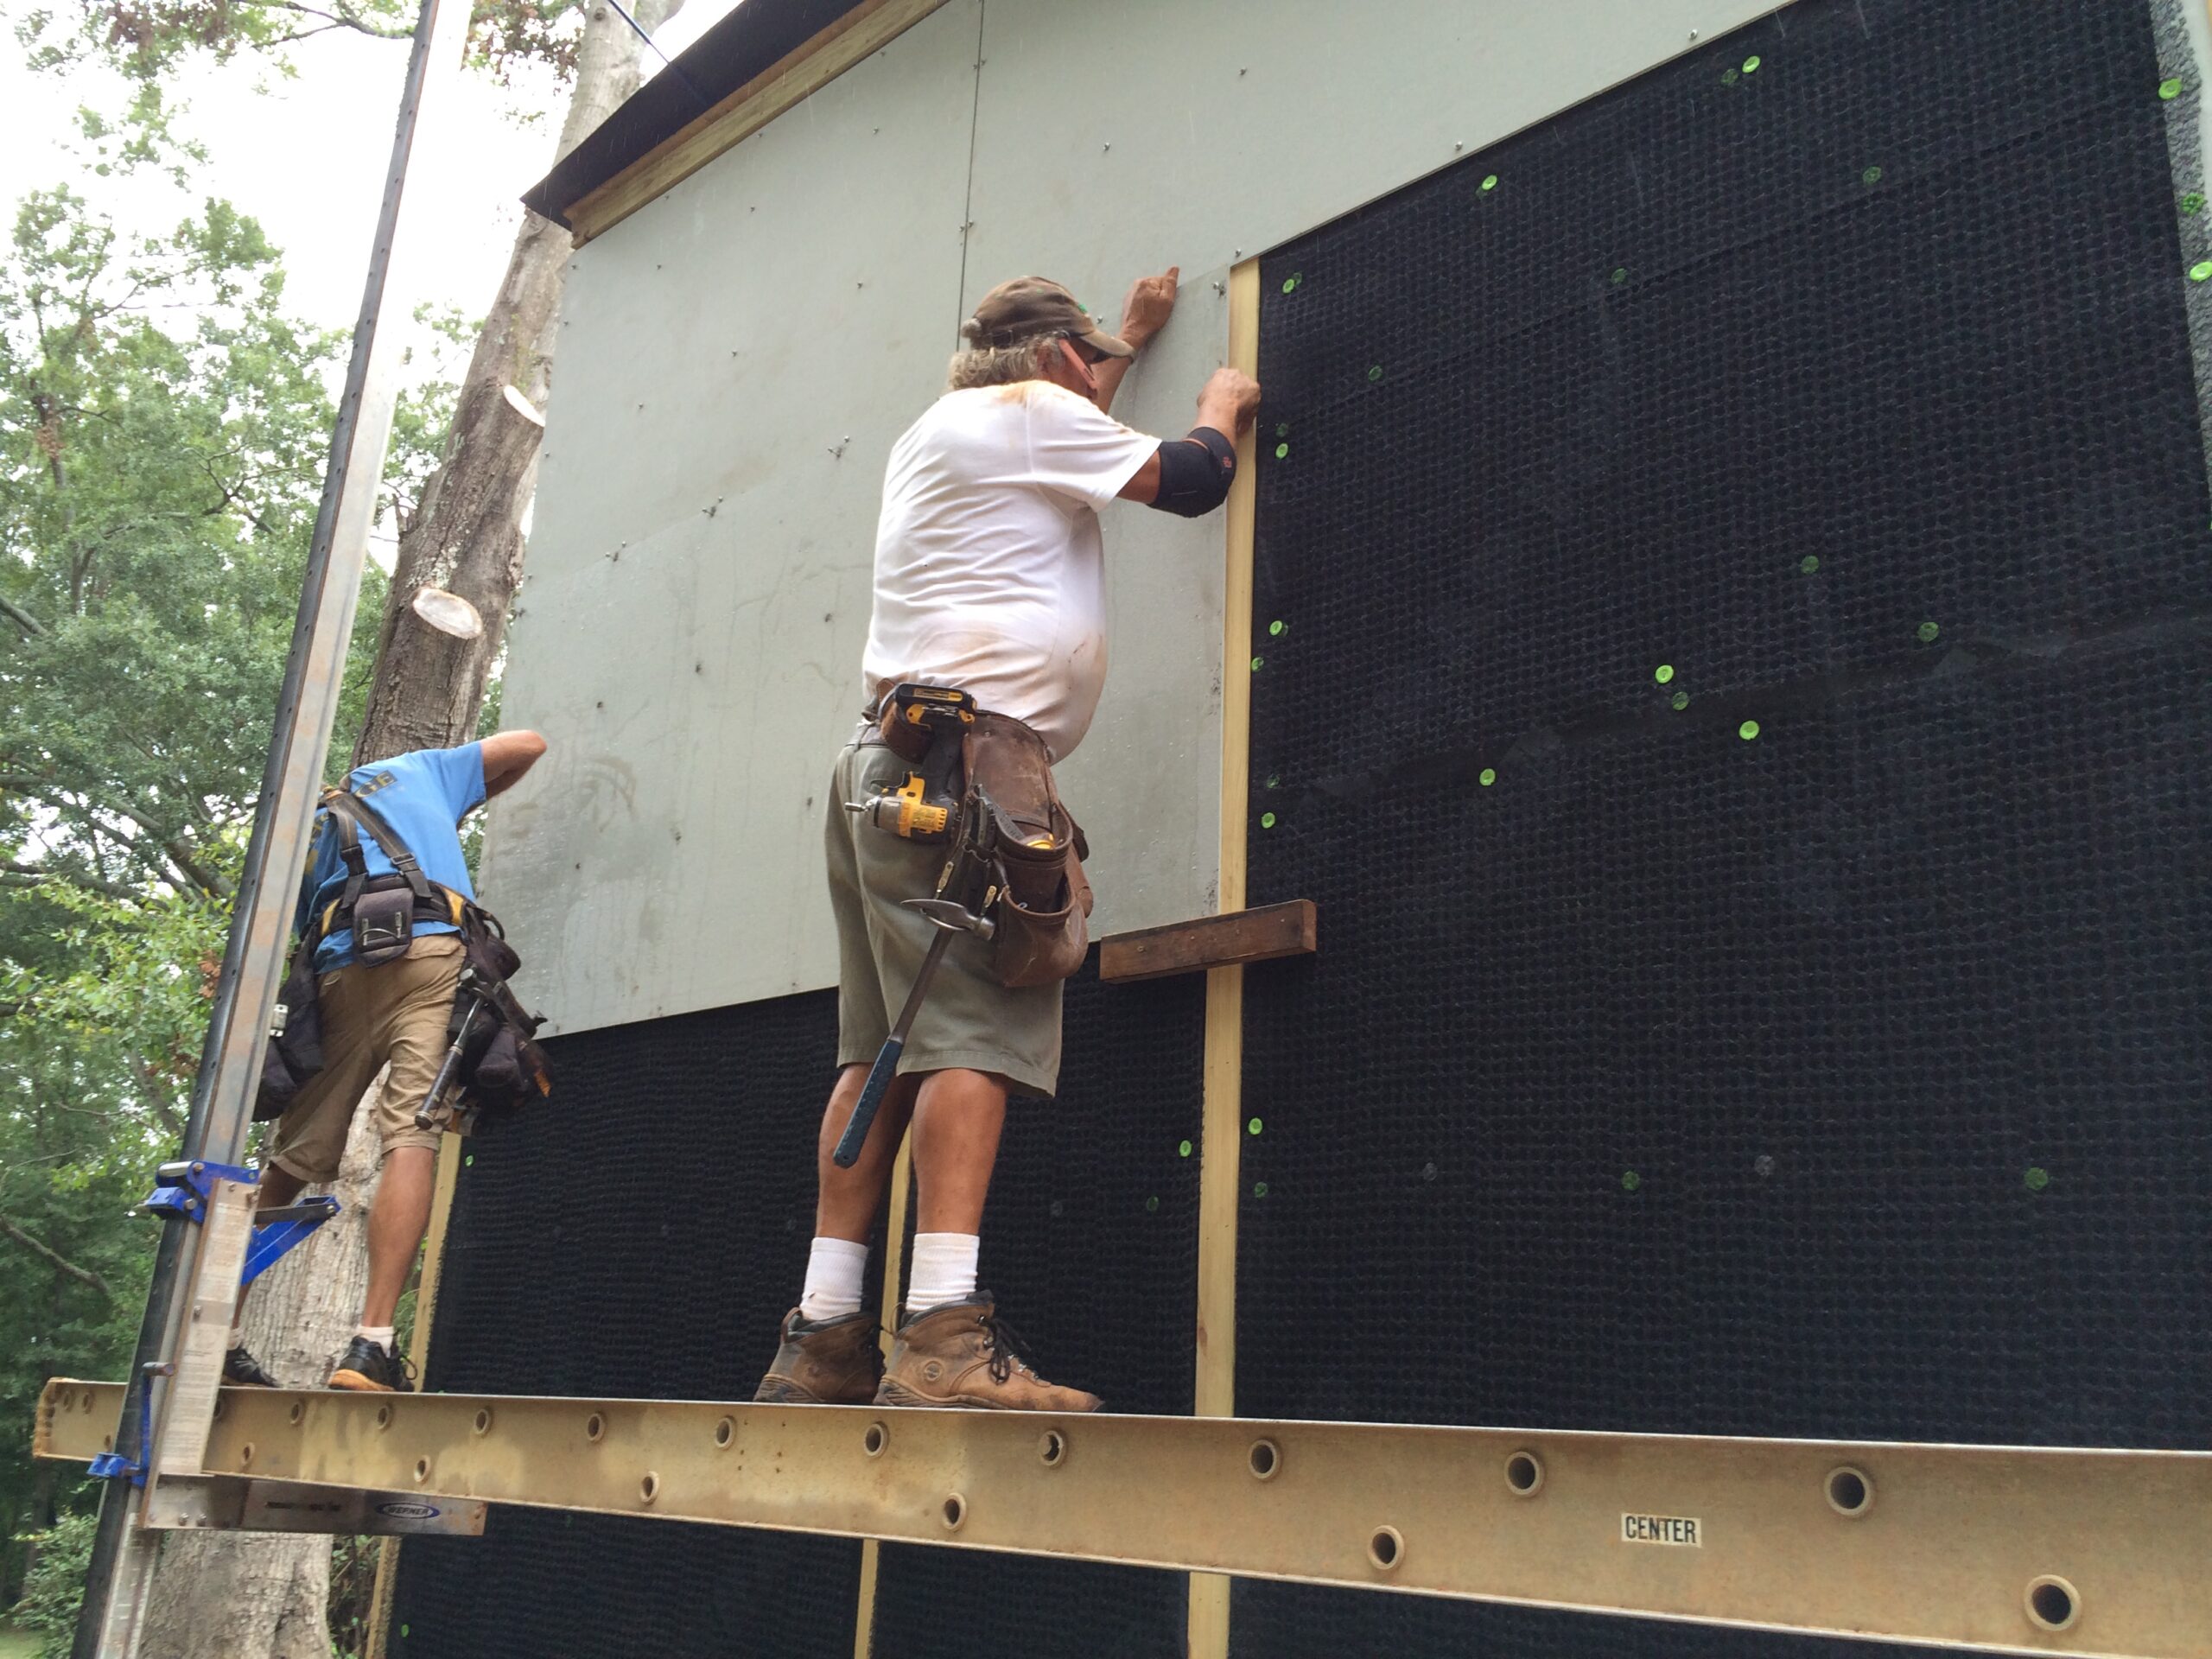
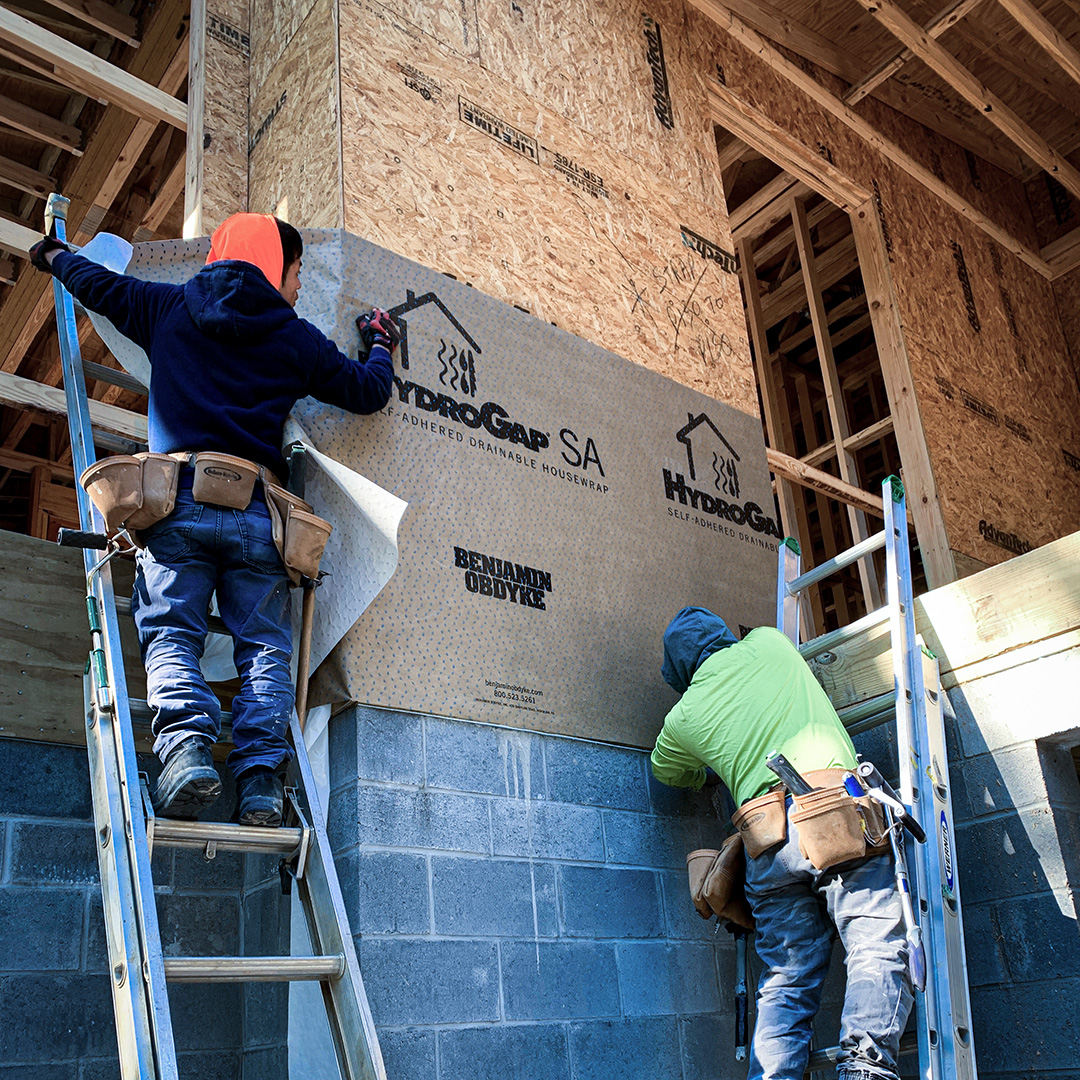
If you’re looking for a product that kills two birds with one stone, that’s where products like HydroGap SA step in. This self-adhered drainable housewrap uses an acrylic-based adhesive to ensure sealing around all the fasteners and penetration points. If you’re looking for the best possible option to eliminate moisture, consider using a rainscreen if your budget allows. Learn more about the difference between drainable housewraps and rainscreens here.
2. Plan the Installation
After you pick the best system for your project, it’s time to start planning. Knowing the plan before installation can genuinely make you, and your installers, lives much easier. Consider these three different factors when formulating a successful plan.
Integration Method
Window and door delivery can significantly impact your installation method. Knowing ahead of time what will be installed first (windows/doors or housewrap) can help you plan accordingly.
In a window’s first installation, windows are sealed directly to the sheathing and then they skirt or flap at the bottom. Whereas in a housewrap first installation, you’ll flash your windows directly to the wrap. The installation order will help you determine how you should cut and apply the openings in the housewrap. The type of flashing you use for the integration – liquid applied or tape – will differ per product installation guide which you can access in step 5.
You can also read this blog article Liquid-Applied, UV, and General Purpose Flashing: What to Use Where to help you break down the differences between each flashing type.
Size
It’s essential to plan the utilization of your roll size to fit your project. Whether it’s a horizontal or vertical application, or if outside corners need pretreatment, you want to ensure the size of your roll will completely cover the sheathing. For outside corners, consider installing one plane at a time since you won’t be able to wrap around corners unless both sides are set.
Layout
To properly plan the layout of your housewrap, make sure to chalk control lines to mark your installation. This technique helps you visually map everything out and is also useful in reducing the number of wrinkles. After chalking lines, you can transfer your stud locations to the front of the wrap. That way, you can fasten your siding directly into the framing material.
3. Estimate a Timeline
Firstly, you should work within the limitations of the housewrap to establish a timeline. The building industry has seen the lasting impact of the supply chain over the past few years. If you know there is potential for your siding material to be delayed, ensure your housewrap is equipped to handle long UV-exposure, or hold off on installation as appropriate. If you need to move the project along despite delayed deliveries, consider using a product like InvisiWrap® UV, which can be exposed to the elements for 365 days. The ability of long-term exposure prevents you from needing to remove and reinstall the housewrap.
4. Know Where Failures Occur (Avoid Failures)
The most common building envelope failures occur at the penetration points. This is often windows, doors, and openings in the interior, such as electrical outlets, that are not properly sealed. Ensuring rough openings are flashed and sealed properly will ensure a completely continuous barrier, reducing the risk of failure.
Failures also occur because of a lack of proper technique. The incorrect approach can compromise your building envelope, whether that is not applying enough pressure, or improper flashing, or using conventional staples instead of cap fasteners. We recommend using cap fasteners because they hold the housewrap and the underlayment better than staples and reduce the chance of tearing in windy conditions. Cap fasteners are also required to get our complete system warranty. It’s critical to ensure you’re following the correct steps to give your client the full system warranty.
Not using the recommended system and securing the warranty is really a failure in and of itself. Certain products may not be compatible with others when performing in a system. A systems approach will allow you to build better and your building envelope to achieve maximum performance.
5. Install the Housewrap
Now that you’ve checked off the above steps, click the links below for full step-by-step installation guides for applying any of Benjamin Obdyke’s housewraps.
- BenWrap Installation Guide
- InvisiWrap® UV Installation Guide
- HydroGap® SA Installation Guide
- HydroGap® Drainable Housewrap Installation Guide