Installing roofing underlayment is a crucial step to ensuring the longevity and effectiveness of your roofing system. Installing it correctly is just as important. Consider these best practices to ensure your roofing underlayment installation performs as designed.
Choose the right underlayment material
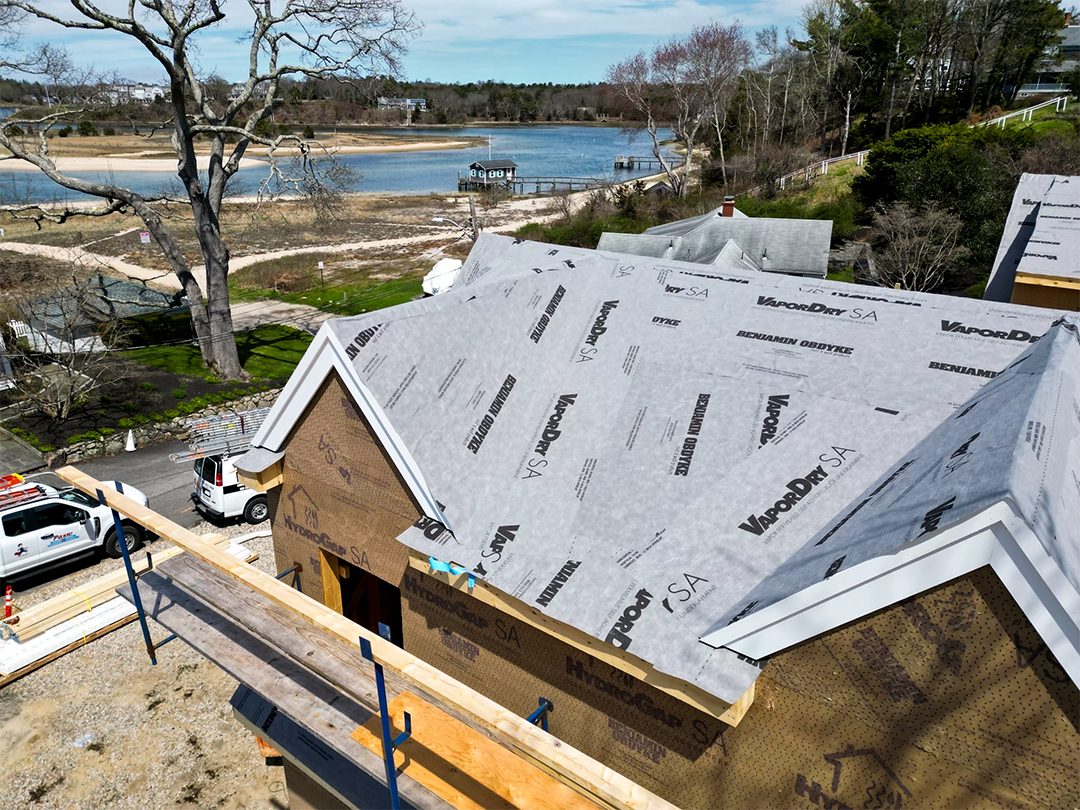
Like any building system, roofing underlayment is available in a range of materials and price points. Ice/water protectors, barriers, or shields have been a go-to roofing underlayment option for a long time. But new acrylic-adhesive roofing underlayments like VaporDry SA may provide a better alternative to asphalt-based ice/water protectors because they provide vapor permeance that will allow moisture to escape and can help prevent ice damming.
In addition, it’s critical to pair your roofing material with the most appropriate underlayment; for example, the ideal system for a cedar roof combines VaporDry SA roofing membrane with Cedar Breather roof ventilation mat over top.
Properly prep the surface
Properly prep the surface: Whether new construction or a remodel, the sheathing surface must be in good condition for the self-adhered underlayment to adhere properly. For a remodel/re-roof, first inspect the substrate to ensure it is in good condition; cut out and replace any rotted areas.
In both applications, check and remedy any irregularities that could tear the underlayment, including nails sticking up, splinters, and chips. Make sure the surface is as smooth and flush as possible.
Finally, remove as much dust and debris, including leaves and pollen, as possible. An air compressor is ideal but a push broom also will work.
Determine details and sequencing
Pre-plan the roof to address both material factors and key details. Are you using the underlayment for air control? Are you building in a colder climate prone to ice damming? Does your roofing material require an airspace underneath?
What will the installation sequence look like to ensure proper overlaps between materials and at intersections such as eaves? (Learn more about roof-to-wall intersections here.) How will you sequence drip edges to address ice while also shingle-overlapping? (See a video demonstration here.) Your Benjamin Obdyke rep can help with this process.
Start from the bottom
As part of that sequencing, remember that you are nearly always starting from the bottom and working your way up. This typically means starting with the eaves, then valleys, and then looking at complicated intersections or penetrations to ensure proper shingle overlapping.
Use a sharp knife
When cutting underlayment, avoid using a dull blade, which can make things more challenging. Also, do not tear the product to cut.
Avoid wrinkles
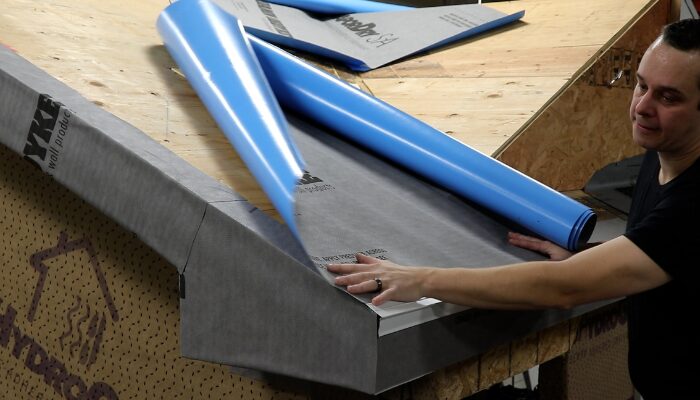
The acrylic adhesive of VaporDry SA offers the best of both worlds: it’s repositionable during installation while also offering a strong, long-lasting bond. To ensure it performs as designed, install it flat without wrinkles; snapping a starting chalk line parallel off the eave will be your biggest help for this.
Apply pressure
Once in position, be sure to apply plenty of pressure to VaporDry SA to activate the bond. This can be done with a push broom, driveway squeegee, or roller. Use hand applicators to get out any small wrinkles.
Tread lightly
The underlayment is designed to be durable and for good traction and walkability; that said, don’t walk on it unnecessarily—you don’t want to wear away traffic patterns. If the underlayment is damaged by tool drops or boot edges, use HydroFlash UV+ to tape up the affected area.
Check the finished surface
Check the finished surface: Give the underlayment a final once-over before applying materials on top, checking for any wrinkles, unadhered areas where pressure wasn’t applied, etc.
With proper planning and simple strategies, installing underlayment such as VaporDry SA doesn’t have to be complicated—resulting in a more robust roofing system and long-term reliability.
Get one-on-one support! Sign up for a virtual jobsite visit.


