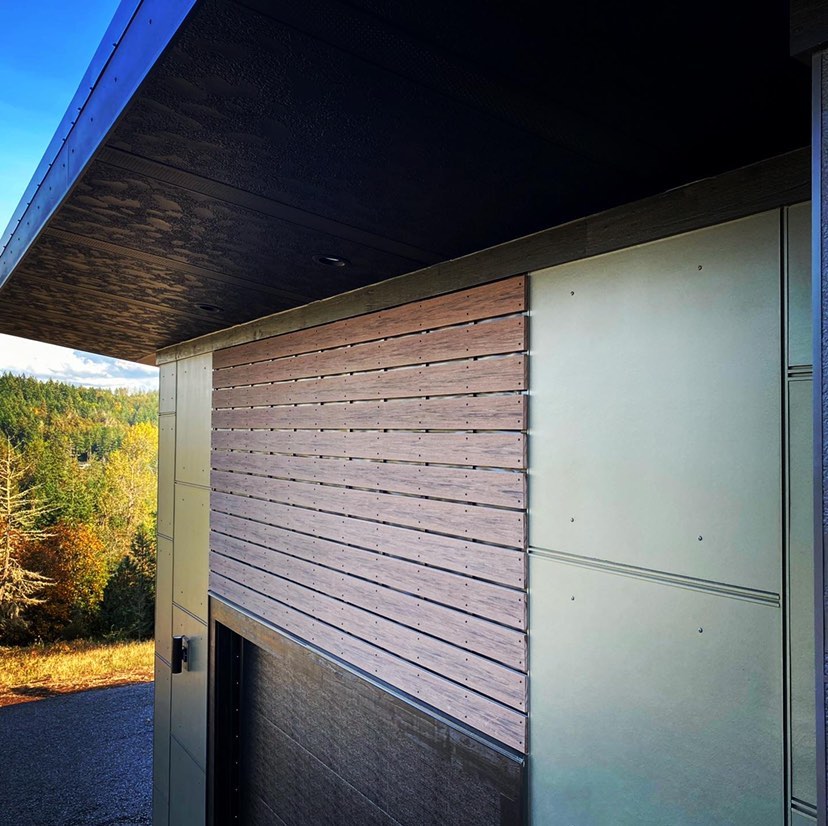
Around the building envelope, any intersection of two dissimilar materials or elements creates a challenge, one that must be planned for in advance to ensure proper sequencing and compatibility. Otherwise, it’s easy for moisture to become trapped or products to fail, leading to rot and other issues down the road. Some of the most difficult scenarios are the roof-wall intersections—where one part of the roof butts up against a wall section, such as at eaves and rakes, dormers, a garage roof next to a second story, and others.
Moving from a horizontal plane to a vertical plane is similar to a window installation in that two subcontractors—the sider and the roofer in this case—must follow correct sequencing of weatherization layers to ensure the moisture doesn’t become trapped and cause structural degradation.
VaporDry® SA Samples
GET YOUR FREE VAPORDRY® SA SAMPLES TODAY
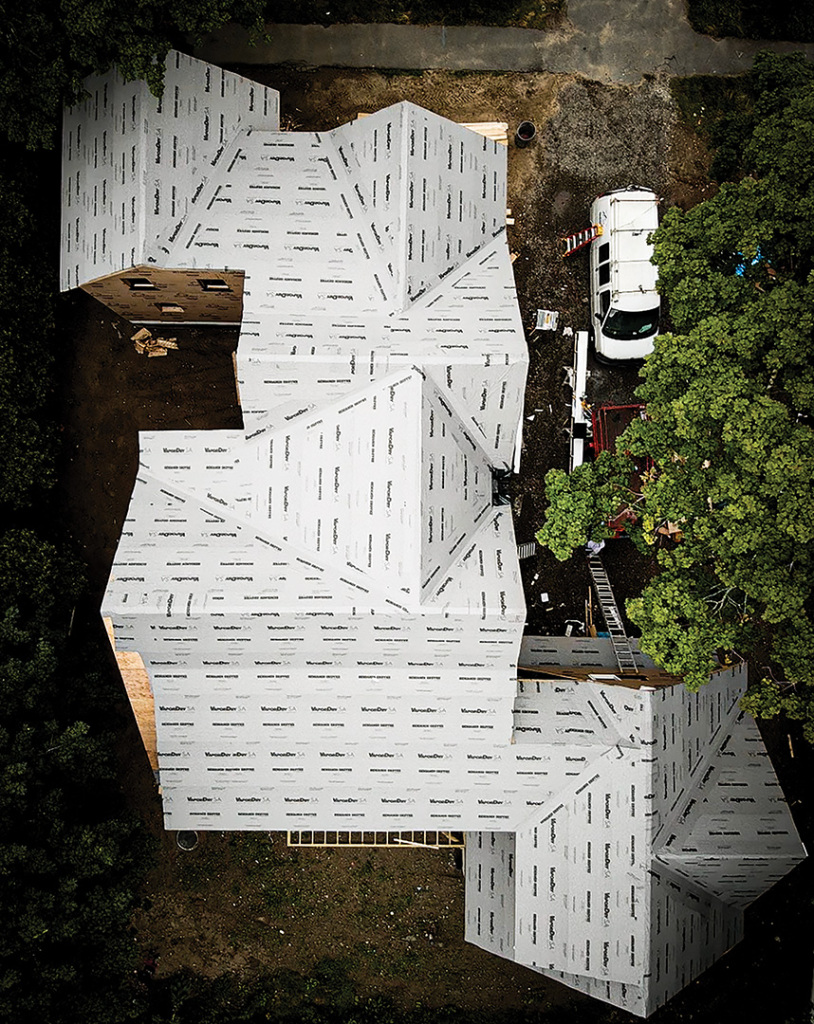
How to Weatherize Roof-Wall Intersections
In the ideal approach to a direct roof-to-wall intersection, the roofing contractor will install the roofing membrane first, extending the membrane 12 inches up the wall at the intersection and install shingles with metal step flashing and kickout flashing at the eave. Then the siding installer will apply the wall’s weather resistant barrier, shingle-lapping the weather resistant barrier over the kickout flashing so that water flows down and out rather than under the layers.
If the installation cannot be done in this order due to scheduling or material delays, the contractor installing the WRB should leave a 16 to 24-inch flap at the bottom of WRB unattached. After the roofing underlayment, metal flashing, kickout flashing, and final roofing material are installed, the WRB can be properly overlapped over the roof flashing.
For eaves and other areas that require a drip edge, if it cannot be properly shingle-lapped over the WRB, install a compatible flashing over the top of the drip edge to prevent water from running behind it.
Controlling Air and Moisture
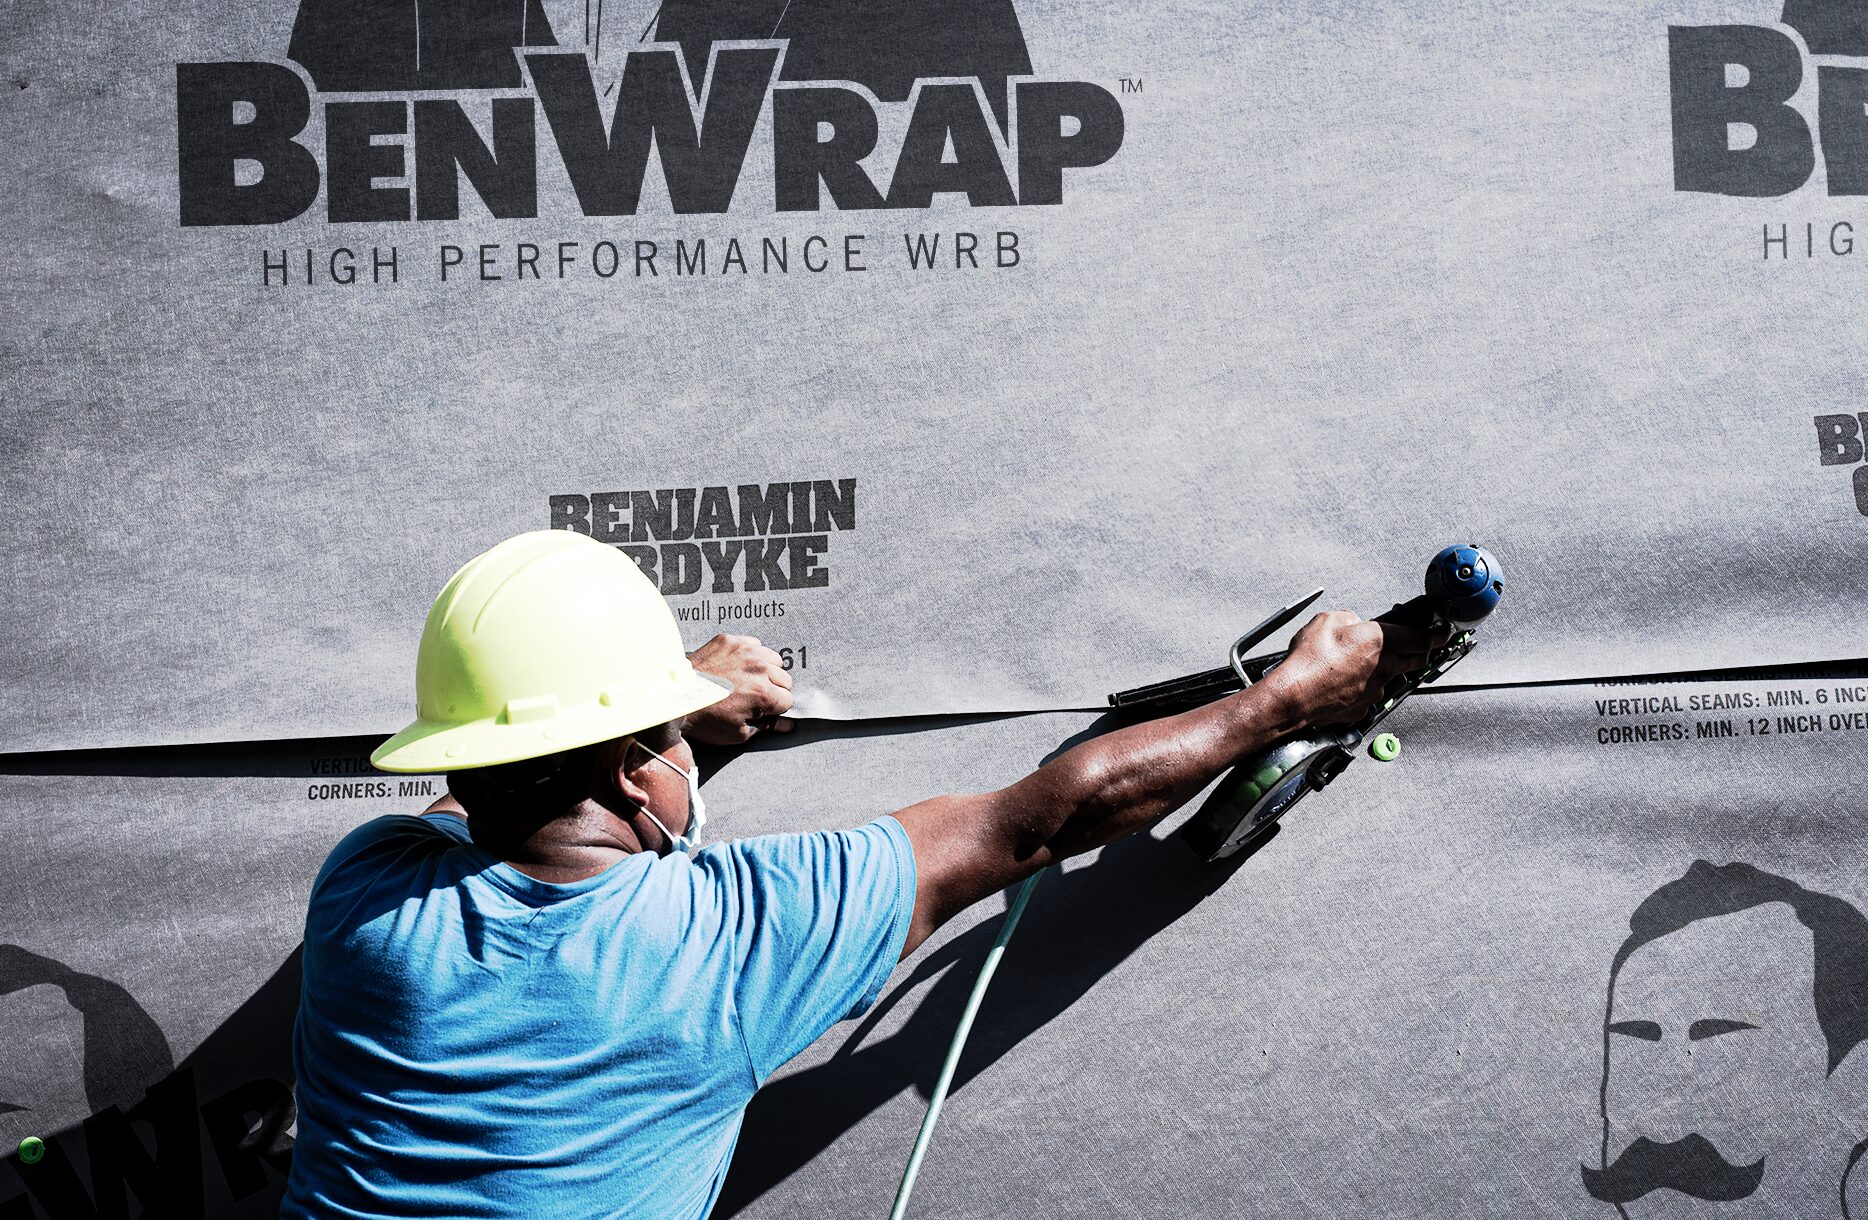
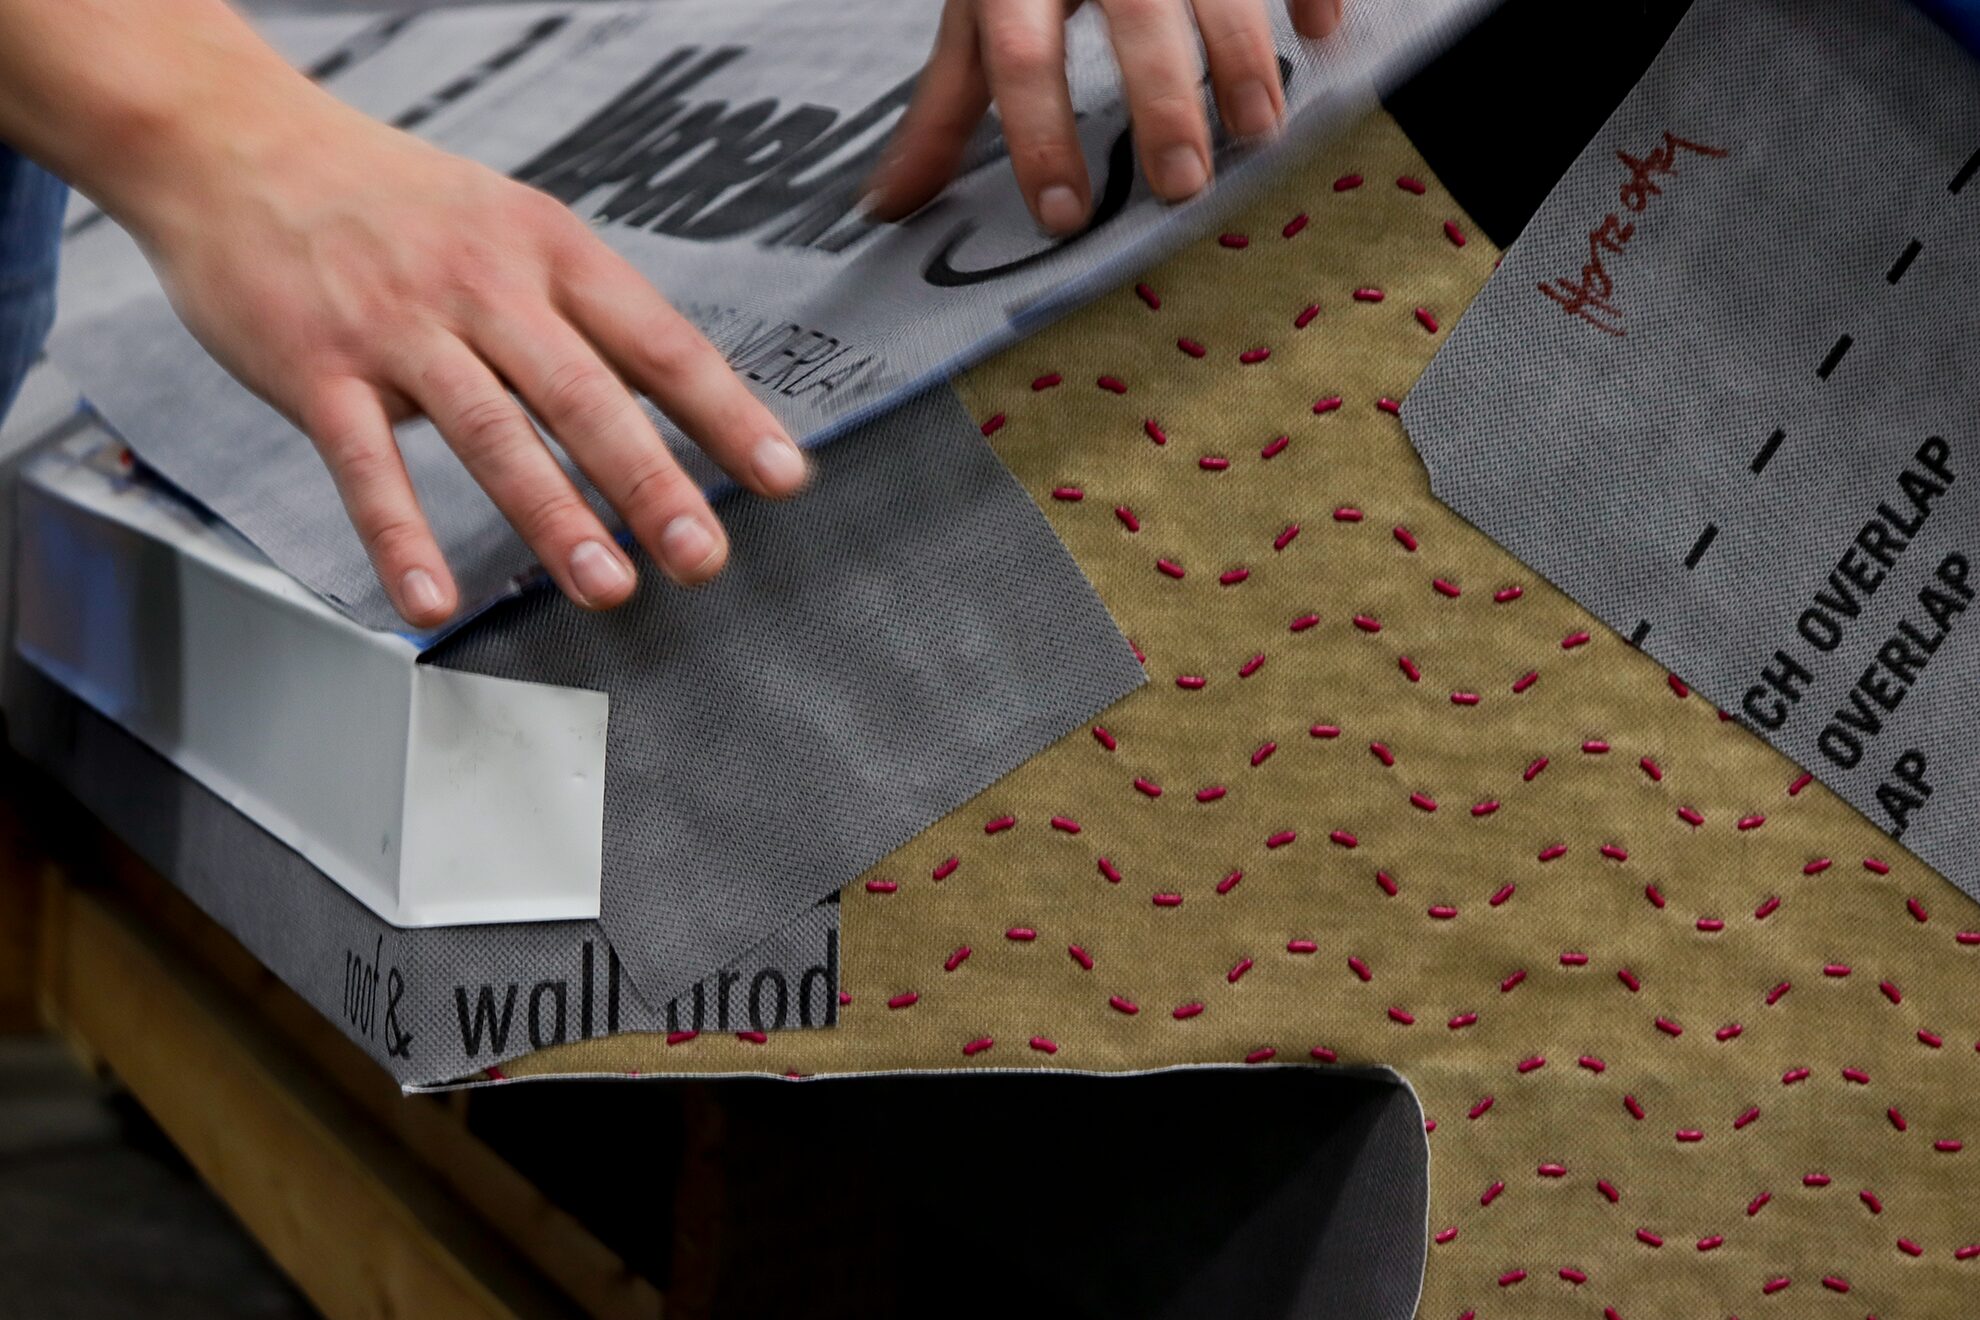
Along with the best practices, using self-adhered products like HydroGap SA drainable housewrap and VaporDry SA roofing underlayment not only avoids extra holes in the envelope by eliminating mechanical housewrap and underlayment fasteners, but it also provides a seal around fastener penetrations from kickout flashing, roofing, and siding, providing an air control layer as well as a moisture control layer.
Learn more about HydroGap SA and VaporDry SA, or get in touch with us for support and resources to help Transform Your Craft.