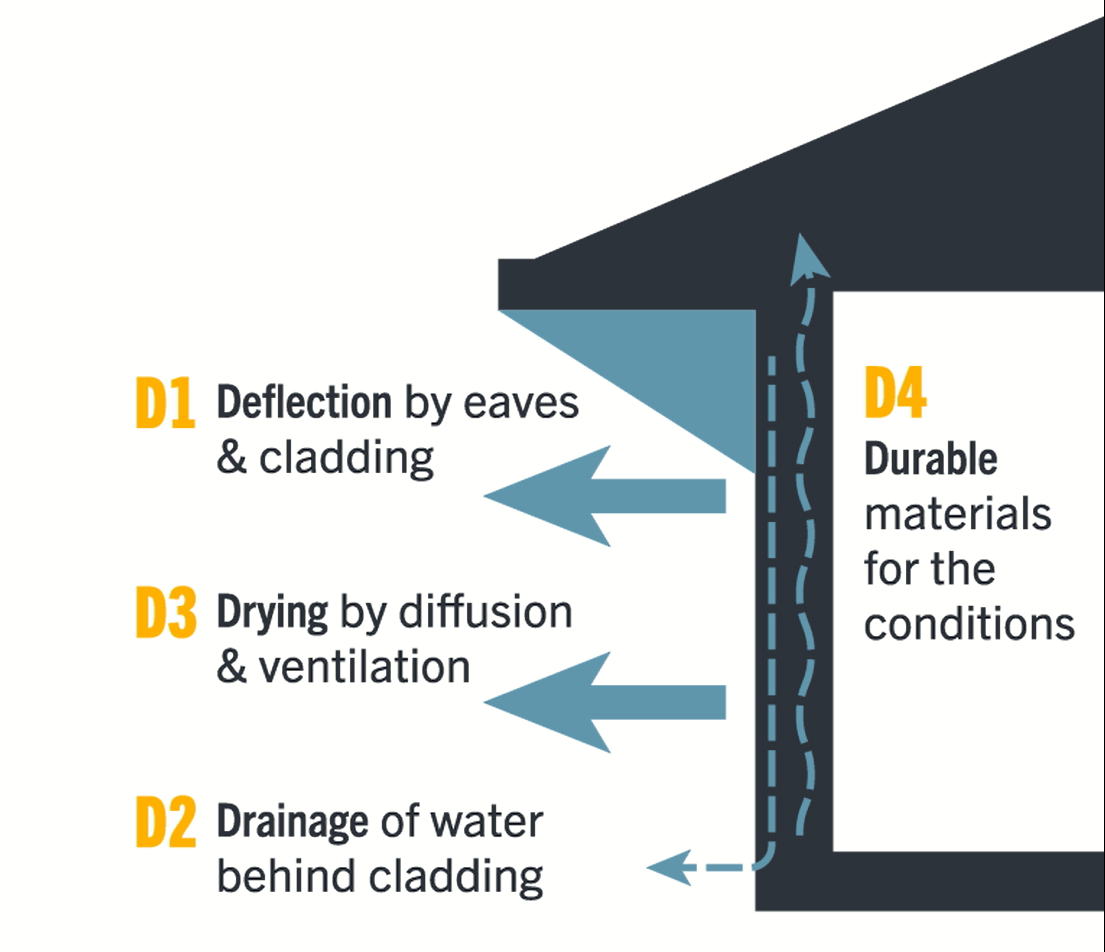
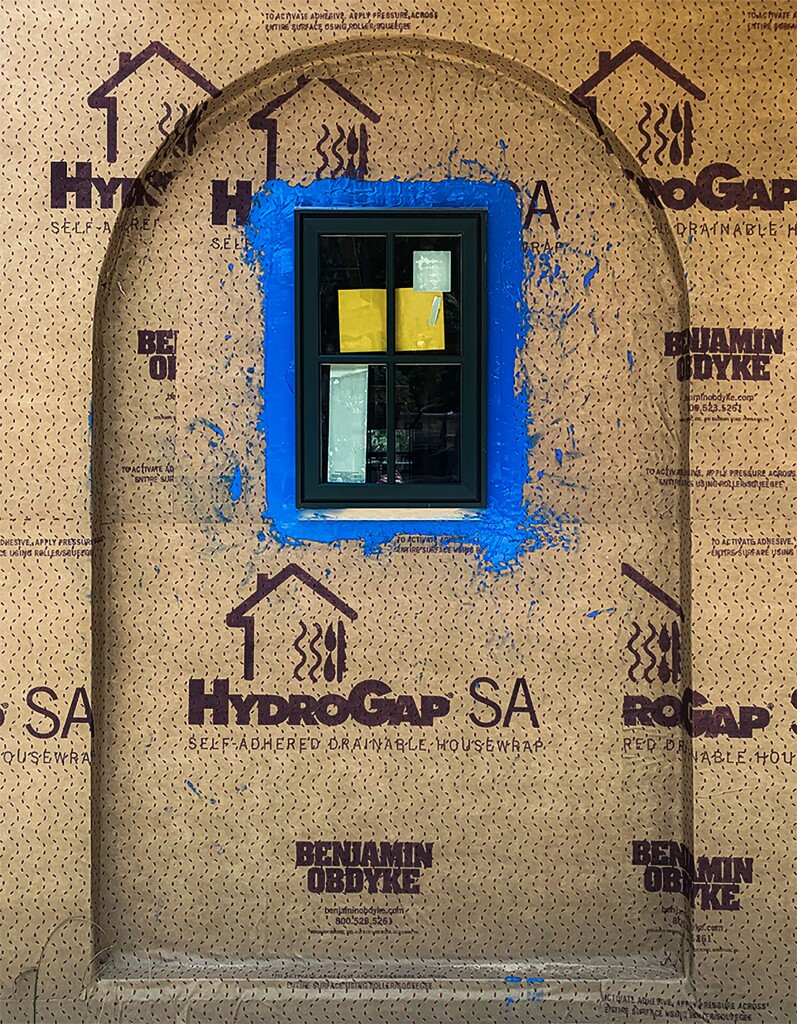
When it comes to the home’s wall system, the windows are one of the most challenging areas to avoid water and air infiltration. But attention to detail and following simple strategies can help alleviate common mistakes and protect the integrity of the air and water barrier.
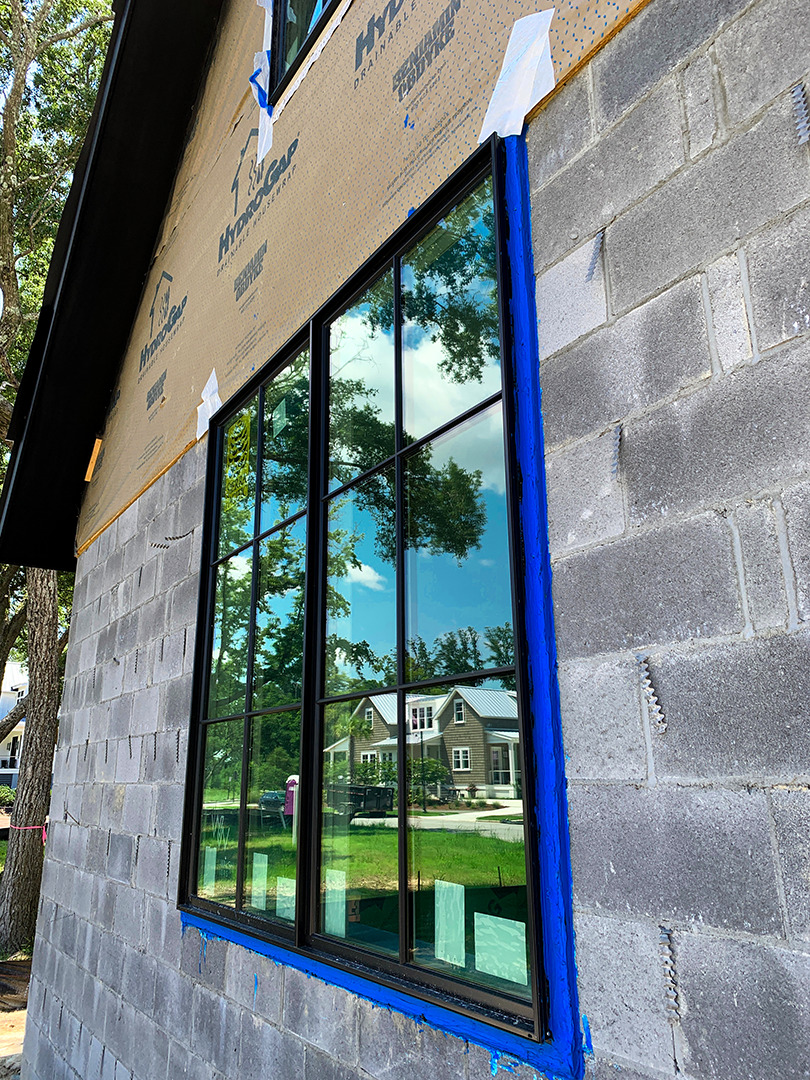
As a fully self-adhered housewrap, HydroGap SA delivers an unmatched air and moisture barrier by combining true sealing around fasteners and other penetration points with built-in spacers for 96% drainage efficiency. But switching to a self-adhered product does require some minor rethinking of your typical approach to the window system.
Consider these strategies:
Two-person Job
Like flashing tapes, HydroGap SA’s adhesive backing can stick to itself, so it’s advisable to install with two people to keep the process manageable. One advantage of HydroGap SA over other self-adhered wraps is the presence of a reinforcement mesh, which helps HydroGap SA stay a little more rigid once the release liner is removed, making it easier to manage and less likely to stick to itself. Plus, HydroGap SA is repositionable until pressure is applied, allowing you to correct its positioning and remove wrinkles.
New Approach to Head Details
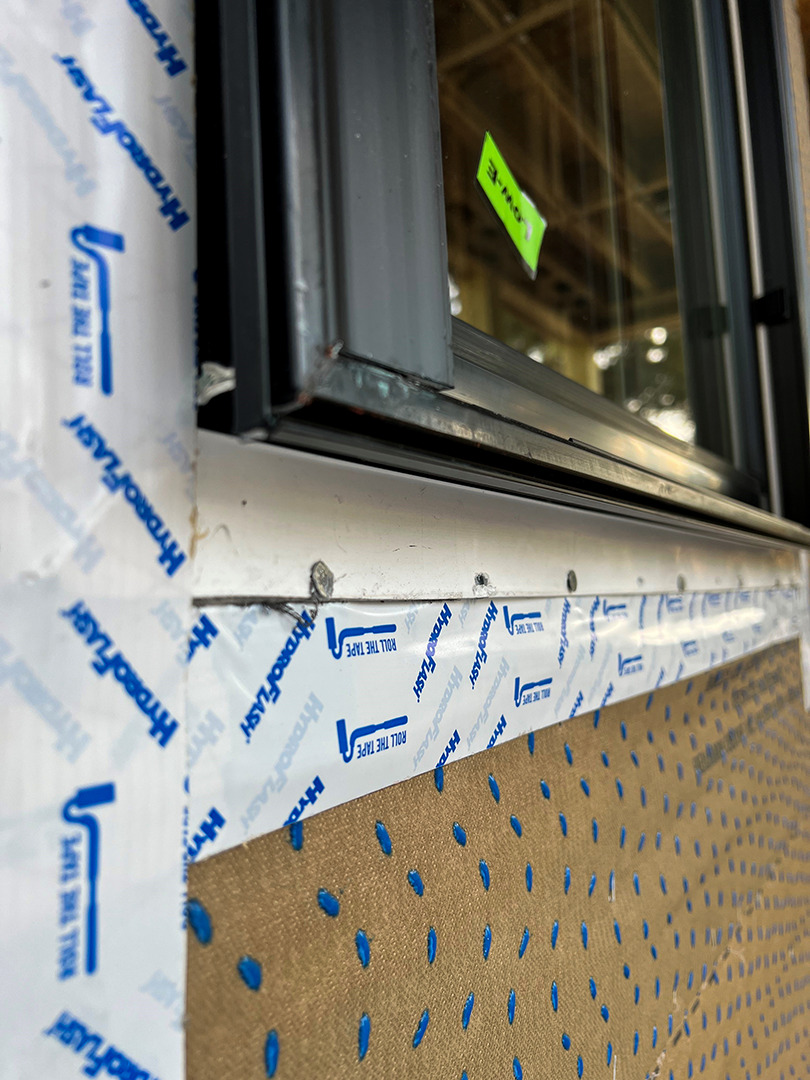
One unique difference with HydroGap SA is the top head detail. Other manufacturers of self-adhered housewraps recommend wrapping the housewrap into the top of the window in addition to the bottom and sides, applying the window and the top flashing tape directly to the self-adhered membrane. However, this creates a reverse overlap and relies on the chemistry of adhesion more than the physics of a traditional mechanical overlap.
Instead, we recommend lifting the top flap and covering it with a piece of the release liner, then flashing the window with HydroFlash LA liquid applied flashing. Once the flashing cures and the window is installed, remove the liner from the top flap and lower the flap over the top window flange, creating a traditional shingle effect.
See this detail in our illustrated video:
Advantages for Vertical Jambs:
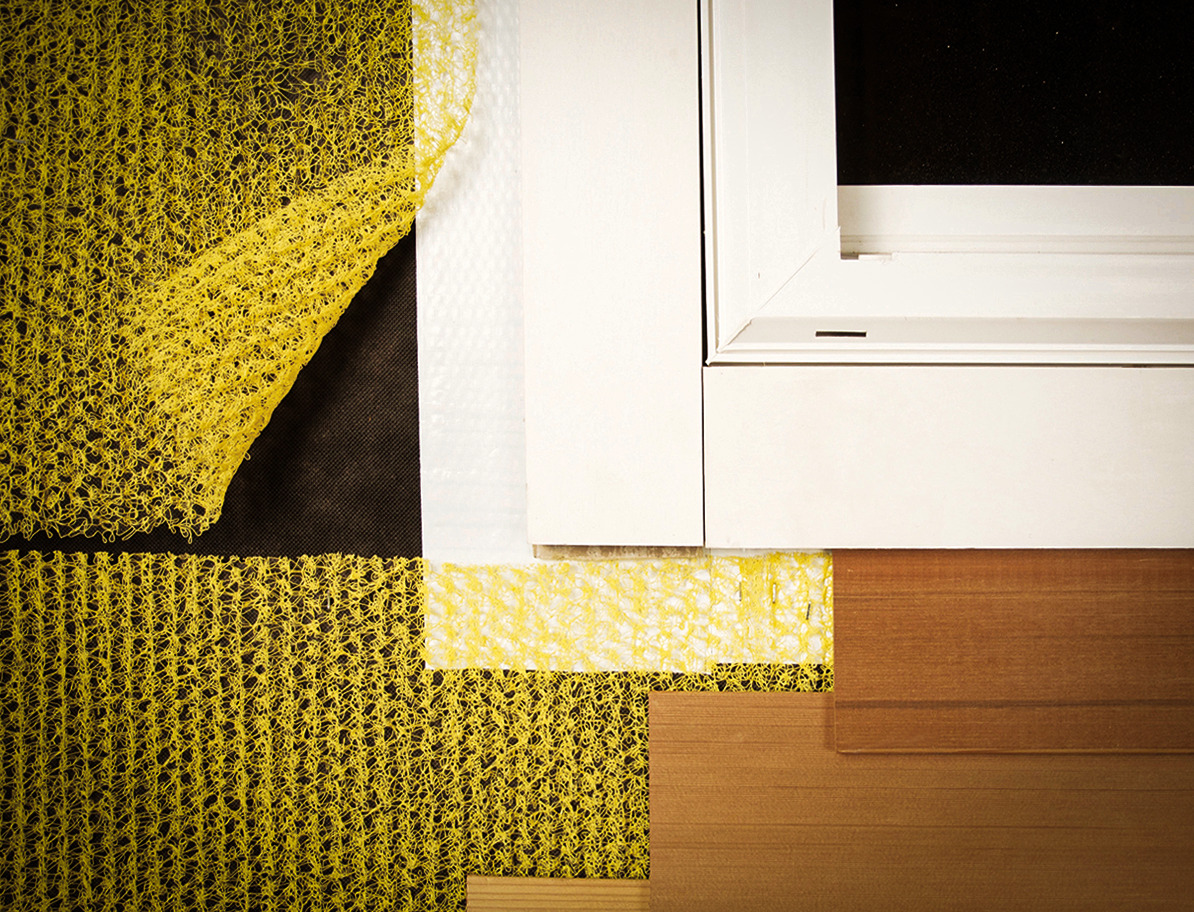
On the vertical jambs, HydroGap SA’s drainage spacers bring an added benefit: The spacers create a small gap behind the nailing fin, helping to keep more sealant in place when the fin is compressed and secured. Too little sealant can lead to premature breakdown on the bond.
Air Sealing Details:
Another area to pay attention to is the air sealing detail. If you’re using HydroGap SA as an air control layer, be sure to seal gaps where the sheathing meets the foundation; this step wouldn’t be required with mechanically fastened housewraps because interior detailing acts as the air control layer.
HydroGap SA Samples
GET YOUR FREE SAMPLES TODAY OF THE FIRST EVER SELF-ADHERED DRAINABLE HOUSEWRAP
The Importance of Chalk Lines:
For mechanically fastened housewraps, experienced installers may ditch the chalklines. But with HydroGap SA, you want to ensure maximum bond and surface contact, so it’s critical to chalk the lines and keep the wrap as straight as possible. This will help avoid wrinkles that act at air pockets to trap air and water. And be sure to keep the wrap straight and tight around windows so flashing tape has a smooth surface to adhere to.
Learn more about installing HydroGap SA by watching our demonstration video. To set up a customized virtual training session, contact us here.