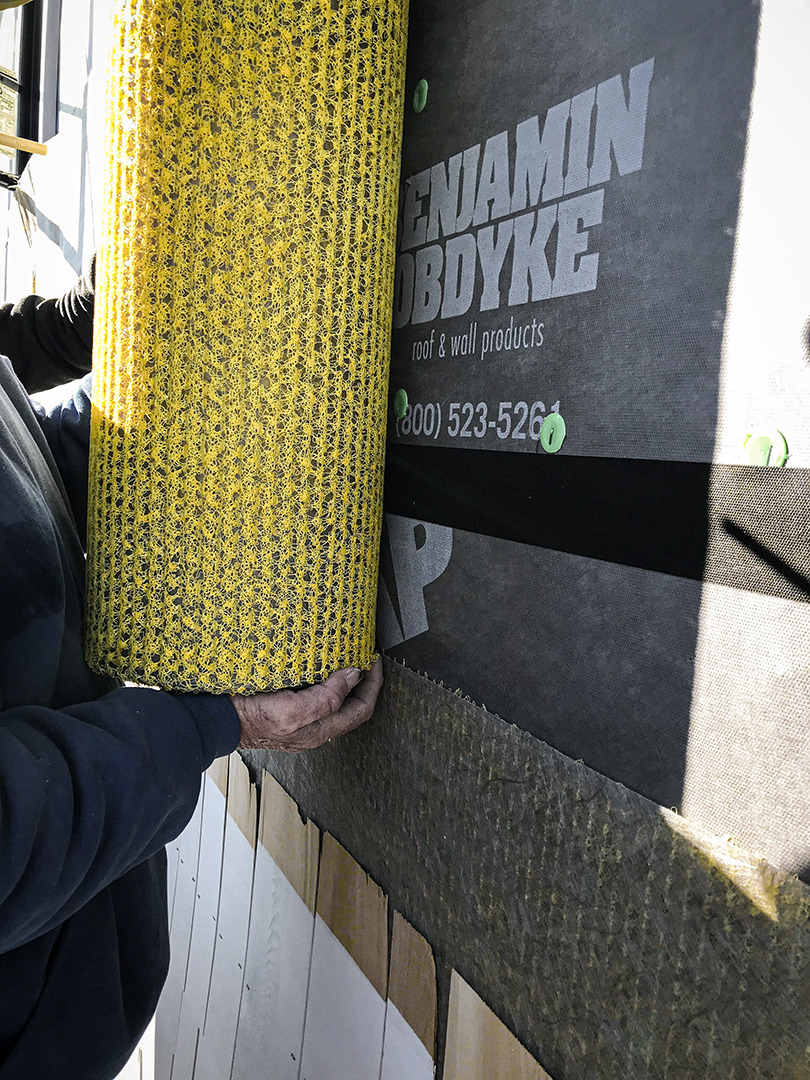
The winter months aren’t just challenging because of freezing temperatures, slippery roads, and lack of vitamin D – but because cold temperatures can affect your building materials’ performance. This is why it’s crucial to understand the technology of adhesive-based products you may want to use. Our peel-and-stick drainable housewrap, HydroGap SA, is an excellent option for the colder months due to its 100% continuous acrylic backing. This type of adhesive outperforms its butyl and asphalt counterparts because it has a higher resistance to colder temperatures, ensuring that it’s less likely to freeze.
Something to consider when working with this kind of product is the cohesion rate of an adhesive. This is determined by how it flows into the surface, and if solidified from winter temperatures, it can compromise the bond to the substrate. While you can install HydroGap SA in temperatures as low as 25 degrees Fahrenheit without a primer, applying pressure to activate the adhesive is more crucial than ever. In the long run, however, installing HydroGap SA in the winter will save you time and money while working effectively as a weather-resistant barrier. Here are some tips for a problem-free installation.
Understand the Difference Between Ambient vs. Surface Temperature
In the winter, it’s essential to keep in mind the difference between surface temperature and ambient temperature. A quick refresh if you’re unfamiliar with the terms: ambient temperature is the temperature of the environment around the building, typically the air temperature, and surface temperature is the physical temperature of the surface or the air near it.
One common mistake is that many assume the ambient and surface temperatures are often the same.
The surface might be warmer or colder than the air depending on the time of day and how much sun we have. A strategic approach is to base your application on where the sun is hitting the building and plan your schedule accordingly. For example, assuming the east-facing wall will have more sun in the morning, we advise starting there. After that, work as the sun moves, so by the time you hit the afternoon, the ambient temperature has had a chance to raise the wall surface temperature on the west-facing side. A warm surface will create a strong bond with the adhesive.
HydroGap SA Samples
GET YOUR FREE SAMPLES TODAY OF THE FIRST EVER SELF-ADHERED DRAINABLE HOUSEWRAP
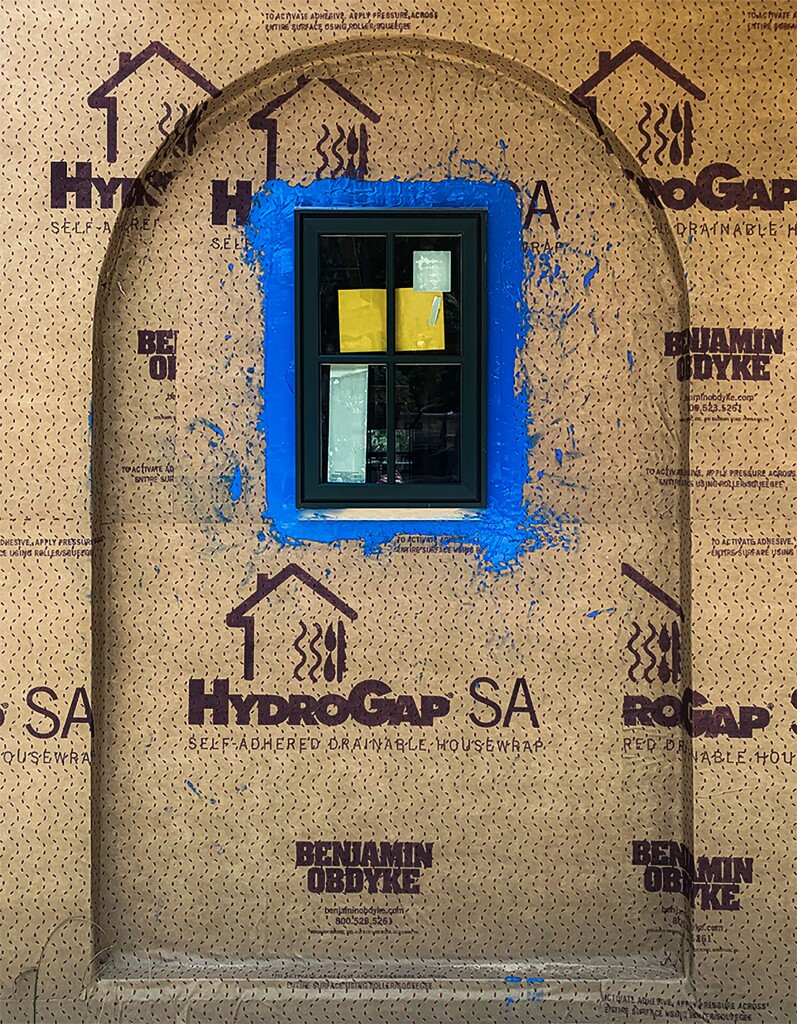
How to Prepare the Surface
Besides ensuring the surface is warm, you want to ensure it has no frost. In the winter, as the temperature, humidity, and weather fluctuate, thin layers of ice can quickly form overnight. The best action is to plan the installation based on the weather forecast. It’s not a new idea in construction that the weather determines the work you can do, and the same principle applies to using a self-adhered housewrap. If there is an instance where it’s frosted over, you’ll want to wait until it reaches at least 25 degrees to ensure the pressure you apply to the housewrap will help the adhesive flow into the substrate.
What you’ll see in the requirements for most self-adhered housewraps is the use of a primer once the ambient temperature falls below 40 degrees Fahrenheit. What’s unique about HydroGap SA is that it doesn’t require a primer, reducing the amount of time it takes to install. We see frequently asked questions about the absence of a primer because of the past requirements of it for butyl or asphalt housewraps, but our product performs better directly on a cold surface than on a primed one. In fact, tests conducted by Benjamin Obdyke concluded the use of a primer hinders the performance of the product. By omitting the need for a primer, you’re able to save time and money.
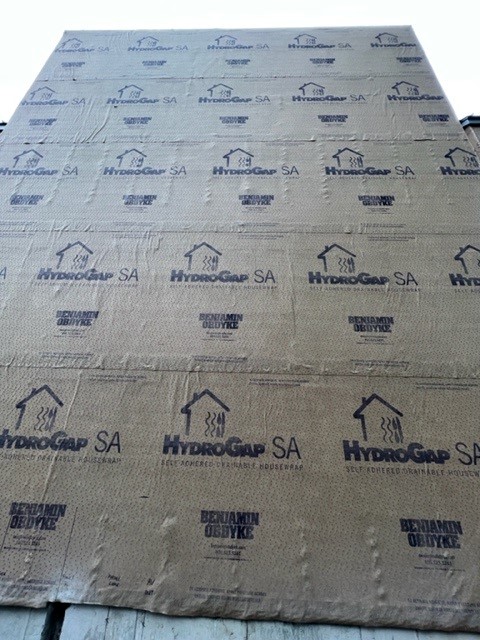
How to Store It
We recommend storing HydroGap SA above 40 degrees Fahrenheit. Store the product in a climate-controlled office trailer or somewhere you know will have the appropriate ambient temperature. This ensures the product is ready to install when you are.
The Way Adhesive Type Affects Performance
The capability of the weather compromising the performance of an adhesive comes down to the type. For example, Butyl-based adhesives, which are rubber, enter a more solidified state in the cold. Something to note about these is that a butyl-based product’s initial tact or bond tells us what the performance will look like in the long term. So, if it doesn’t adhere in the beginning, it won’t improve as it ages. With acrylic, the initial tact is strong, but as it continues to cure, it will get stronger over time, ensuring the longevity of the product and the envelope it supports. So, in a cold-weather application, acrylic is the most advantageous. Learn more about the different adhesive types here.
As technology advances with acrylic adhesive, there is a learning curve that goes along with it. Some things you think you must do, due to experience with peel-and-stick butyl and asphalt products, aren’t necessary for HydroGap SA. For example, there is no need to worry about blow-off, an increased chance of moisture problems, or a failed system. If you’re following best practices, sealing off openings when stopping for the day, and keeping in mind what you learned in this article, using HydroGap SA in the winter will prevent air and moisture intrusion while saving you time and money.