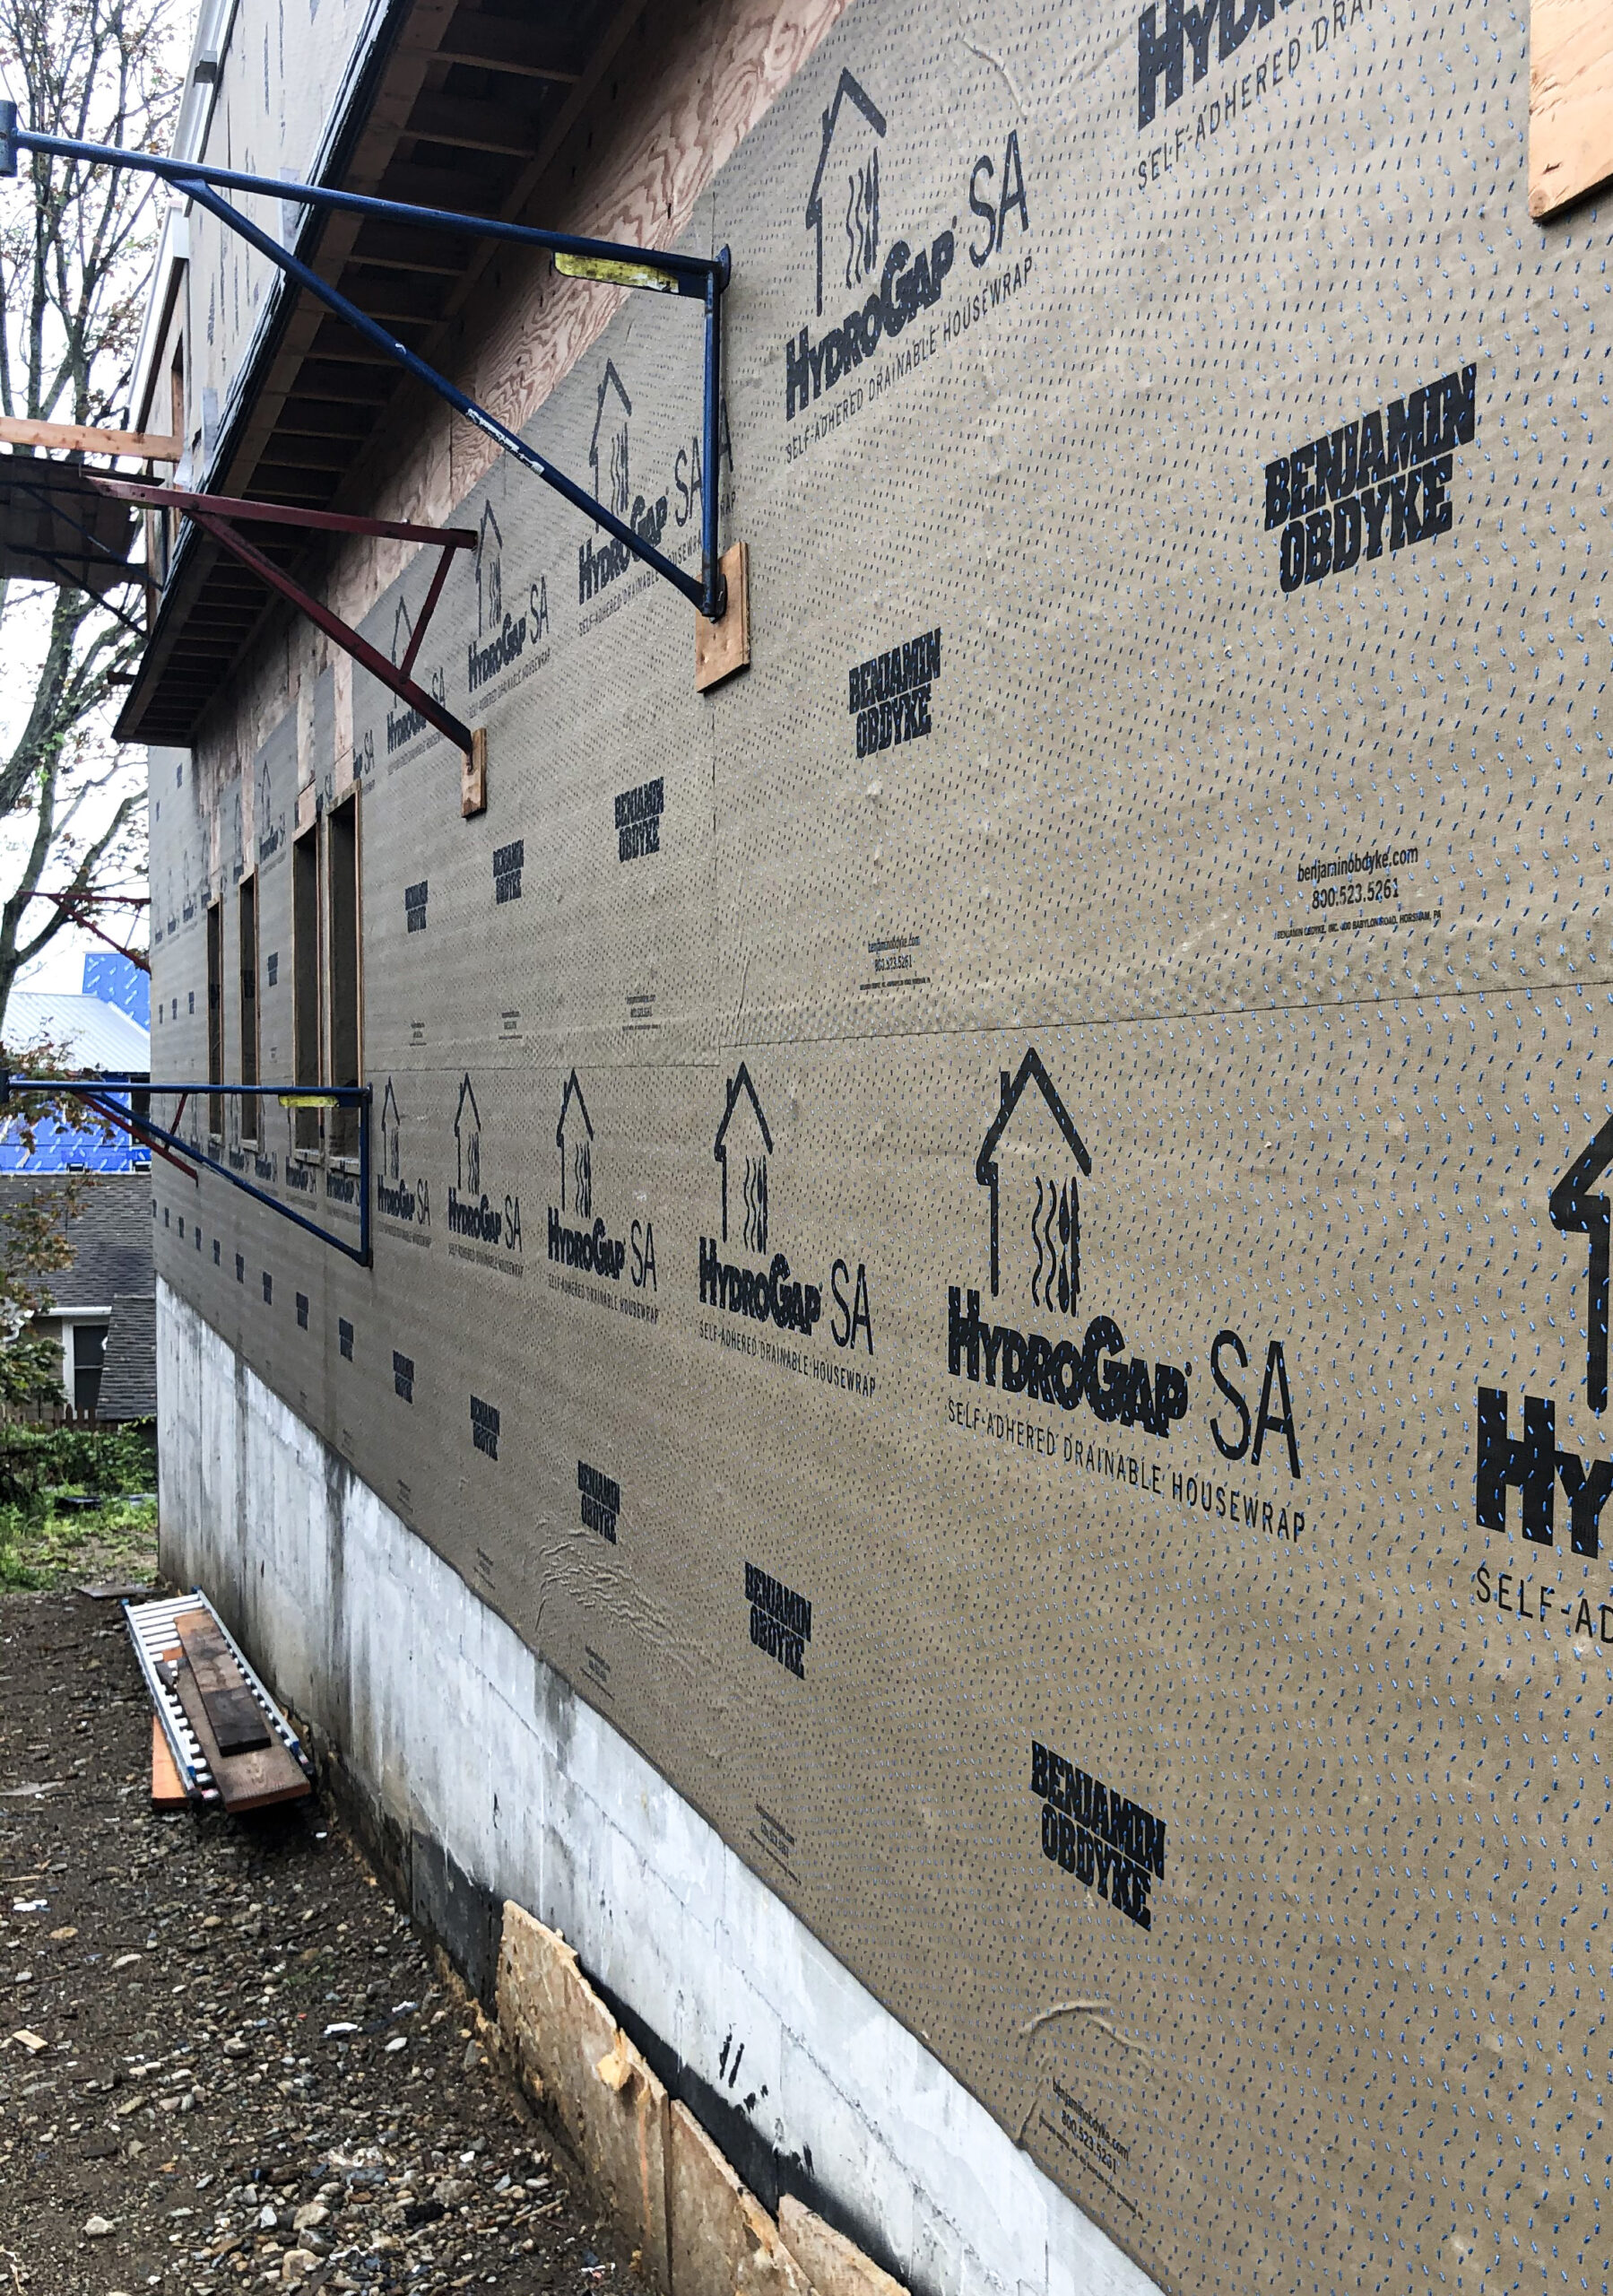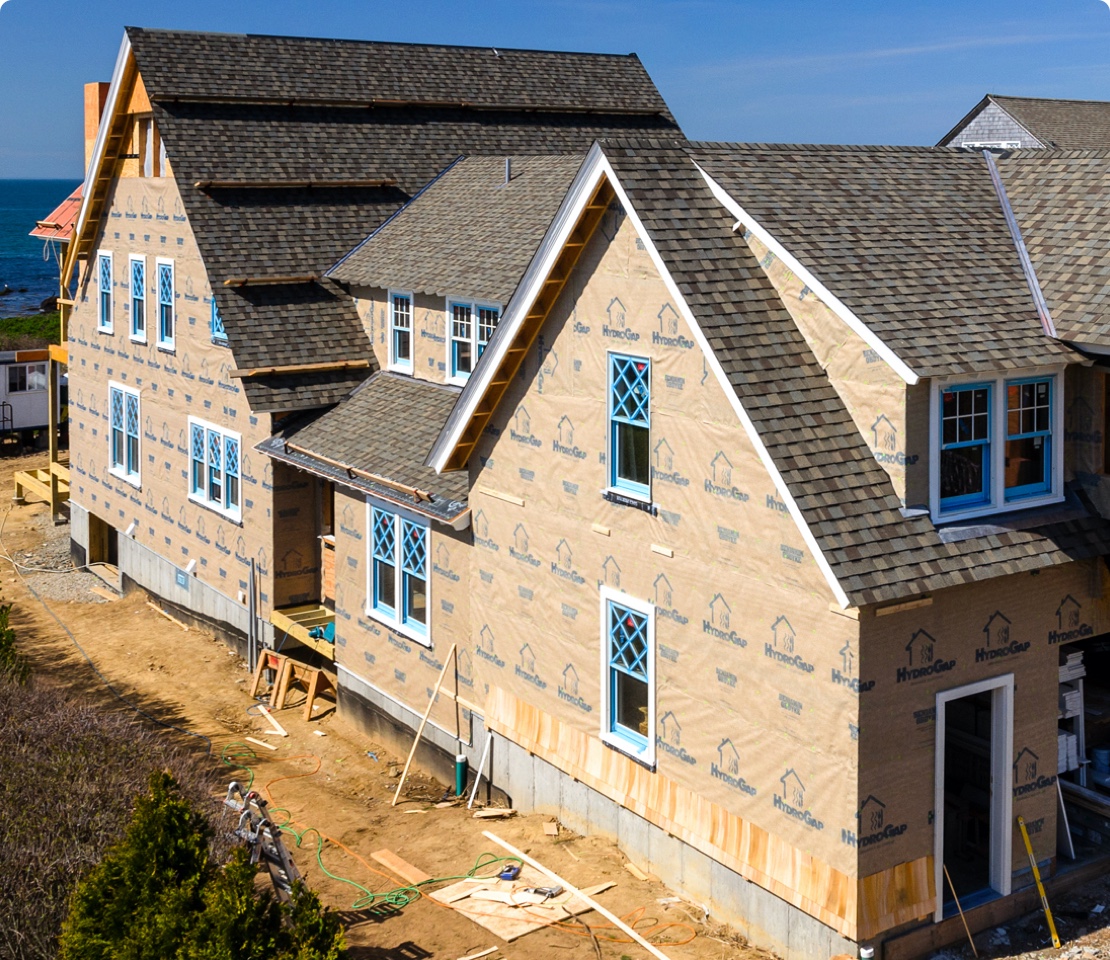
The home’s weather-resistive barrier (WRB), or housewrap, is an essential component of a high-performance wall system, helping to block moisture and, in the case of self-adhered housewraps, control air movement. But no matter the WRB’s quality, proper installation is essential to ensure the product works as designed.
First and foremost, always follow manufacturer instructions for WRB installation as well as for all of the products in the envelope. (You can find all of ours here.)
In addition, here are a few common mistakes we see when it comes to WRB installation.
1. Failing to Pre-Plan, Think as a System, and Collaborate
Proper installation starts with careful planning and coordination across trades. Because the building envelope has so many interacting parts, it’s crucial to look at the walls and roofs collectively, not just as individual products. This will help ensure the entire envelope works as a system to keep moisture and air out, preserve thermal efficiencies, and protect the structure.
Thinking of the walls and roof as a system requires consideration of their layers—how to maintain continuity of those layers as you move from one area to another so that moisture and air follow the right paths scientifically proven to protect the home.
Use pre-construction meetings to ensure every trade understands their role in maintaining the continuity of the envelope layers and how their areas intersect with others.
2. Neglecting to Verify Product Compatibility
Some building materials are not chemically compatible with one another. When incompatible materials come into prolonged contact, they may degrade over time, reducing performance or causing premature failure. Verify that products that will be touching each other are chemically compatible. This includes your housewrap with your windows and window sealant, flashing, and the siding itself. To make things simple, all Benjamin Obdyke envelope products are compatible with each other.
3. Layering Housewrap Improperly
Housewrap should be installed in shingle-lap fashion; begin at the base of the wall assembly, and overlap each subsequent layer on top. Be sure the housewrap and flashing installation provide a positive drainage path down to the exterior of the assembly. Extend the housewrap a minimum of 2 inches over the sill plate. Overlap all horizontal seams by at least 4 inches, all vertical seams by at least 6 inches, and corners by 12 inches.
4. Detailing Windows Incorrectly
Installing housewrap and flashing around windows requires more than this paragraph can provide (see our installation instructions for step-by-step guides), but the most important part is the installation plan. Determine if you’ll be planning a fold-in or windows-first approach and then tailor your cuts and sequencing accordingly. Most manufacturers have education and training specific to window integration. As just one example, check out our video detailing windows-first installation.
5. Failing to Account for Exterior Insulation
In climate zones where exterior foam board is needed, the added thickness will affect your window flashing because the window may sit flush or may have a deeper recess. Learn more about how to adapt your window installation accordingly by speaking with one of our technical experts, and read our previous blog post on flashing windows with exterior insulation.
6. Leaving Housewrap Exposed for Too Long
UV rays can impact building materials in many ways, and the WRB is no exception. Long-term UV exposure can break down the protective control layer of a weather-resistive barrier, which could compromise performance and cause premature failure.
For residential projects, scheduling is the most important factor in avoiding extended UV exposure beyond what the housewrap manufacturer recommends. The exterior shouldn’t be dried in with the housewrap until the siding selections and delivery are confirmed. In addition, schedule subcontractors accordingly to avoid delays.
For projects more likely to encounter a longer period of time from drying-in to cladding installation, specifiers should err on the side of caution and use housewrap products designed and tested to withstand longer UV exposure, such as InvisiWrap UV and InvisiWrap SA.
7. Installing Self-Adhered Products on a Dirty Surface
When installing a self-adhered housewrap like HydroGap SA, prepare the surface so that it is as clean and dry as possible; this will allow the housewrap to adhere more effectively. For plywood and OSB sheathing, gently bang on the wall with a hammer to vibrate out any remaining sawdust; you also can use a push broom or compressed air to blow it off.
8. Not Applying Adequate Pressure to Self-Adhered Products
Acrylic adhesives require pressure to fully activate, and using your hands alone is not enough. A push broom is an easy option, particularly for drainable housewraps because the bristles reach between the dimpled gaps. In small areas or for flashing, a small scrub brush or credit card-style hand applicator will do the trick.
If you’re new to installing housewrap or just want to brush up on your skills, lean on Benjamin Obdyke for support. Check out our resources page for instructions, videos, white papers, and more. Or for one-on-one help, sign up for a virtual jobsite visit.