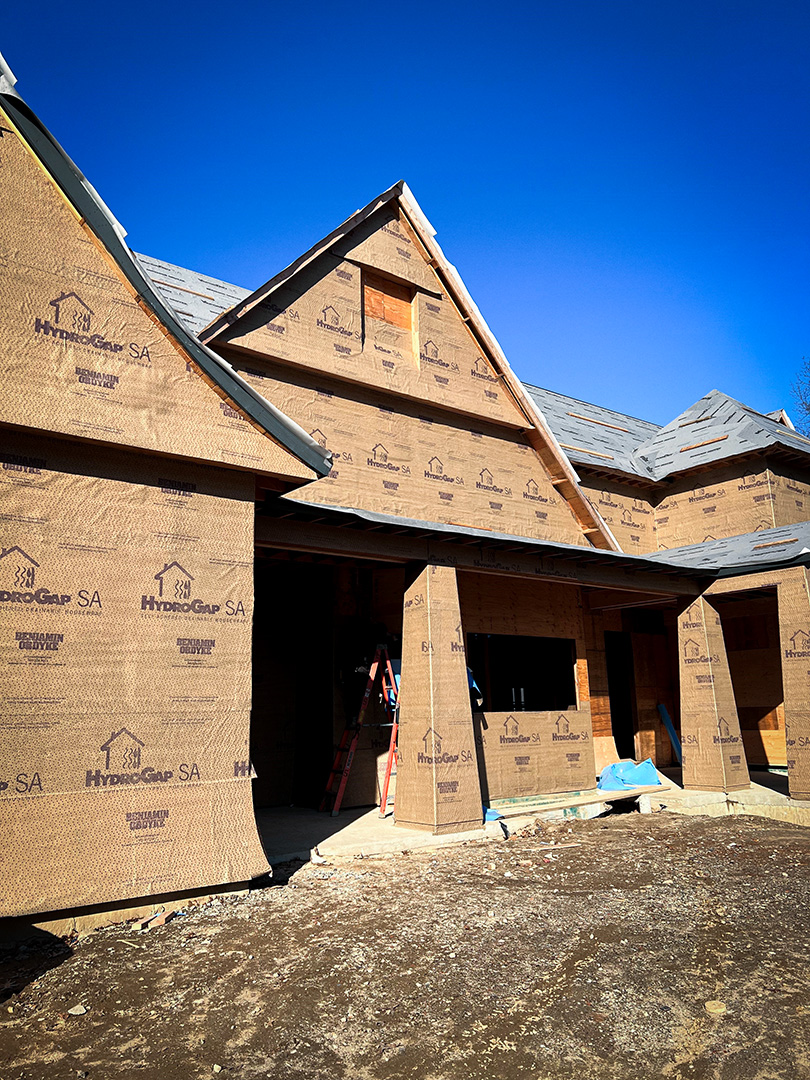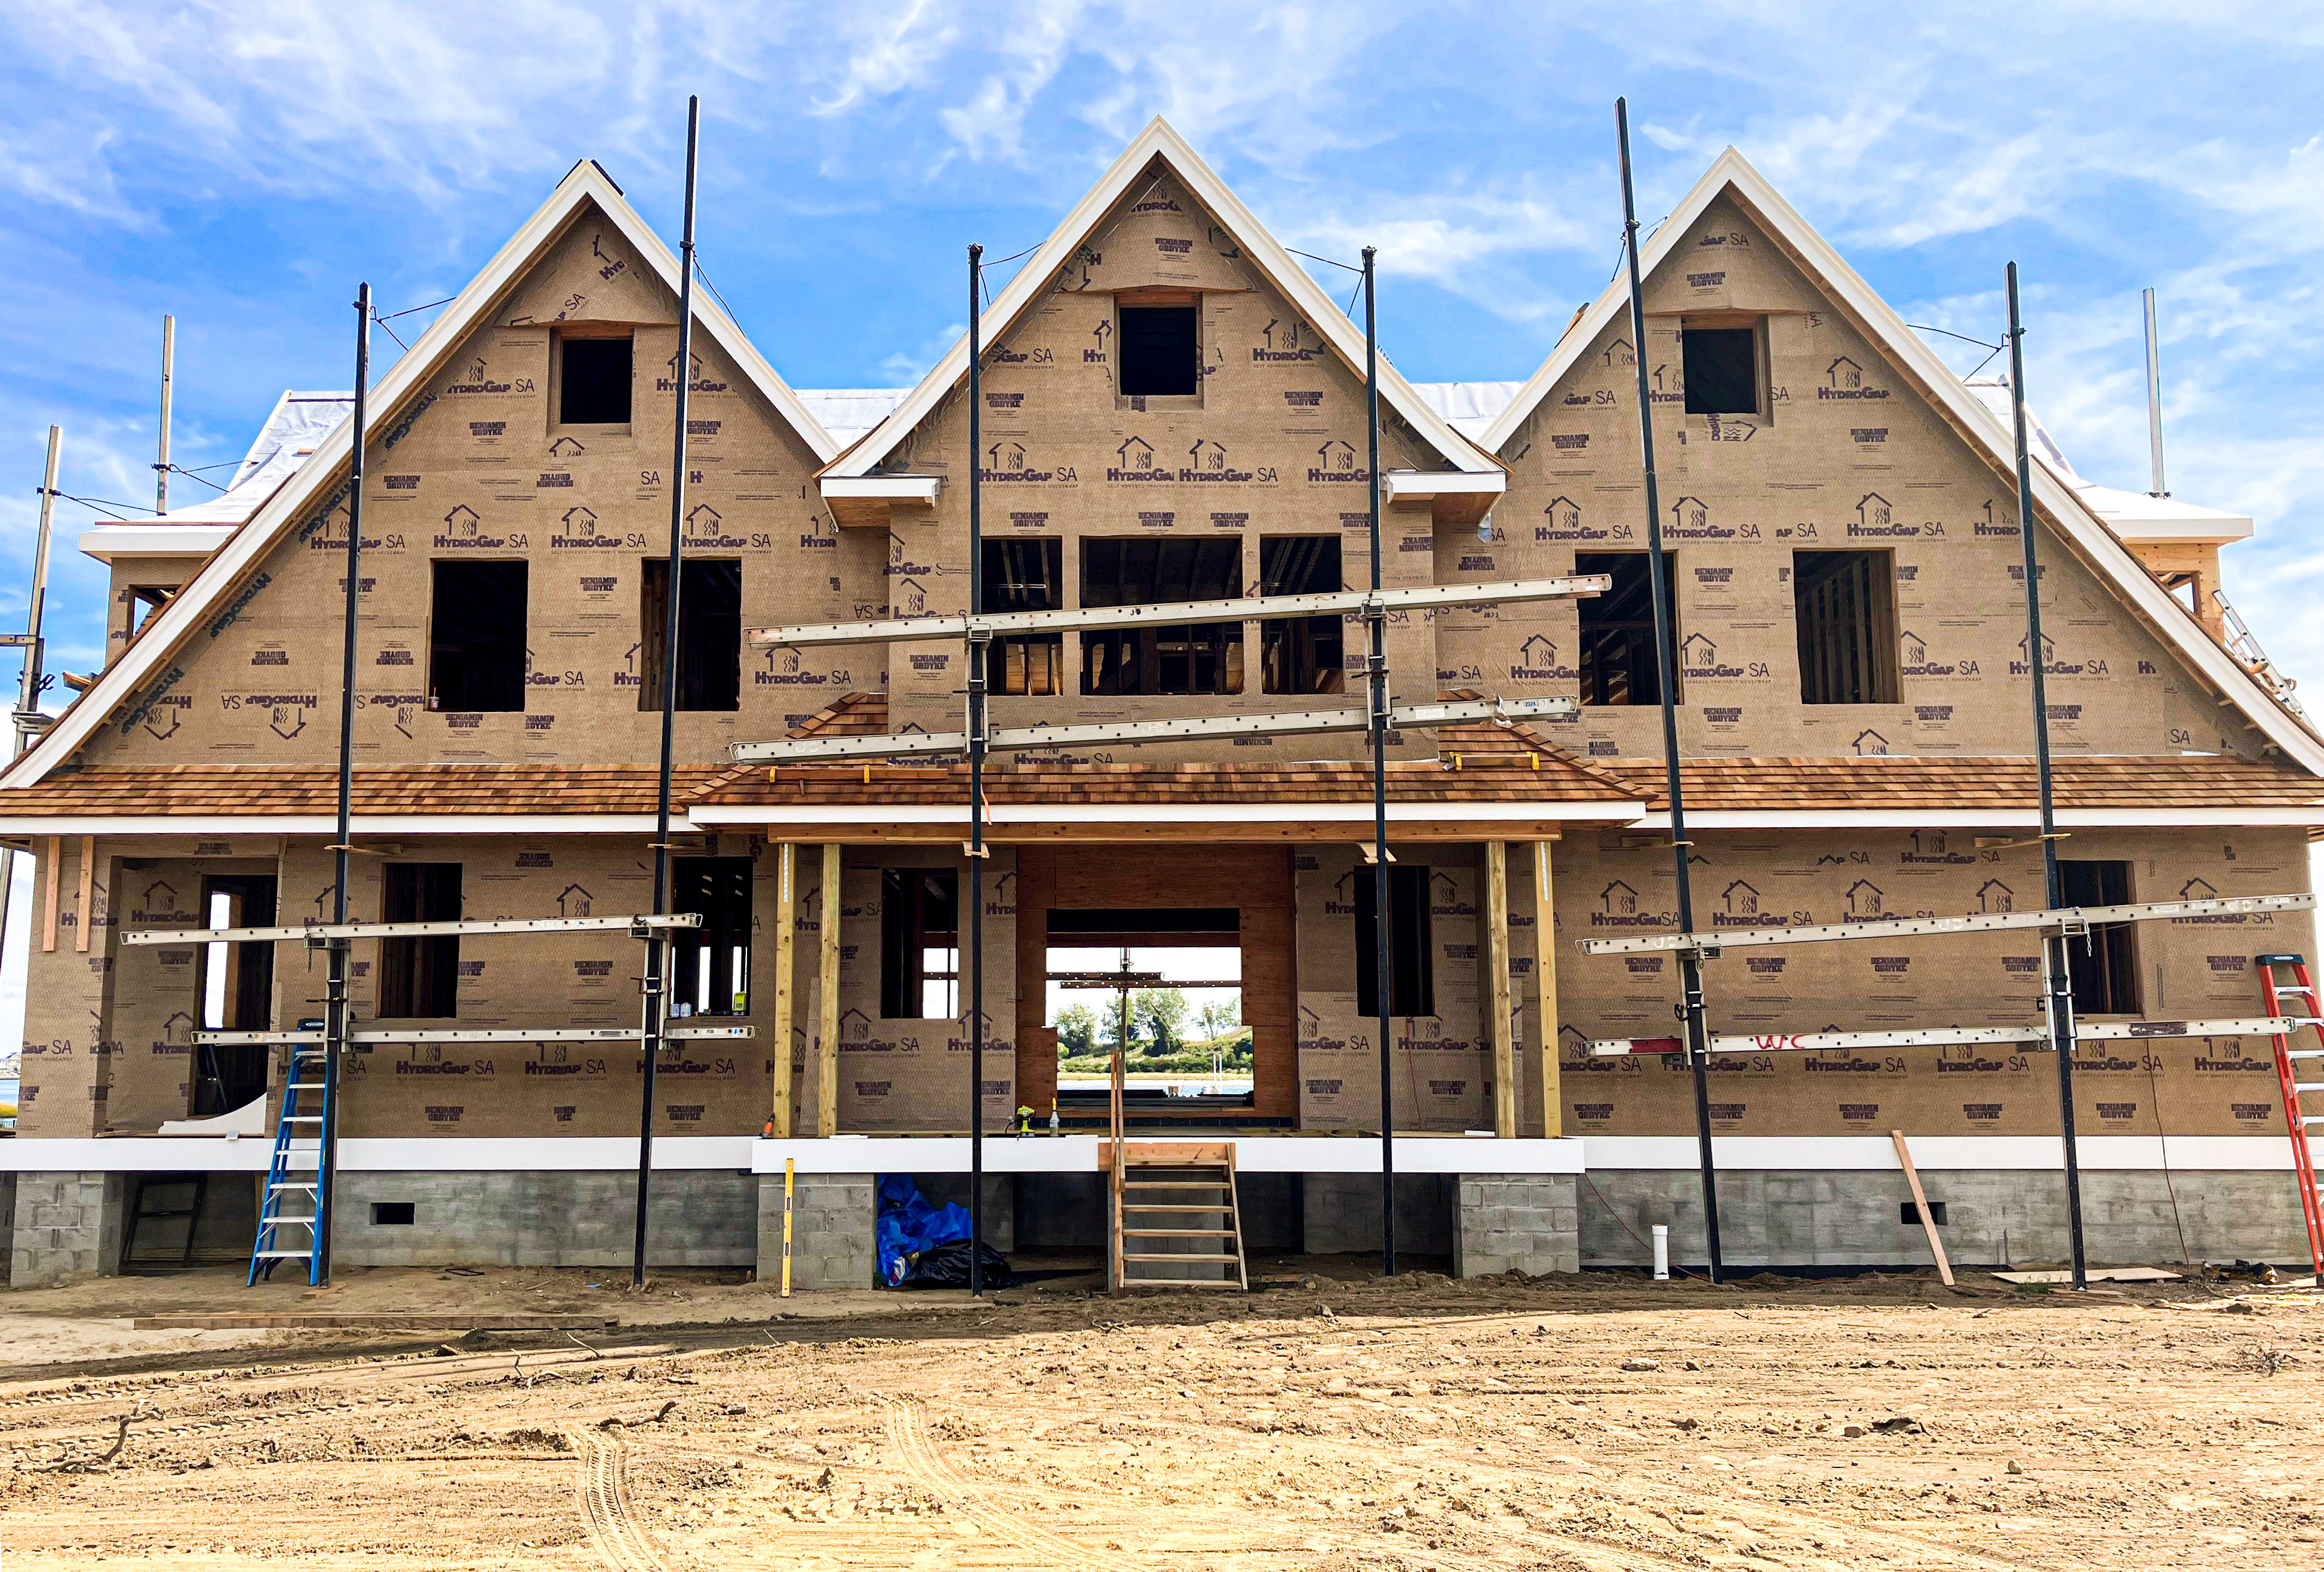
Installing continuous insulation to the exterior of the building envelope can add an extra R-5 insulation value while helping to eliminate thermal breaks and assisting in elevating the efficiency of the wall system and home itself. But like any element of the wall system, it’s important to consider how the integration of exterior insulation board will impact the other elements around it.
Adding insulation board to the exterior of the wall system puts the water control level out of plane, out of a single layer, which can create confusion on how to make that plane continuous and therefore maintain the directional flow of water that gets behind the cladding.
How to Flash Windows When Using Exterior Insulation
If including exterior insulation board in your wall system, how you flash windows depends on if those windows are “innie” windows (flush with sheathing) or “outie” windows (flush with the continuous insulation.
Whether you are installing the insulation board on top of or underneath the weather resistant barrier, the water control layer must be connected and in contact with the window. This can be challenging in some combinations.
An innie window is fairly straightforward in this application because it has a deeper exterior recess and will require larger pieces of trim or metal to make up the difference in thickness with the exterior foam. Depending on the window, it’s easiest to install the housewrap on the sheathing, in line with the window, which then allows for a traditional flashing application.
An outie window is more challenging and offers several options. Often, installers will add the weather resistive barrier on top of the foam, which will keep the WRB layer and flashing detail in line with the window. Installers will need to ensure that at termination points, such as the bottom of the wall, the flashing detail is under the 2” of foam projection and onto the foundation. The WRB will need to be placed perfectly to ensure no water gets in.
However, installing the WRB onto the insulation board can trap water between the insulation and the sheathing; the insulation eliminates much of the heat that would have provided drying potential.
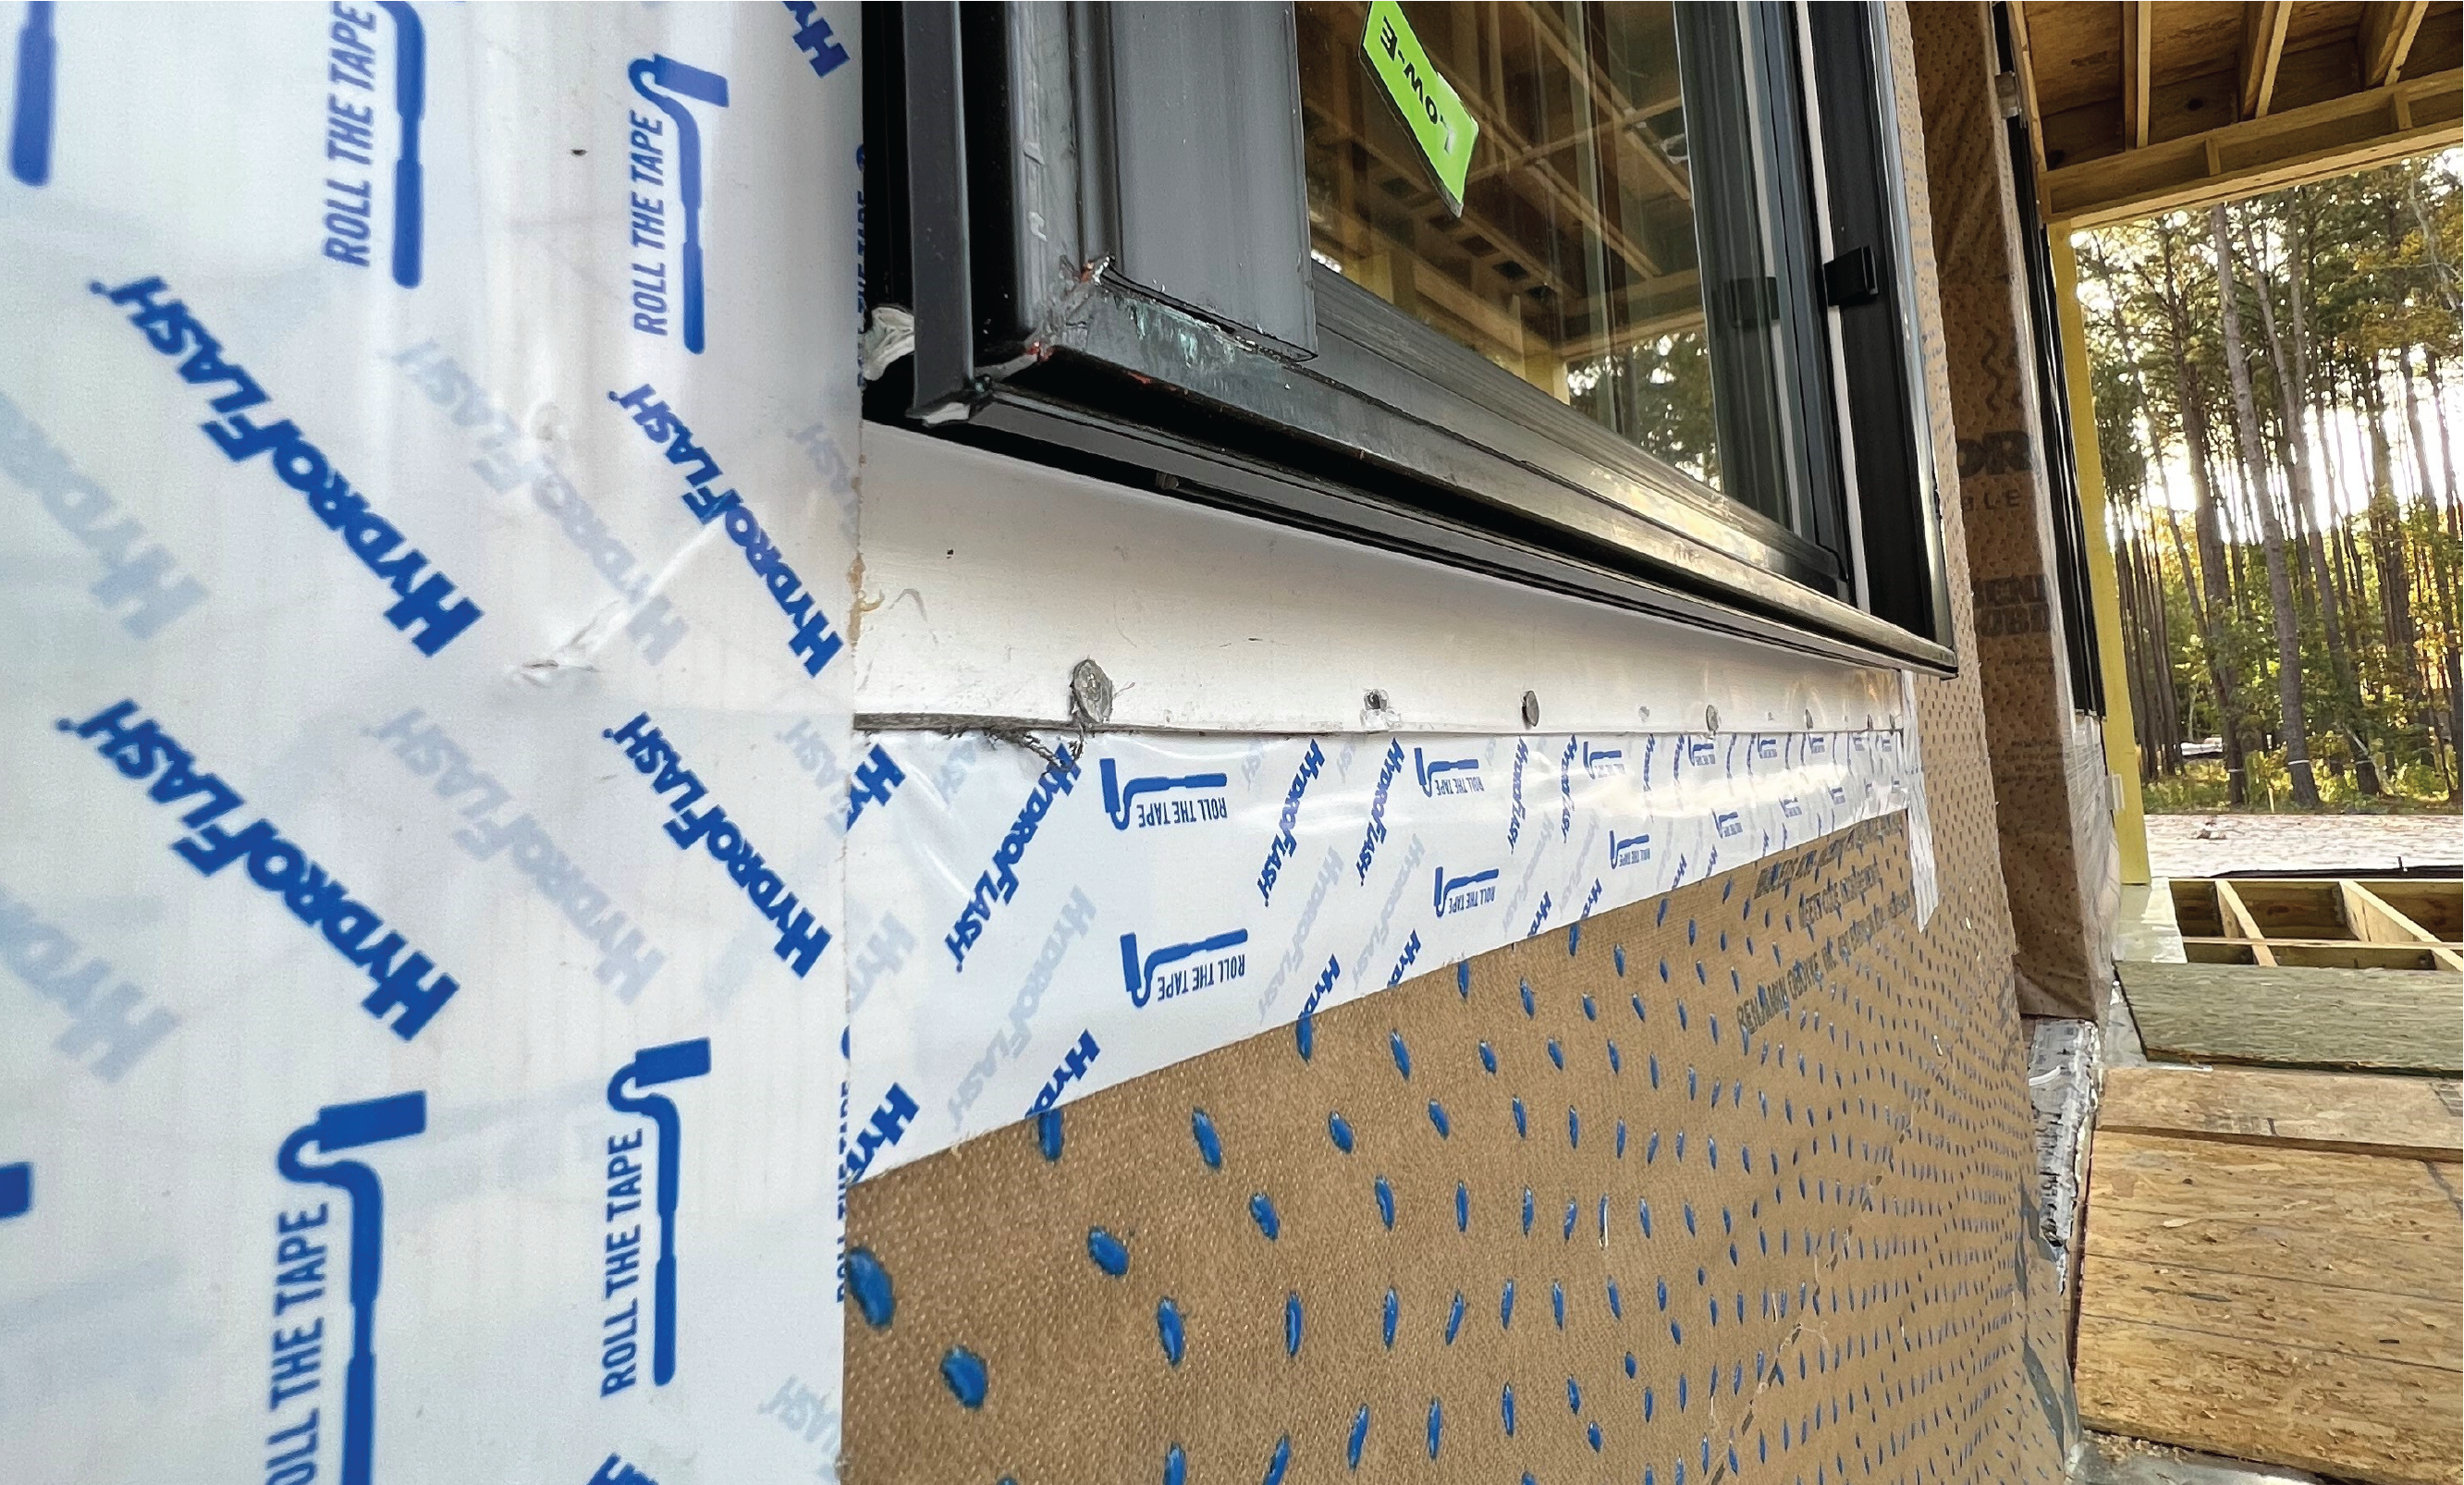
Installing a drainable housewrap like HydroGap SA on top of the sheathing instead of on top of the insulation board gives the water a path to drain away. If the WRB is installed against the sheathing and then you install an outie window, the plane is now flush with the insulation board, projecting out from 1” to 3”. In this scenario, flashing the window with straight flashing requires careful attention to proper sequencing, working from the bottom and shingle lapping to the top.
One way to make both applications easier is to use a liquid-applied flashing like HydroFlash LA. Rather than having to worry about precise sequencing, a liquid-applied flashing simply gets applied to everything around the window that is part of the water control layer. For the outie application, a second flashing layer, using peel-and-stick tape, is then added over the window flanges using a shingle method.
To see these installation practices in action, check out our video, “HydroGap SA & Exterior Foam Applications”:
Another advantage to using HydroGap SA in these applications is that it seals around the fasteners for the insulation board and the cladding, ensuring integrity of the water control layer.
Have questions about designing wall systems for your Climate Zone and how to meet requirements while protecting the building envelope? Sign up for a virtual jobsite visit.