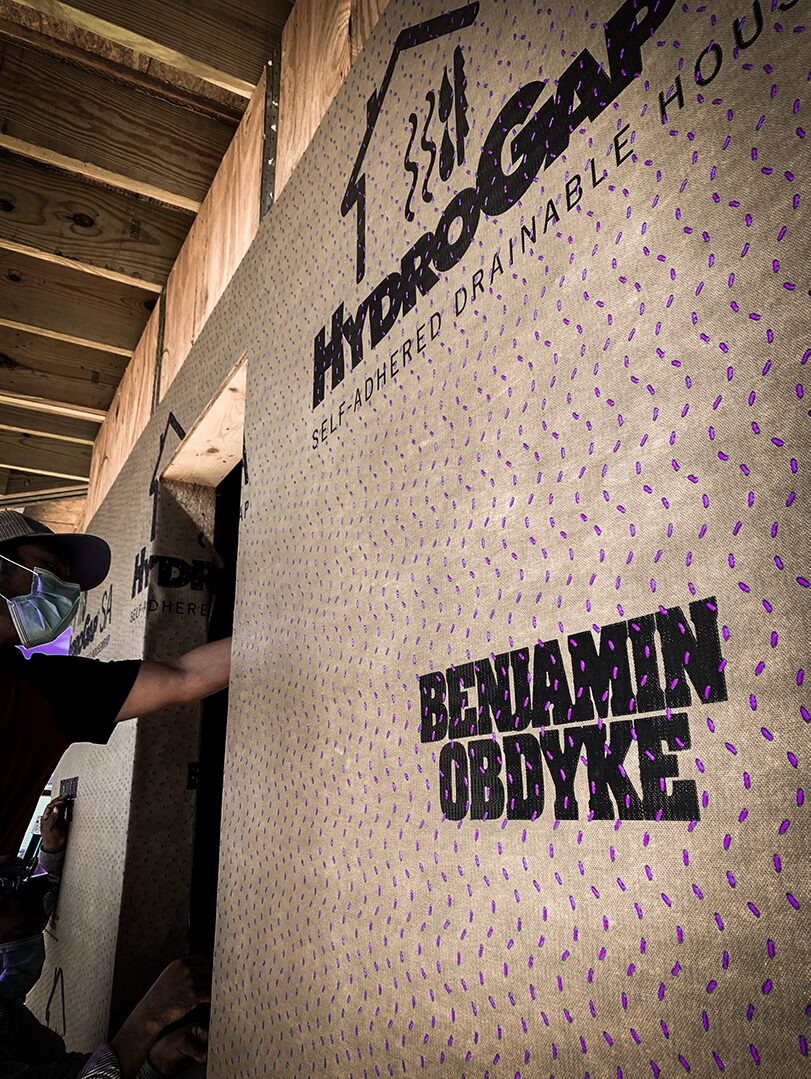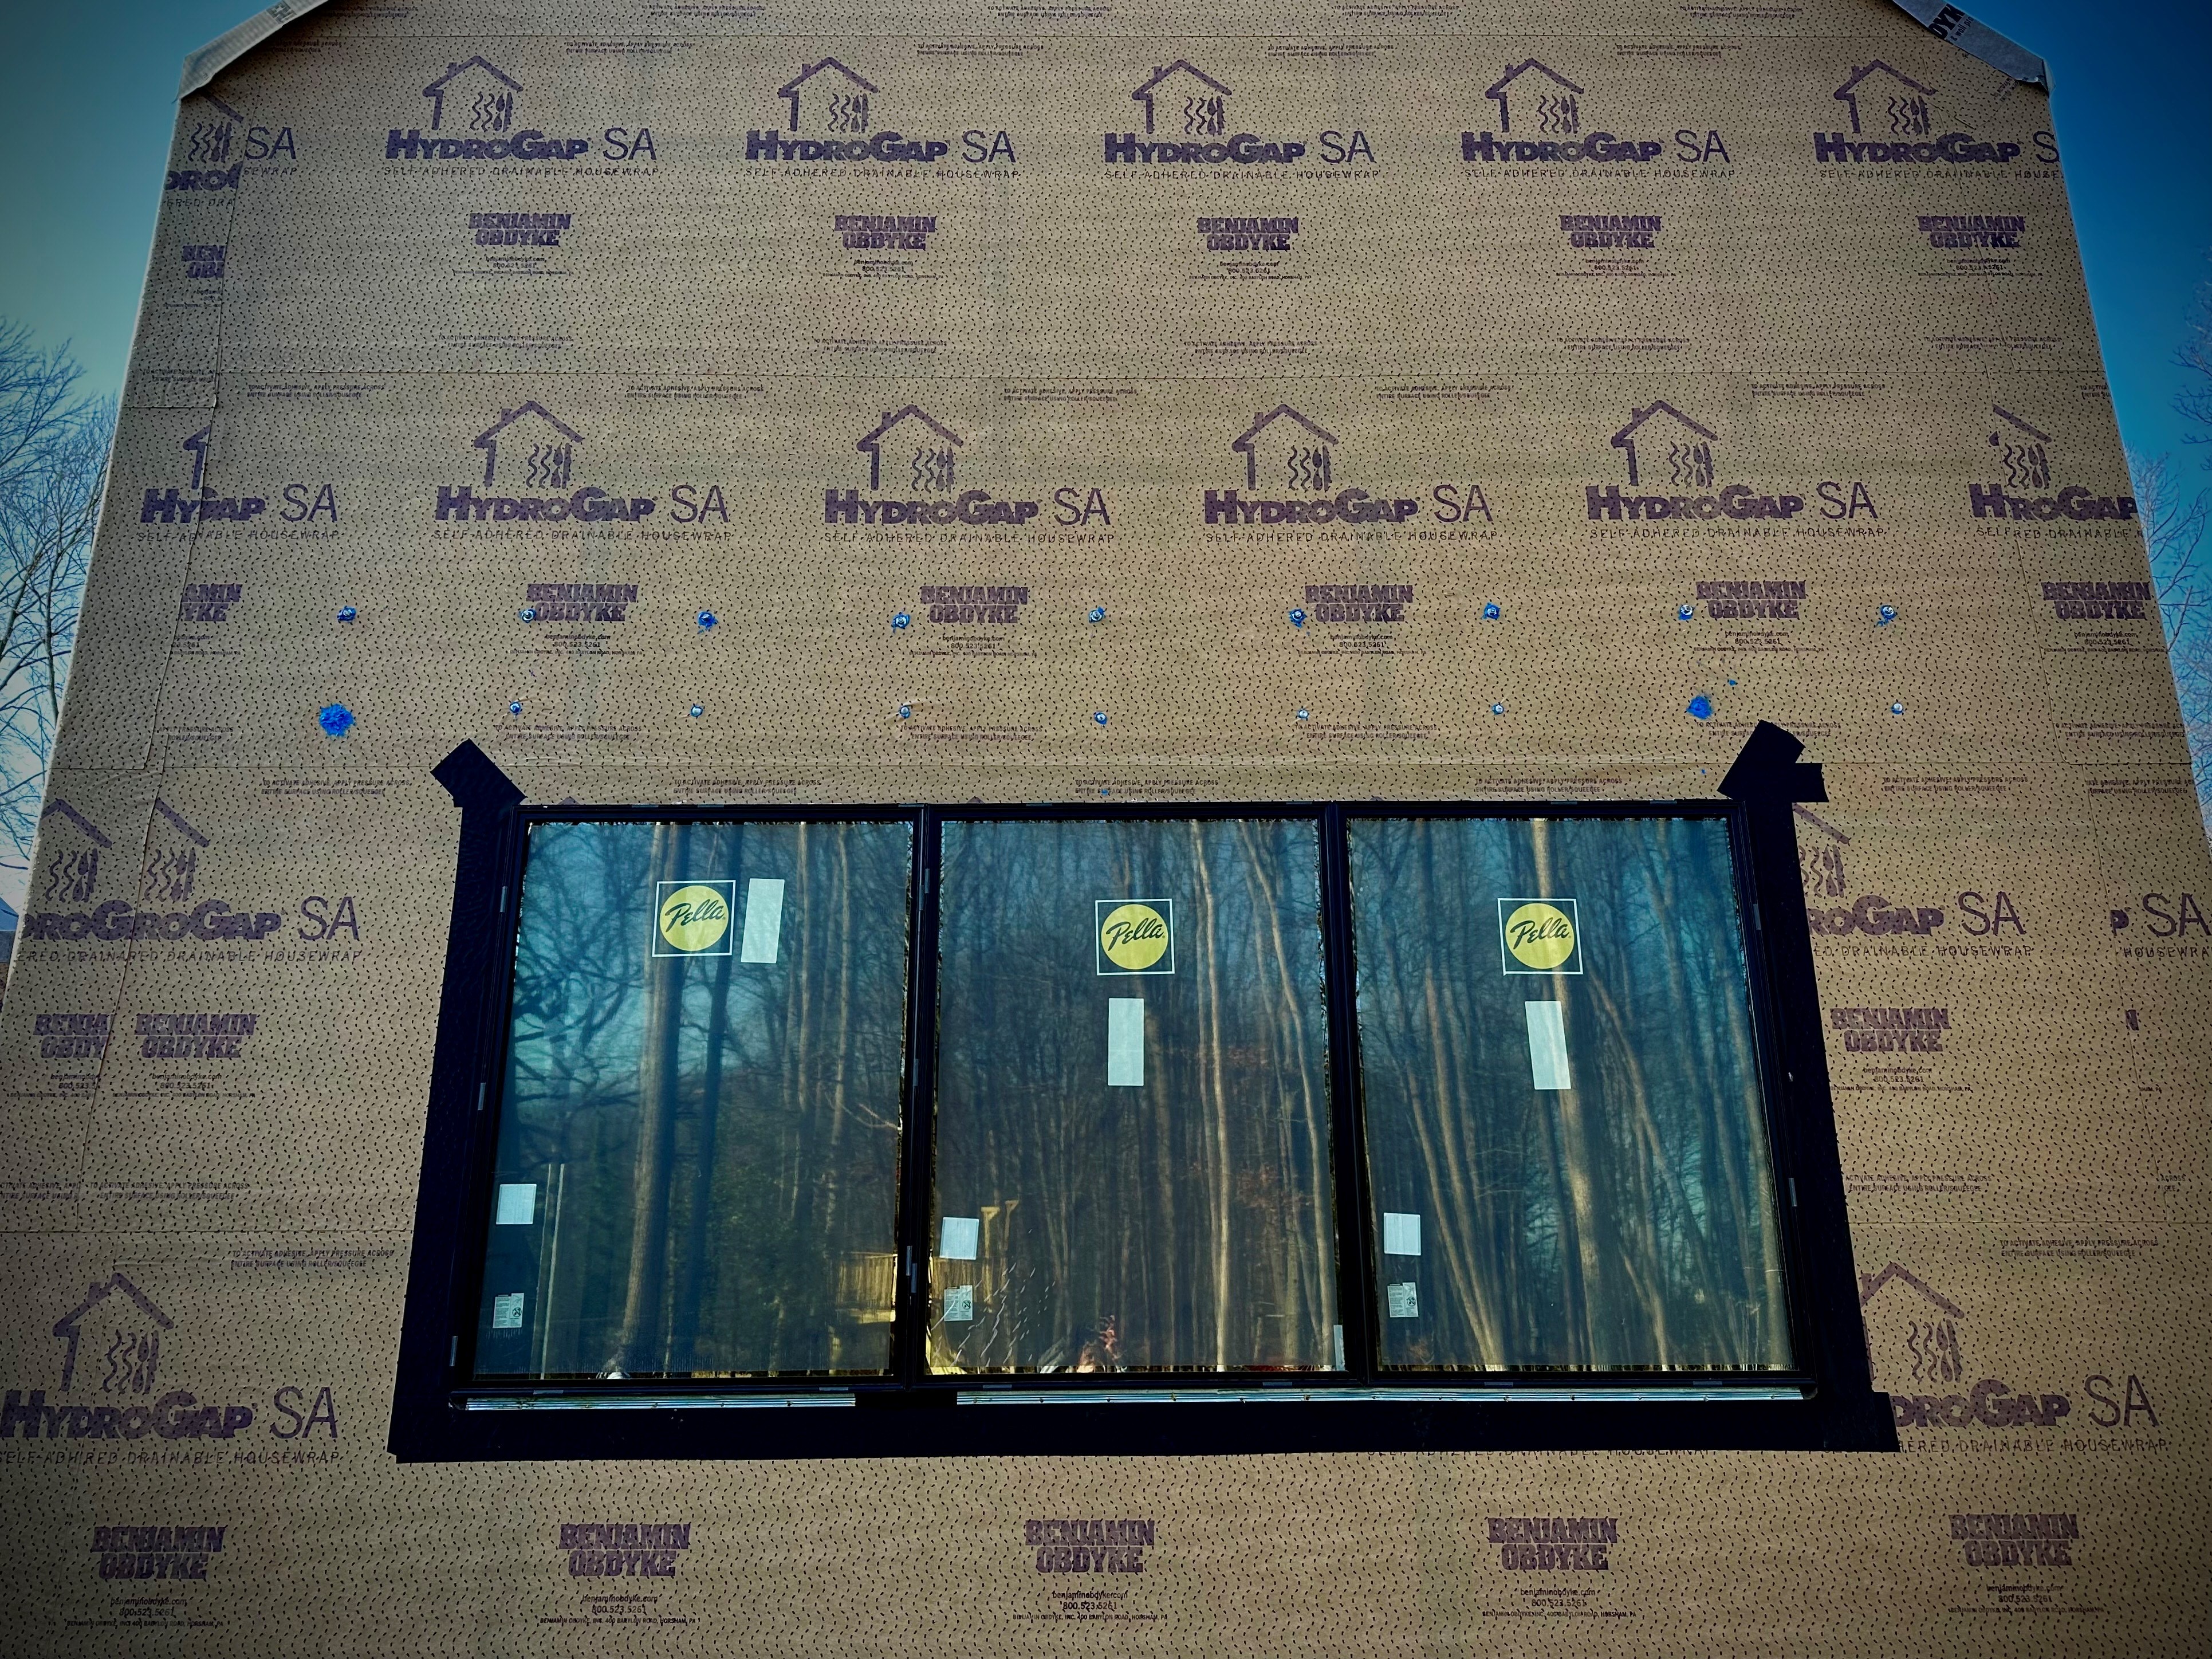
Properly sealing wall penetrations is vital to prevent moisture and water from entering the building structure. Common wall penetrations include plumbing pipes and venting, mechanical ductwork, electrical wires and conduits, as well as windows and doors. With multiple trades and subcontractors collaborating, clear communication is essential to identify intersections in their work and ensure proper protection.
Follow these four steps to effectively seal wall penetrations in the building envelope.
Step 1: Identify Penetration Locations
The first step to properly seal wall penetrations is to identify penetration locations and define what trade or subcontractor is responsible for that area. Look for obvious gaps and holes around pipes, ducts, and wires. Once you determine the locations and the subcontractors responsible, collaborate on scheduling to establish in which order the penetrations need to be addressed.
Step 2: Select the Right Products
The next step is to identify what products to use. For exterior penetrations, a flashing tape or liquid flashing product is ideal. Benjamin Obdyke’s liquid-applied flashing, HydroFlash LA, can be an easy solution to create a monolithic seal, especially around difficult shapes and angles and in high-moisture areas. This eliminates the extra work of cutting and bending tape-style flashing in geometrically complex areas.
For less complex penetrations, HydroFlash GP and HydroFlash UV+ acrylic adhesive tapes are another great solution. HydroFlash GP can be used around the window, and because it’s vapor-closed, it’s well-suited to areas of the house where no moisture transfer is the goal.
HydroFlash UV+ was designed to withstand extreme conditions and UV exposure. This tape is vapor permeable, which allows drying potential of the sheathing the flashing is applied to. Its abrasion-resistant facer is an ideal option for sills and areas more prone to damage during installation.
For a more detailed breakdown of what types of flashing to use where, check out our blog on choosing the proper flashing type based on application, geographic region, and more.
HydroFlash UV+ Samples
GET YOUR FREE SAMPLES TODAY
Step 3: Make Cuts
Once you determine locations and products, it’s time to make careful cuts and openings through the already installed housewrap. The penetration type will determine the angle and degree of the cut. It’s best to minimize the amount of cutting to avoid damaging the surrounding areas and to provide as tight of a pass through as possible.
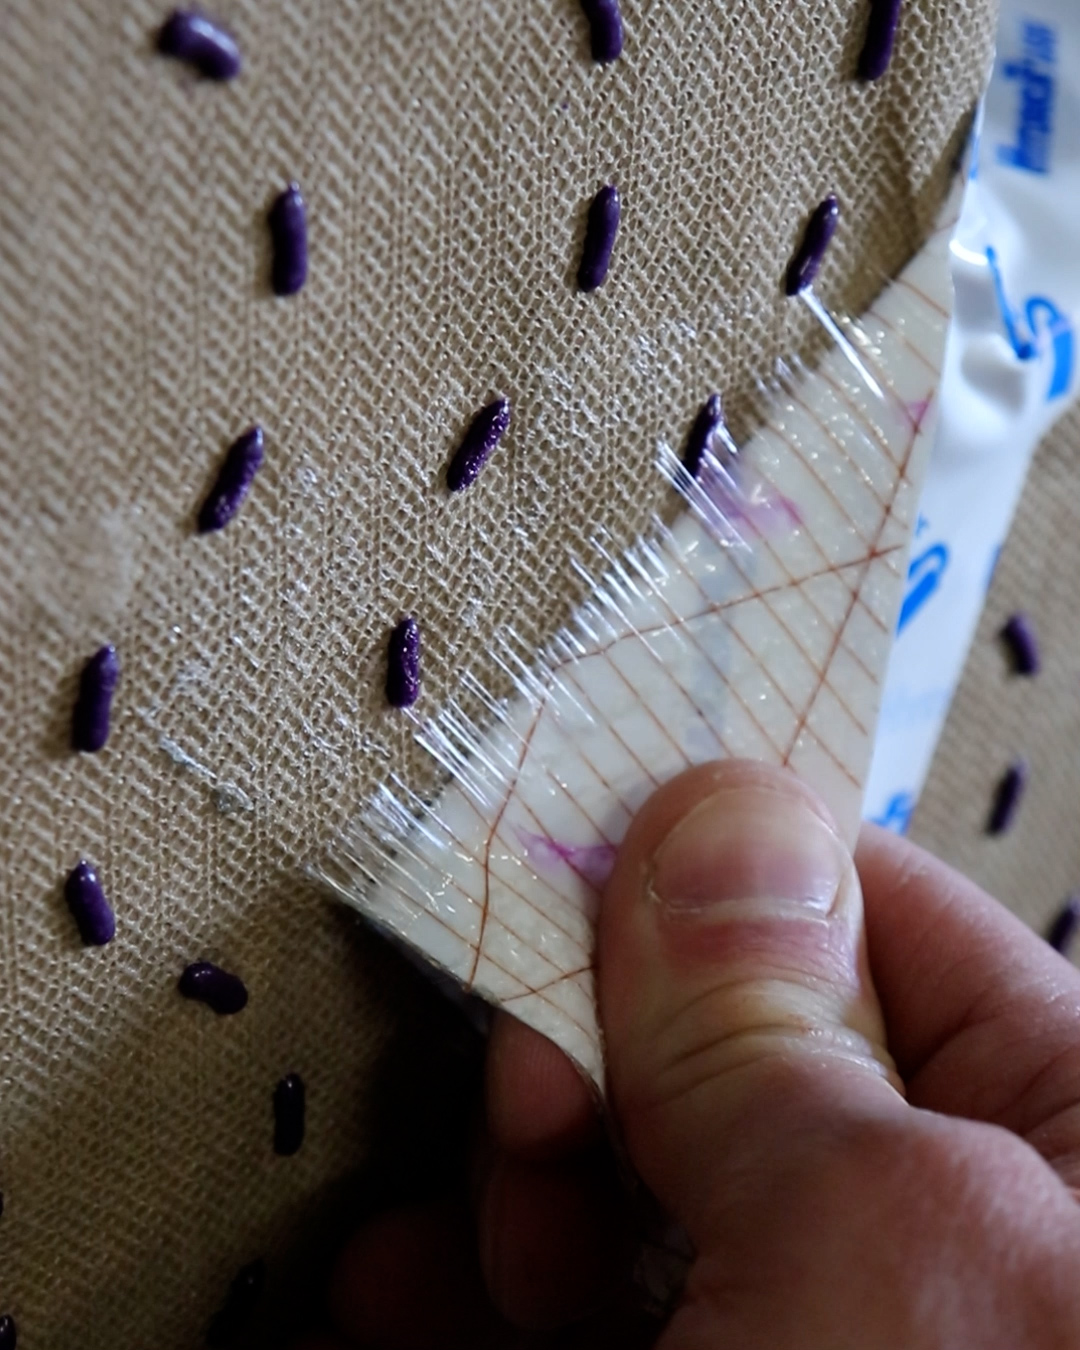
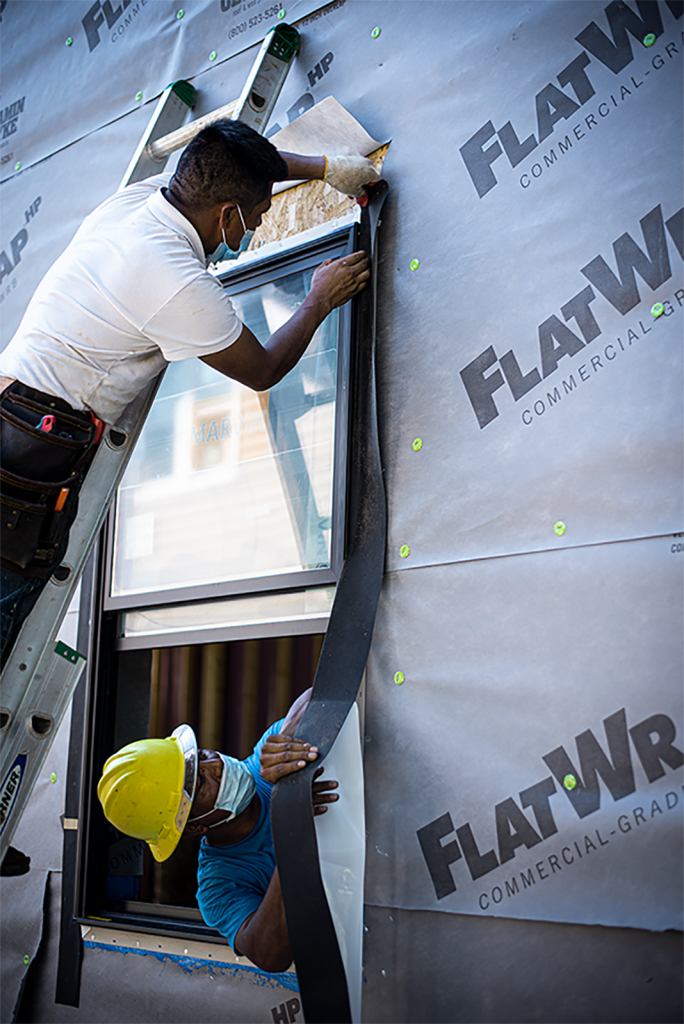
Step 4: Install the Flashing
Whether using a liquid-applied flashing or tape, ensure you have enough overlap onto the surrounding materials and the component passing through the wall assembly. When using tapes, it’s important to maintain proper shingle overlapping to allow water to shed off the assembly. Start from the bottom, then overlap the sides, and finish with the top layer to ensure water sheds downward.
Follow the manufacturer’s recommendations and guidelines for proper installation of the sealing materials.
For our recommendations, visit our installation instructions library.
Mistakes to Avoid
The biggest mistake to avoid is not flashing your penetrations at all. Be sure to flash, as it is the only way to prevent water from entering the openings in the building. Failing to flash wall penetrations can lead to a variety of serious issues, including water damage, energy loss, and structural deterioration.
Another mistake is not maintaining the continuity of proper shingle overlapping and sealing around an opening. A continuous seal ensures there are no small gaps or holes for water to leak into or air to leak out of.
For support on properly sealing wall penetrations, contact us or schedule a virtual jobsite visit.