As mentioned in a previous blog post, the 2021 International Residential Code (IRC) included new requirements for exterior insulation that will impact the way you design and install your wall systems.
Specifically, the new changes increase insulation requirements for Climate Zones 4 and 5 which will require R-30 cavity or R-20 cavity + R-5 continuous insulation or R-12 cavity and R10 continuous insulation. With the change, the two Climate Zones join zones 6, 7, and 8 in requiring exterior insulation, which increases R-value and helps reduce thermal bridging.
Making this change isn’t as simple as nailing on a layer of foam board. It’s important to consider how the integration of the additional material will impact other areas of the wall system and therefore the envelope’s ability to prevent moisture and air intrusion.
Exterior insulation and window flashing
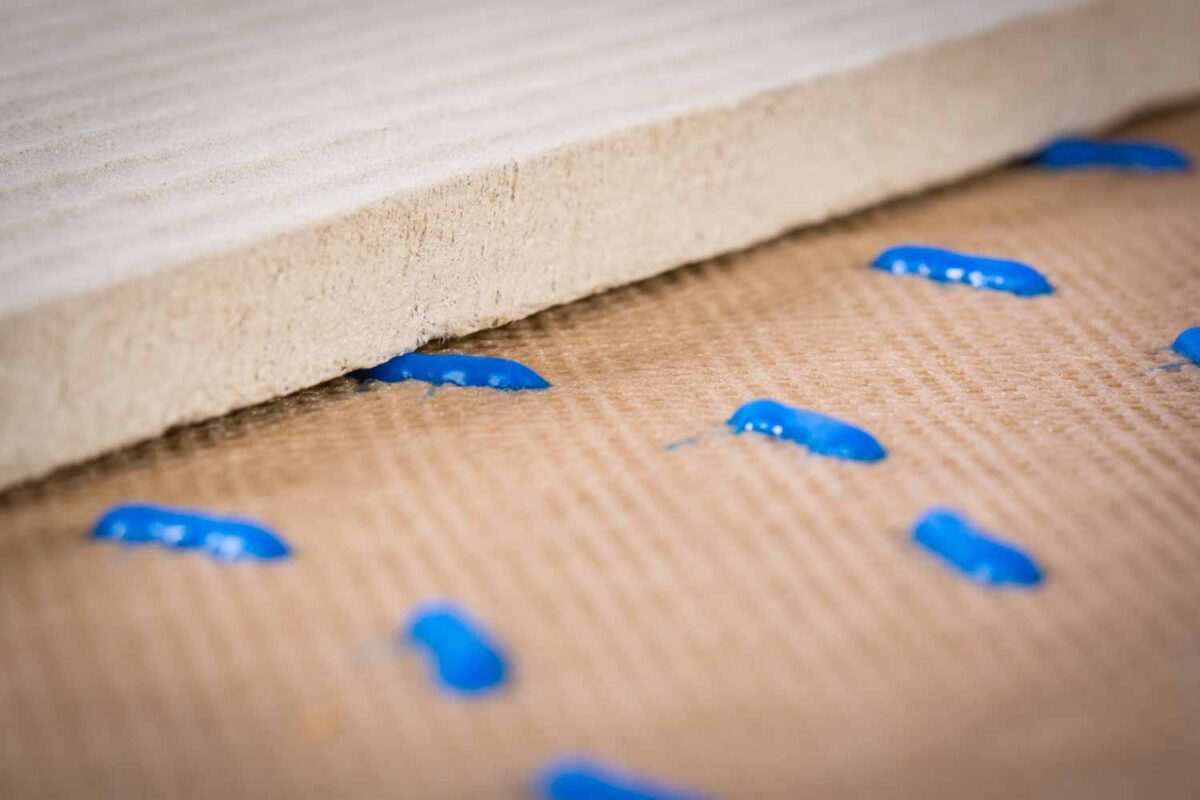
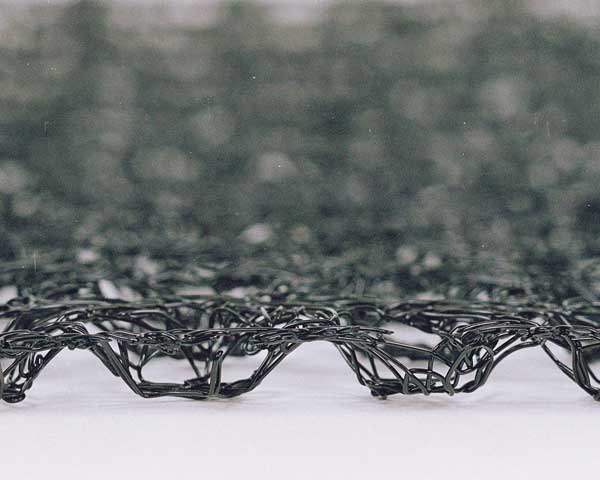
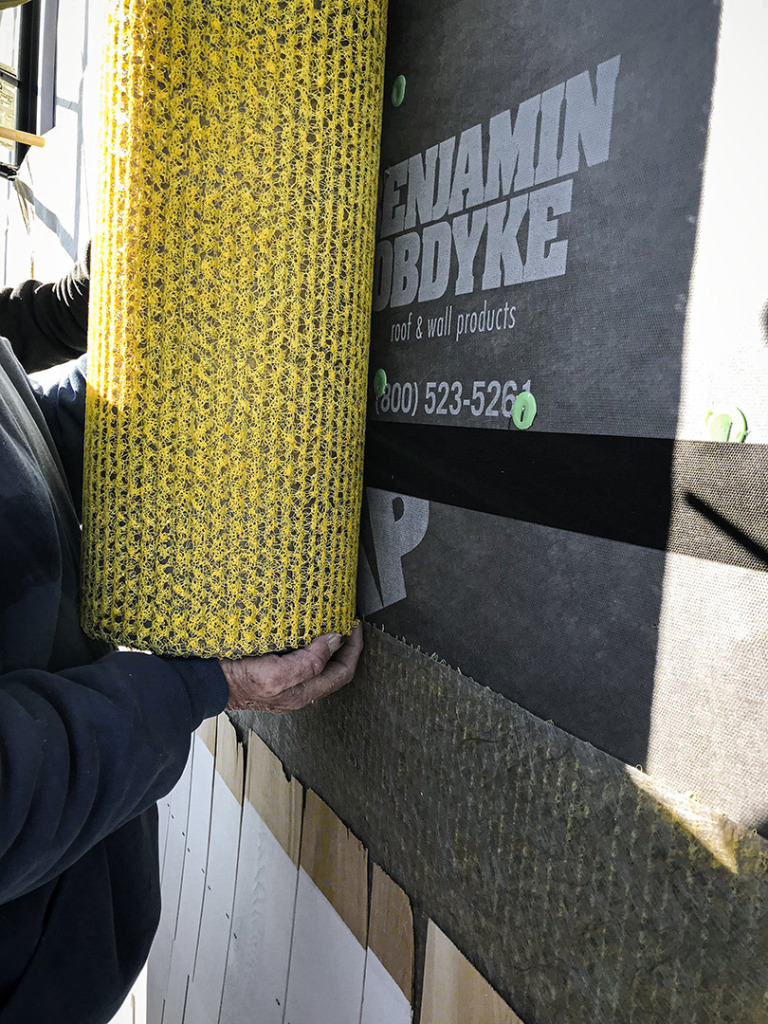
There are two main factors to consider when incorporating foam board onto the wall system—how it integrates with the windows and doors, and whether your housewrap will be installed on top of or under the insulation board. Ideally, the housewrap is installed onto the wood sheathing, providing a water control layer against the material that is the most susceptible to moisture. Even better, using a drainable housewrap such as HydroGap provides the best ability to drain behind the foam; using HydroGap SA adds an air control component, as well.
But this isn’t always an option when an insulation board is added, depending on the window design.
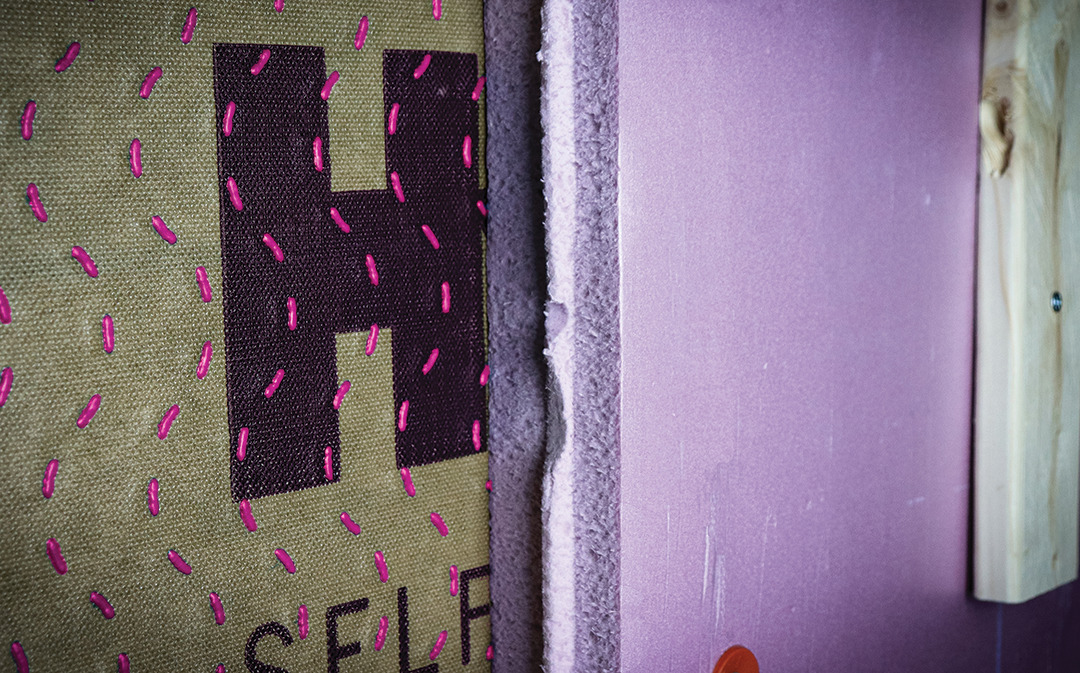
By adding 2” of foam, the window may be sitting flush with the exterior plane of the continuous insulation (for an “outtie” window) or may be flush with the sheathing (an “innie” window). This will change how you integrate your window flashing with the housewrap, so it’s important to think about your layers.
An innie window, because it already has a deeper exterior recess, will require larger pieces of trim or metal to make up the difference in thickness with the exterior foam. Depending on the window, it’s easiest to install the housewrap directly on the sheathing, in line with the window, which then allows for traditional flashing application.
For an outtie window, adding the weather-resistive barrier on top of the foam will keep it in line with the window. Installers will need to ensure that at termination points, such as the bottom of the wall, the flashing detail is under the 2” of foam projection and onto the foundation. The weather-resistive barrier should be installed according to best practices to ensure no water gets in.
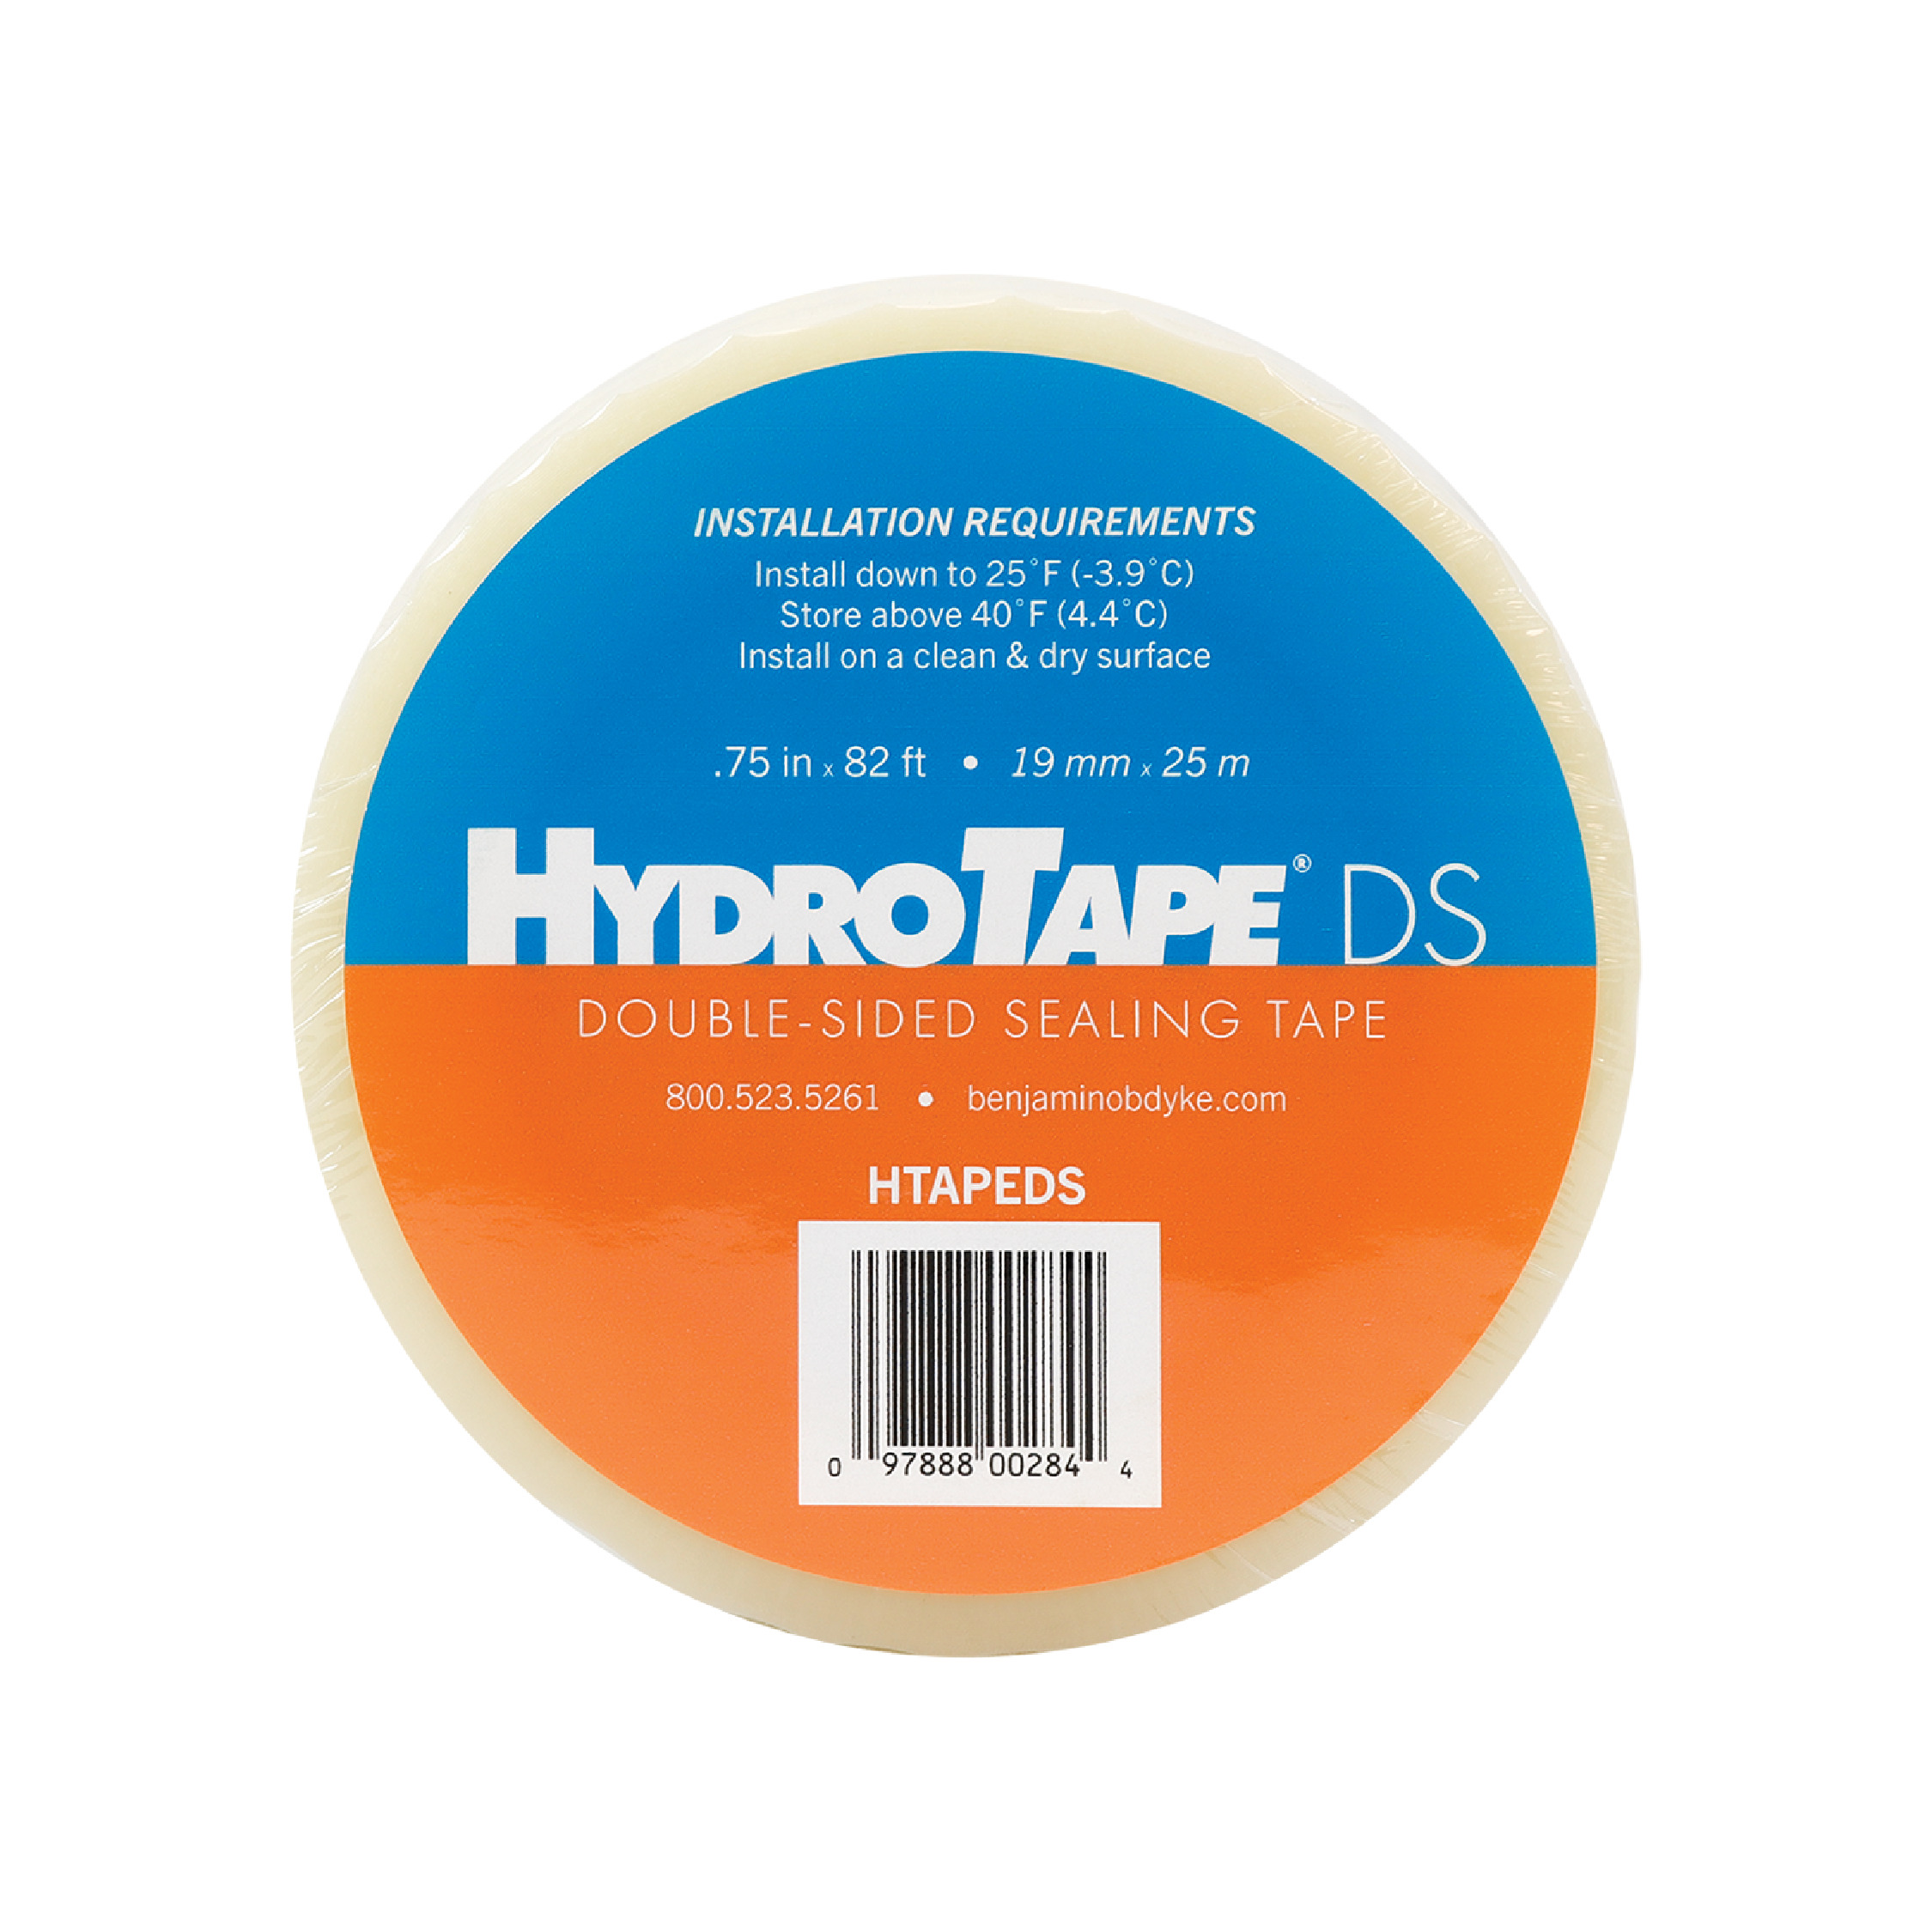
Because flashing details are even more critical and a bit more precise for applications with exterior insulation, it may be opportunistic to move to more advanced methods. While traditional flashing tape can work, the straight pieces have limitations alongside the more complex intersections and angles. A liquid-applied product such as HydroFlash LA allows installers to coat the entire buck/window projection and create a monolithic seal without worrying about forming perfect overlaps.
Benjamin Obdyke Protection Systems Samples
GET YOUR FREE PROTECTION SYSTEMS SAMPLES TODAY
The most straightforward strategy is a systems approach, which ensures all products work together. For exterior insulation, the Air Barrier Drainable Housewrap System provides air sealing and optimal drainable performance and is suitable for applications with exterior foam board.
Have questions about designing wall systems for your Climate Zone and how to meet requirements while protecting the building envelope? Sign up for a virtual jobsite visit.