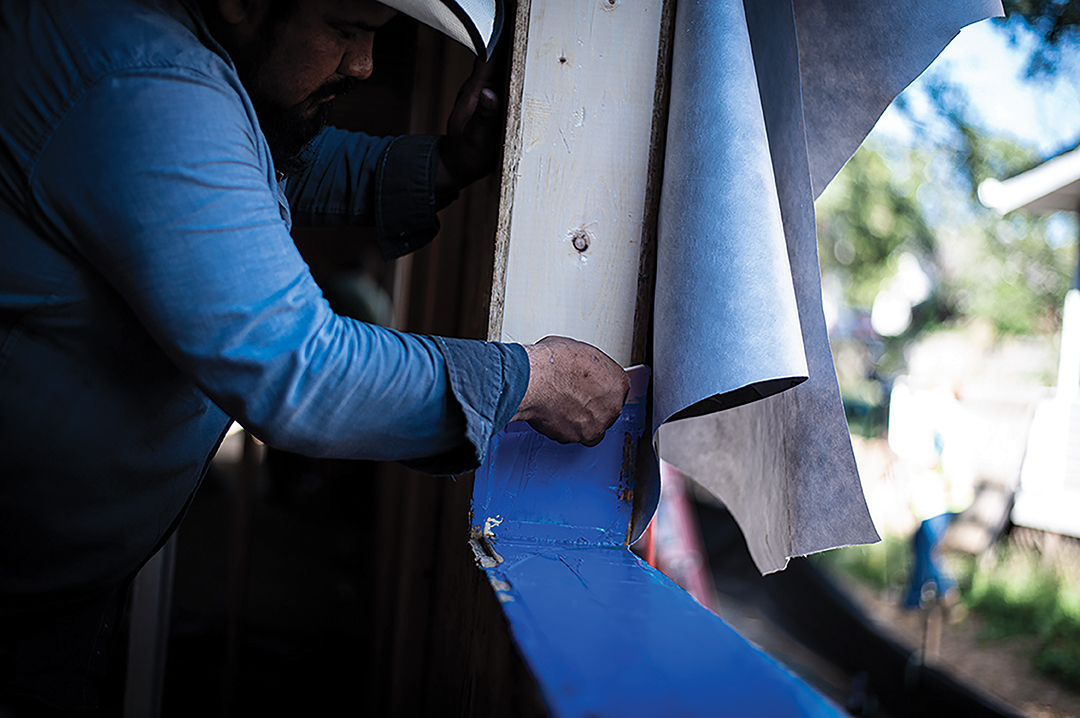
For some installers, working with flashing tape around complex window sill applications (not to mention in the wind and weather) feels a bit like doing origami. When tape-style flashing isn’t cutting it, liquid-applied flashing is here to save the day.
Liquid-applied flashing, such as HydroFlash® LA, simplifies flashing rough openings and other awkward or challenging areas and is also ideal for filling in imperfections and penetrations.
Unlike tapes, a liquid-applied flashing offers the unique feature of elasticity. Therefore, it will move with the structure’s natural movement over time, ensuring a long-lasting bond.
If you’re unsure if liquid-applied flashing is the right choice for your project, be sure to check out our blog post Liquid-Applied, UV, and General Purpose Flashing: What to Use Where.
Liquid-applied flashing is also relatively easy to install—just like a caulk or adhesive application, simply squeeze out a bead and smooth to 20-40 wet mils—but there are some best practices that can help make the process more seamless. If you’re ready to get started with using liquid-applied flashing, keep the following tips in mind for an easy and effective application.

HydroFlash® Samples
GET YOUR FREE HYDROFLASH® SAMPLES TODAY
Plan strategically
One of the biggest factors to consider when using a liquid-applied flashing is that it needs time to cure. For an application of 20-40 mils, the average drying time is between two and six hours, depending on weather and jobsite conditions. Note that HydroFlash LA is a moisture-cured product, so damp surfaces and wet climates can actually speed up the curing time. With that in mind, schedule your window installation accordingly. For example, if you have seven rough window openings, plan to apply your liquid-applied flashing to all of them in the morning, and then after lunch go back through in the same order and place the windows.
If you’re in a rush and can’t allow the product to fully cure, you can opt to apply U-shaped washers under the nailing fin. This creates a gap between the nailing fin and the liquid-applied flashing while continuing to allow for a drainage path for moisture to escape. While we wouldn’t suggest doing this on a regular basis, it’s an effective solution for when you’re in a pinch.
Load then cut
As with many liquid building products, liquid-applied flashing can be a bit on the messy side, but there are a few things you can do to keep the application, and yourself, as clean as possible. If you plan on using an applicator tool, such as a caulk gun, we recommend you load up the sausage tube into the applicator before making your cut in the film and adding the applicator tip. Cutting first, then loading up your applicator gun is almost guaranteed to result in a mess.
Once you’re a liquid-applied flashing pro, you’ll know exactly how you like to cut your sausage tube. In our opinion, we’ve found the best results when using a 3/8” tip at a 30-degree angle.
To prevent the product from sticking to your tools, coat your applicator in a lubricant, such as WD-40.
Use alternative tools
Spackle and putty knives work great with liquid-applied flashing to provide a clean, smooth finish. Get creative by using an angled putty applicator to get crisp 90-degree corners. For wider applications, make things easy and change up the size of your tools.
Once you’re done, you can use paint thinner or an acetone-based solvent to clean up tools. Or simply wait for the product to dry and pull it off in one piece.
Less is more
Not sure how much is enough? Don’t sweat it! Liquid-applied products create a lot more room for error. Anywhere between 20-40 wet mils is good, but keep in mind that the thicker you put the product on, the less vapor permeability it has. We’ve found success by applying the product in a straight line down each edge of the surface, then a squiggle or zigzag along the exposed middle to ensure the surface area will be fully covered. Then simply spread the product from one end to the other and verify the depth of the product with our mil gauge.
Practice makes perfect
Just like with anything else, the best way to become a master at liquid-applied flashing comes with actually using the product. Once you’re comfortable with its application, you’ll begin to develop your own preferences and techniques while basking in the benefits it offers.
Ready to test it out? Check out our step-by-step installation guide.