Choosing the wrong flashing or installing it improperly can lead to costly failures in the wall system. Unfortunately, you likely won’t know you have a flashing failure until it’s too late—after the window starts to leak and the trim and siding need to be ripped off for repairs. It only takes one callback to learn a tough lesson.
When choosing flashing, it’s critical to consider the wall as a system and design in such a way that all elements work together. This includes specifying the right flashing type, material, and permeability for the home, the area of the wall, and the climate as well as installing it in the right sequence with the housewrap and other materials.
Consider these strategies when specifying flashing:
Understand the Differences Between Flashing Adhesives
There are three primary types of adhesives for flashing:
• Asphalt adhesives: While asphalt adhesive has been a go-to for a long time and is a cheaper option, it can break down and become brittle. It also faces temperature limitations for installation.
• Butyl-based adhesives: These offer a strong initial tack and a high level of adhesion; however, they are not repositionable and may dry out over time.
• Acrylic adhesives: Acrylic is a newer technology and is typically more expensive than asphalt and butyl; however, the investment pays off in long-term UV stability, repositionable application, installation in a broad range of temperatures, and a high cohesion rate. Acrylic adhesive flashings can be vapor permeable, depending on the construction of the tape.
Understand What Works with Other Materials
One primary benefit of considering the wall as a system is to avoid reactions between product materials, which may cause some to break down early and allow for failure. For example, many window manufacturers don’t endorse asphalt-based flashing due to the product deteriorating quickly. Always follow manufacturer guidelines and, whenever possible, use products from the same brand.
Understand Different Flashing Types
The main types of flashing comprise general-purpose, liquid-applied, and UV.
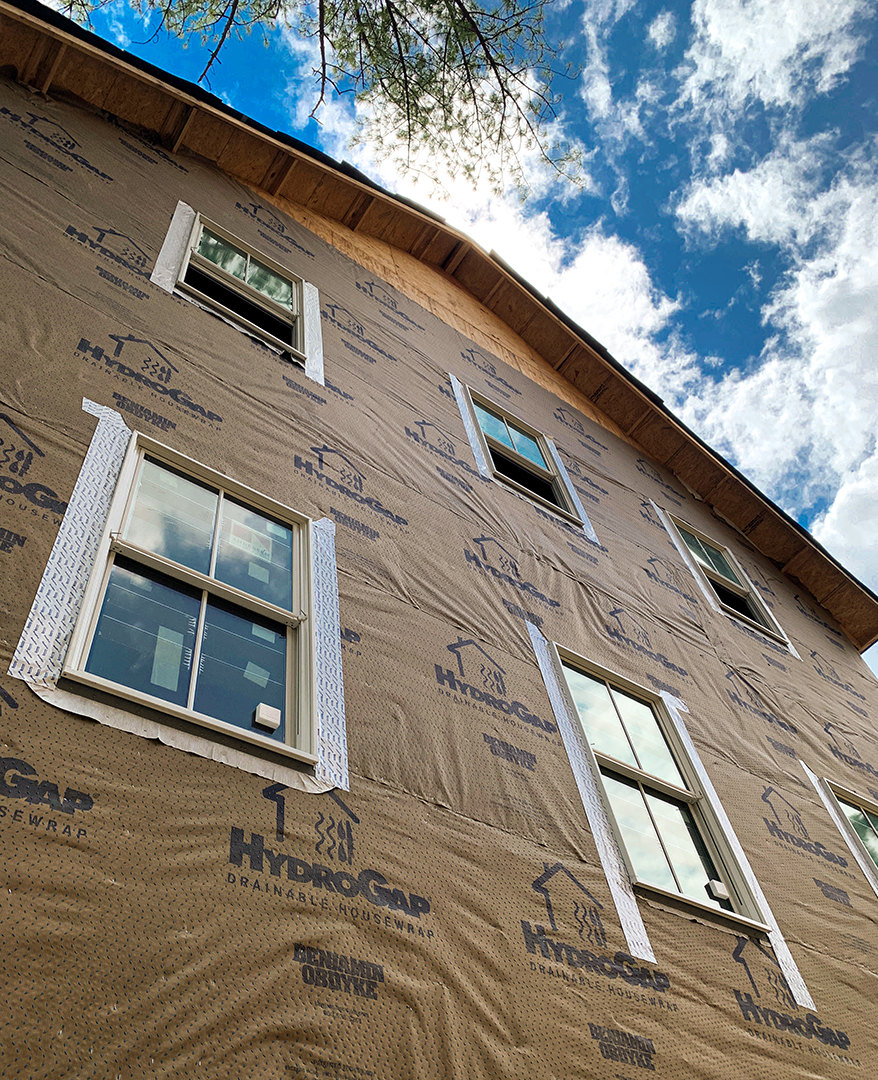
- A general-purpose flashing, HydroFlash® GP self-adhered flashing tape features an acrylic adhesive and a polyethylene facer. It’s not as robust as a liquid-applied or a UV-rated flashing, so it should be used in areas of the envelope less prone to extreme conditions, and can be used around windows and in combination with other flashings used at the corners and sills. HydroFlash GP is vapor closed, so it’s suitable for areas of the house where no moisture transfer is desired. It can be used under any cladding type.
- A liquid-applied flashing, HydroFlash® LA applies like a caulk or adhesive, so it’s ideal for window corners, curves, and other awkward areas. HydroFlash LA can be installed in any climate, but because it is moisture cured, it’s especially ideal for wet regions like the Pacific Northwest, where it will cure faster and any excess moisture will dry through the product itself. The product can be installed in temperatures as low as 25 degrees F. HydroFlash LA has a perm rating of 3-6, depending on thickness, so it’s universal in application. Because of its flexibility, liquid-applied flashing is also an option for applications such as control joints in concrete buildings and areas with seismic activity.
- For added protection in extreme conditions, including UV exposure for up to a year, HydroFlash® UV+ premium acrylic flashing tape combines a breathable acrylic adhesive and facer for a vapor permeability of 4. This allows drying potential of the sheathing the flashing is applied to, avoiding mold and rot behind critical penetration points like windows and doors. Its abrasion-resistant facer also is an ideal option for sills and other areas more prone to damage during installation. Because it is vapor open, HydroFlash UV+ is suitable for any climate, and it can be installed in temperatures down to 25 degrees F. Its UV resistance makes it a great option for on-trend open joint cladding systems where there is long-term potential for indirect UV exposure.
Think as a System
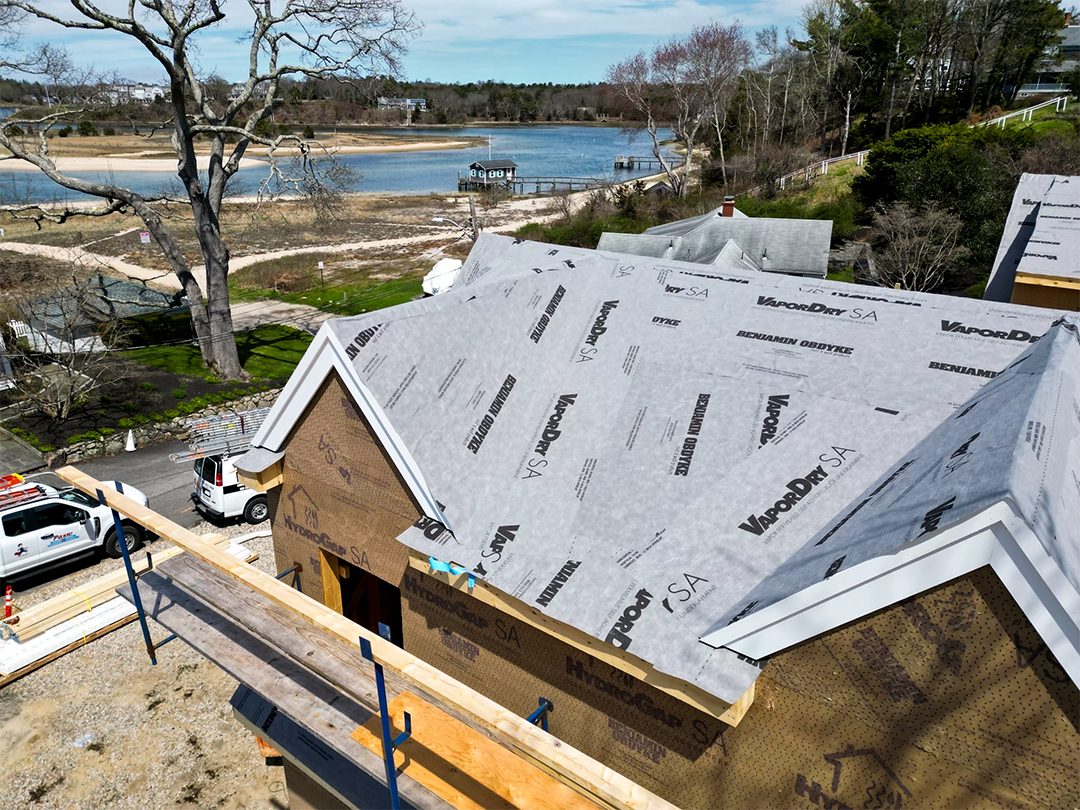
Most weather-resistant barriers, rainscreens, and flashings are designed as part of a system, with each component working together to give moisture a path down and away from the wall. Benjamin Obdyke offers a series of wall systems for a range of applications and carrying a system-based warranty.
Installing Flashing Properly
Choosing the right flashing for your project isn’t enough—it must be installed properly to ensure moisture is not only blocked but can escape the wall cavity. Along with following each flashing’s specific installation instructions, check out our library of videos for easy-to-follow best practices, follow us on Instagram for tips and videos, and sign up for a virtual training session for one-on-one support.


