Seam tape plays a critical role in controlling moisture and air in many wall envelopes. But it’s not the only option—and not all options are created equal.
Consider these product selection strategies and installation best practices when weighing the best sealing choices for your project.
When to Use Seam Tape
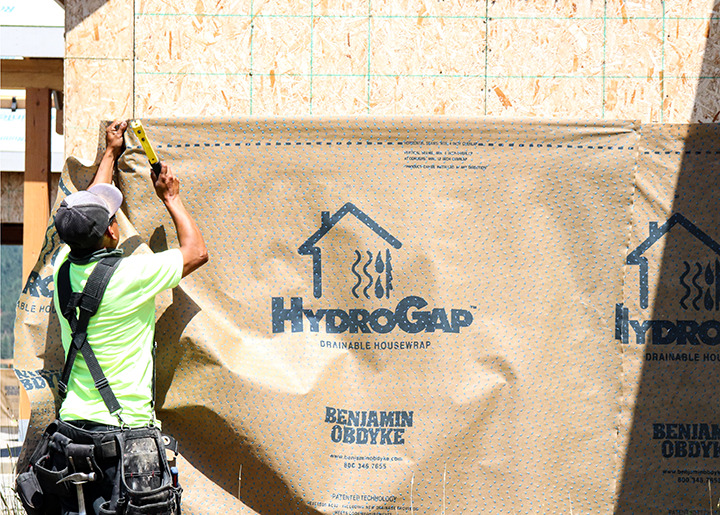
When applying mechanically fastened housewrap as an air control layer, all sections where two layers of the WRB overlap should be taped with seam tape that is compatible with the housewrap. The top and bottom termination of the WRB must be sealed to the sheathing and foundation. This will help prevent blowoff during installation and before the cladding is applied, and it also can prevent moisture from getting behind the WRB.
Alternatives to Seam Tape
Even though using traditional seam tape is best practice with mechanically attached housewrap, it’s not the highest-performing option. Traditional seam tape may wrinkle or lack sealing pressure, which can cause it to impede water drainage and create “fishmouths” that can trap moisture.
So, where possible, it’s ideal to consider product alternatives.
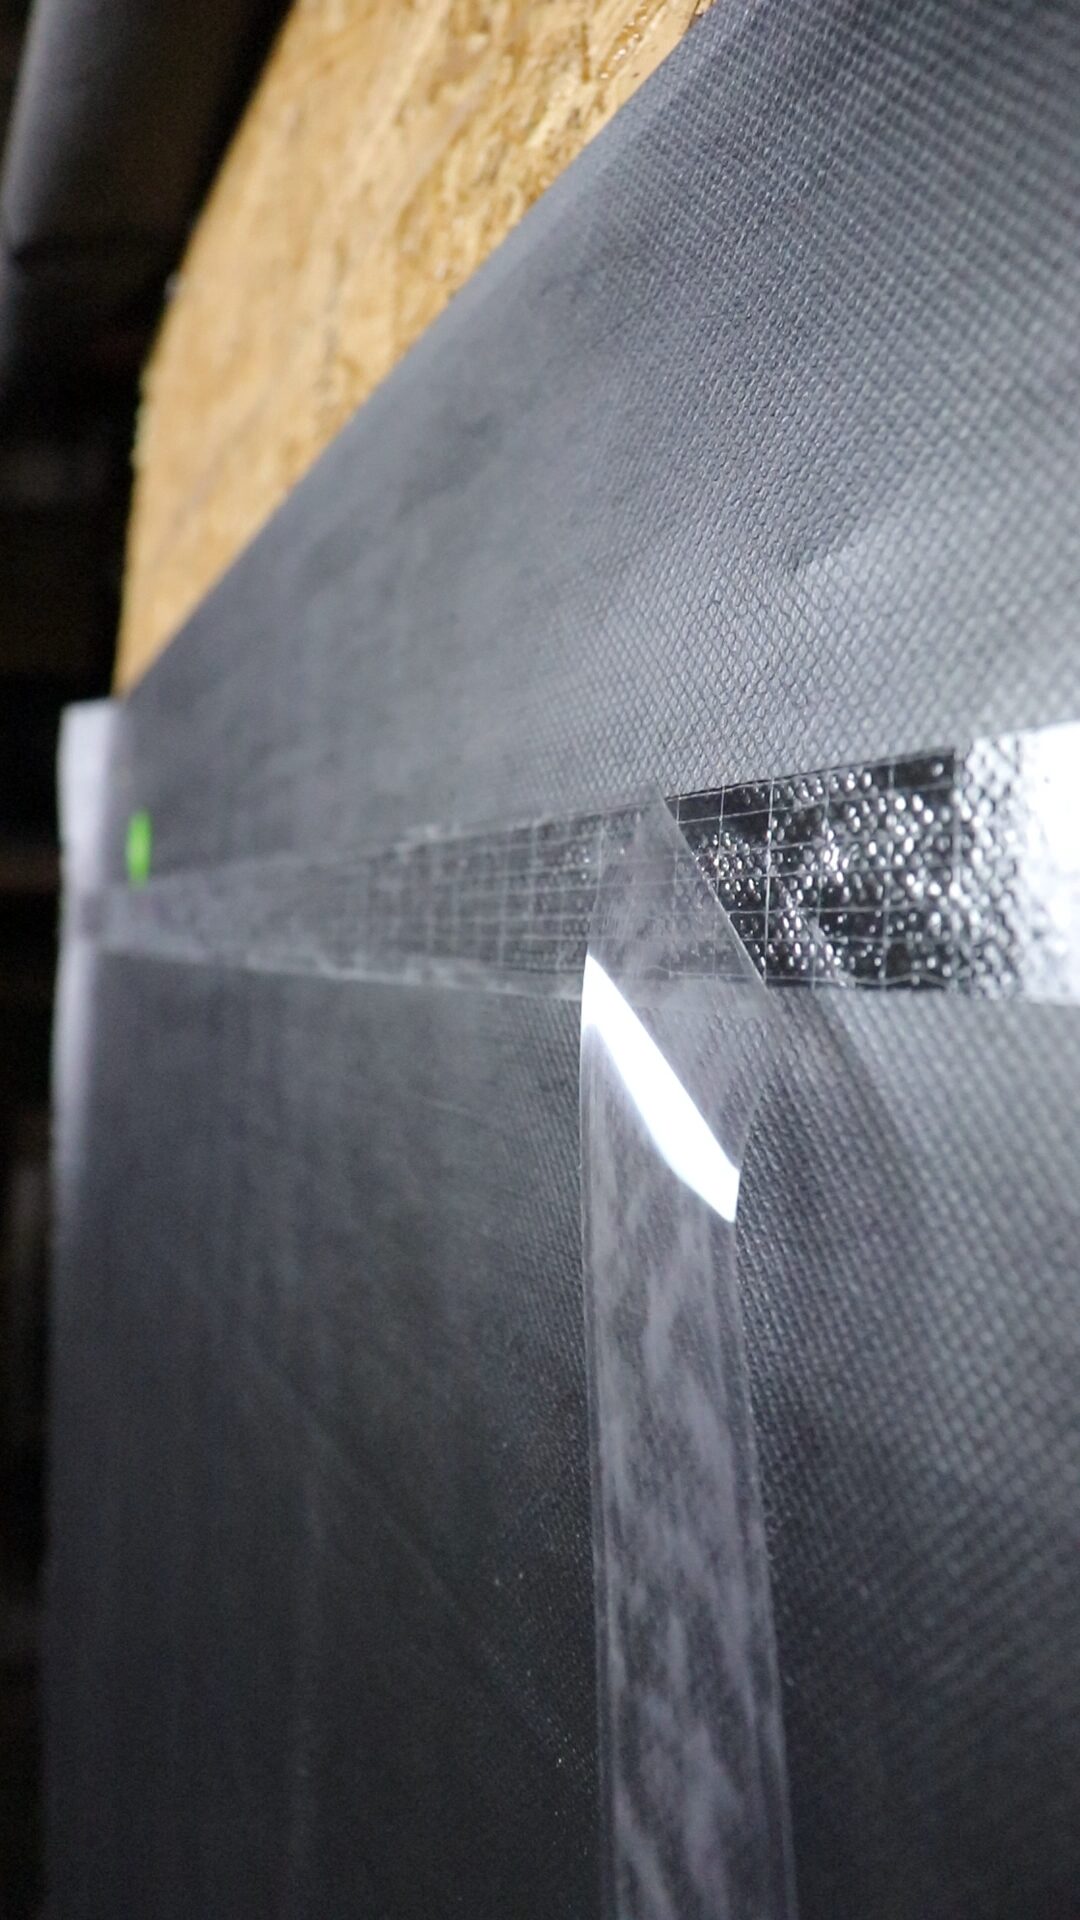
One option is double-sided seam tape, such as HydroTape DS. Designed for use with mechanically fastened housewrap, this 3/4” acrylic-based sealing tape installs between the housewrap layers, adhering to the undersides of each. This prevents WRB blow-off without the risk of interrupting drainage or capturing bulk water. The adhesive also seals around air fasteners to reduce air infiltration at penetration points.
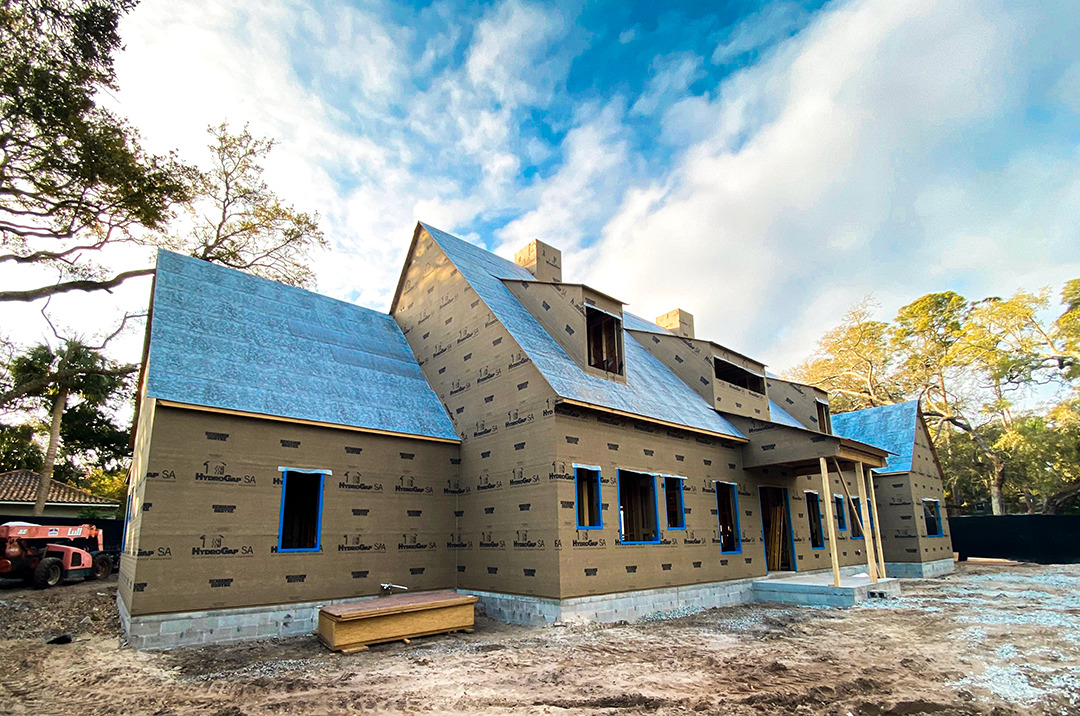
Another route is to eliminate seam tape altogether by using a self-adhered housewrap. A self-adhered WRB like HydroGap SA drainable housewrap, which features a 100% continuous acrylic adhesive, sticks to the sheathing and to other housewrap layers without the need for mechanical fasteners or seam tape.
For complicated intersections, penetrations, or hard-to-reach areas where proper pressure can’t be applied to a seam tape, look to liquid-applied products, such as HydroFlash LA, rather than risking wrinkles or improper adhesion.
Best Practices for Using Seam Tape
When using traditional seam tapes, keep these installation strategies in mind:
- Ensure the surface is clean and dry: If the area is wet or dirty, the seam tape may not adhere fully or properly.
- Choose a vapor permeable seam tape: The majority of available seam tapes are vapor closed; while these are often the cheaper choice, they’re more likely to trap moisture in the wall system. A vapor permeable tape is worth the investment to ensure the full system works in concert to protect against moisture damage.
- Use proper sequencing: Layer housewrap and seam tape using a shingle-lap approach to allow moisture to drain away without falling behind the layers. This is especially tricky around penetrations, such as pipes, where odd angles necessitate cutting several small strips of tape. Make sure to apply those pieces from the bottom up to ensure proper layering.
- Apply pressure with the right tool: Follow manufacturer instructions for which tool to use to apply pressure to the seam tape to ensure full adhesion.
- Avoid wrinkles: Ensure your application is smooth and free of bumps and wrinkles, which can trap moisture.
- For liquid-applied flashing, apply the correct thickness, as instructed by the manufacturer.
Find the Right Tape with Benjamin Obdyke
No matter the building envelope design or budget, Benjamin Obdyke’s lineup of seam tapes can meet your needs. We offer vapor-open and -closed tapes, and our seam tapes use an aggressive acrylic that adheres to most surfaces in a thicker weight than many other options on the market, so they can bond to surfaces like concrete and sheathing, and provide sealing around common fastener penetrations.
Learn more about our seam tape options or get in touch with us for support and resources to help Transform Your Craft.