Installing housewrap and underlayment properly starts with following manufacturer instructions. But there are always a few tips and best practices that not only help ensure proper performance but also can boost efficiency and save labor.
Tools and Tricks for Installing Housewrap and Underlayment Efficiently
We checked in with our in-house experts for a few quick tips for installing housewrap, flashing, and underlayment to make your projects go a little faster.
1. Plan ahead
As a team, pre-plan your application strategy for maximum efficiency. In some cases, such as tall walls with a lot of windows, a vertical application may be more efficient. This also ensures proper sequencing is followed, particularly in tricky spots like roof-wall intersections and windows, so you can avoid rework or callbacks later.
2. Embrace chalk lines
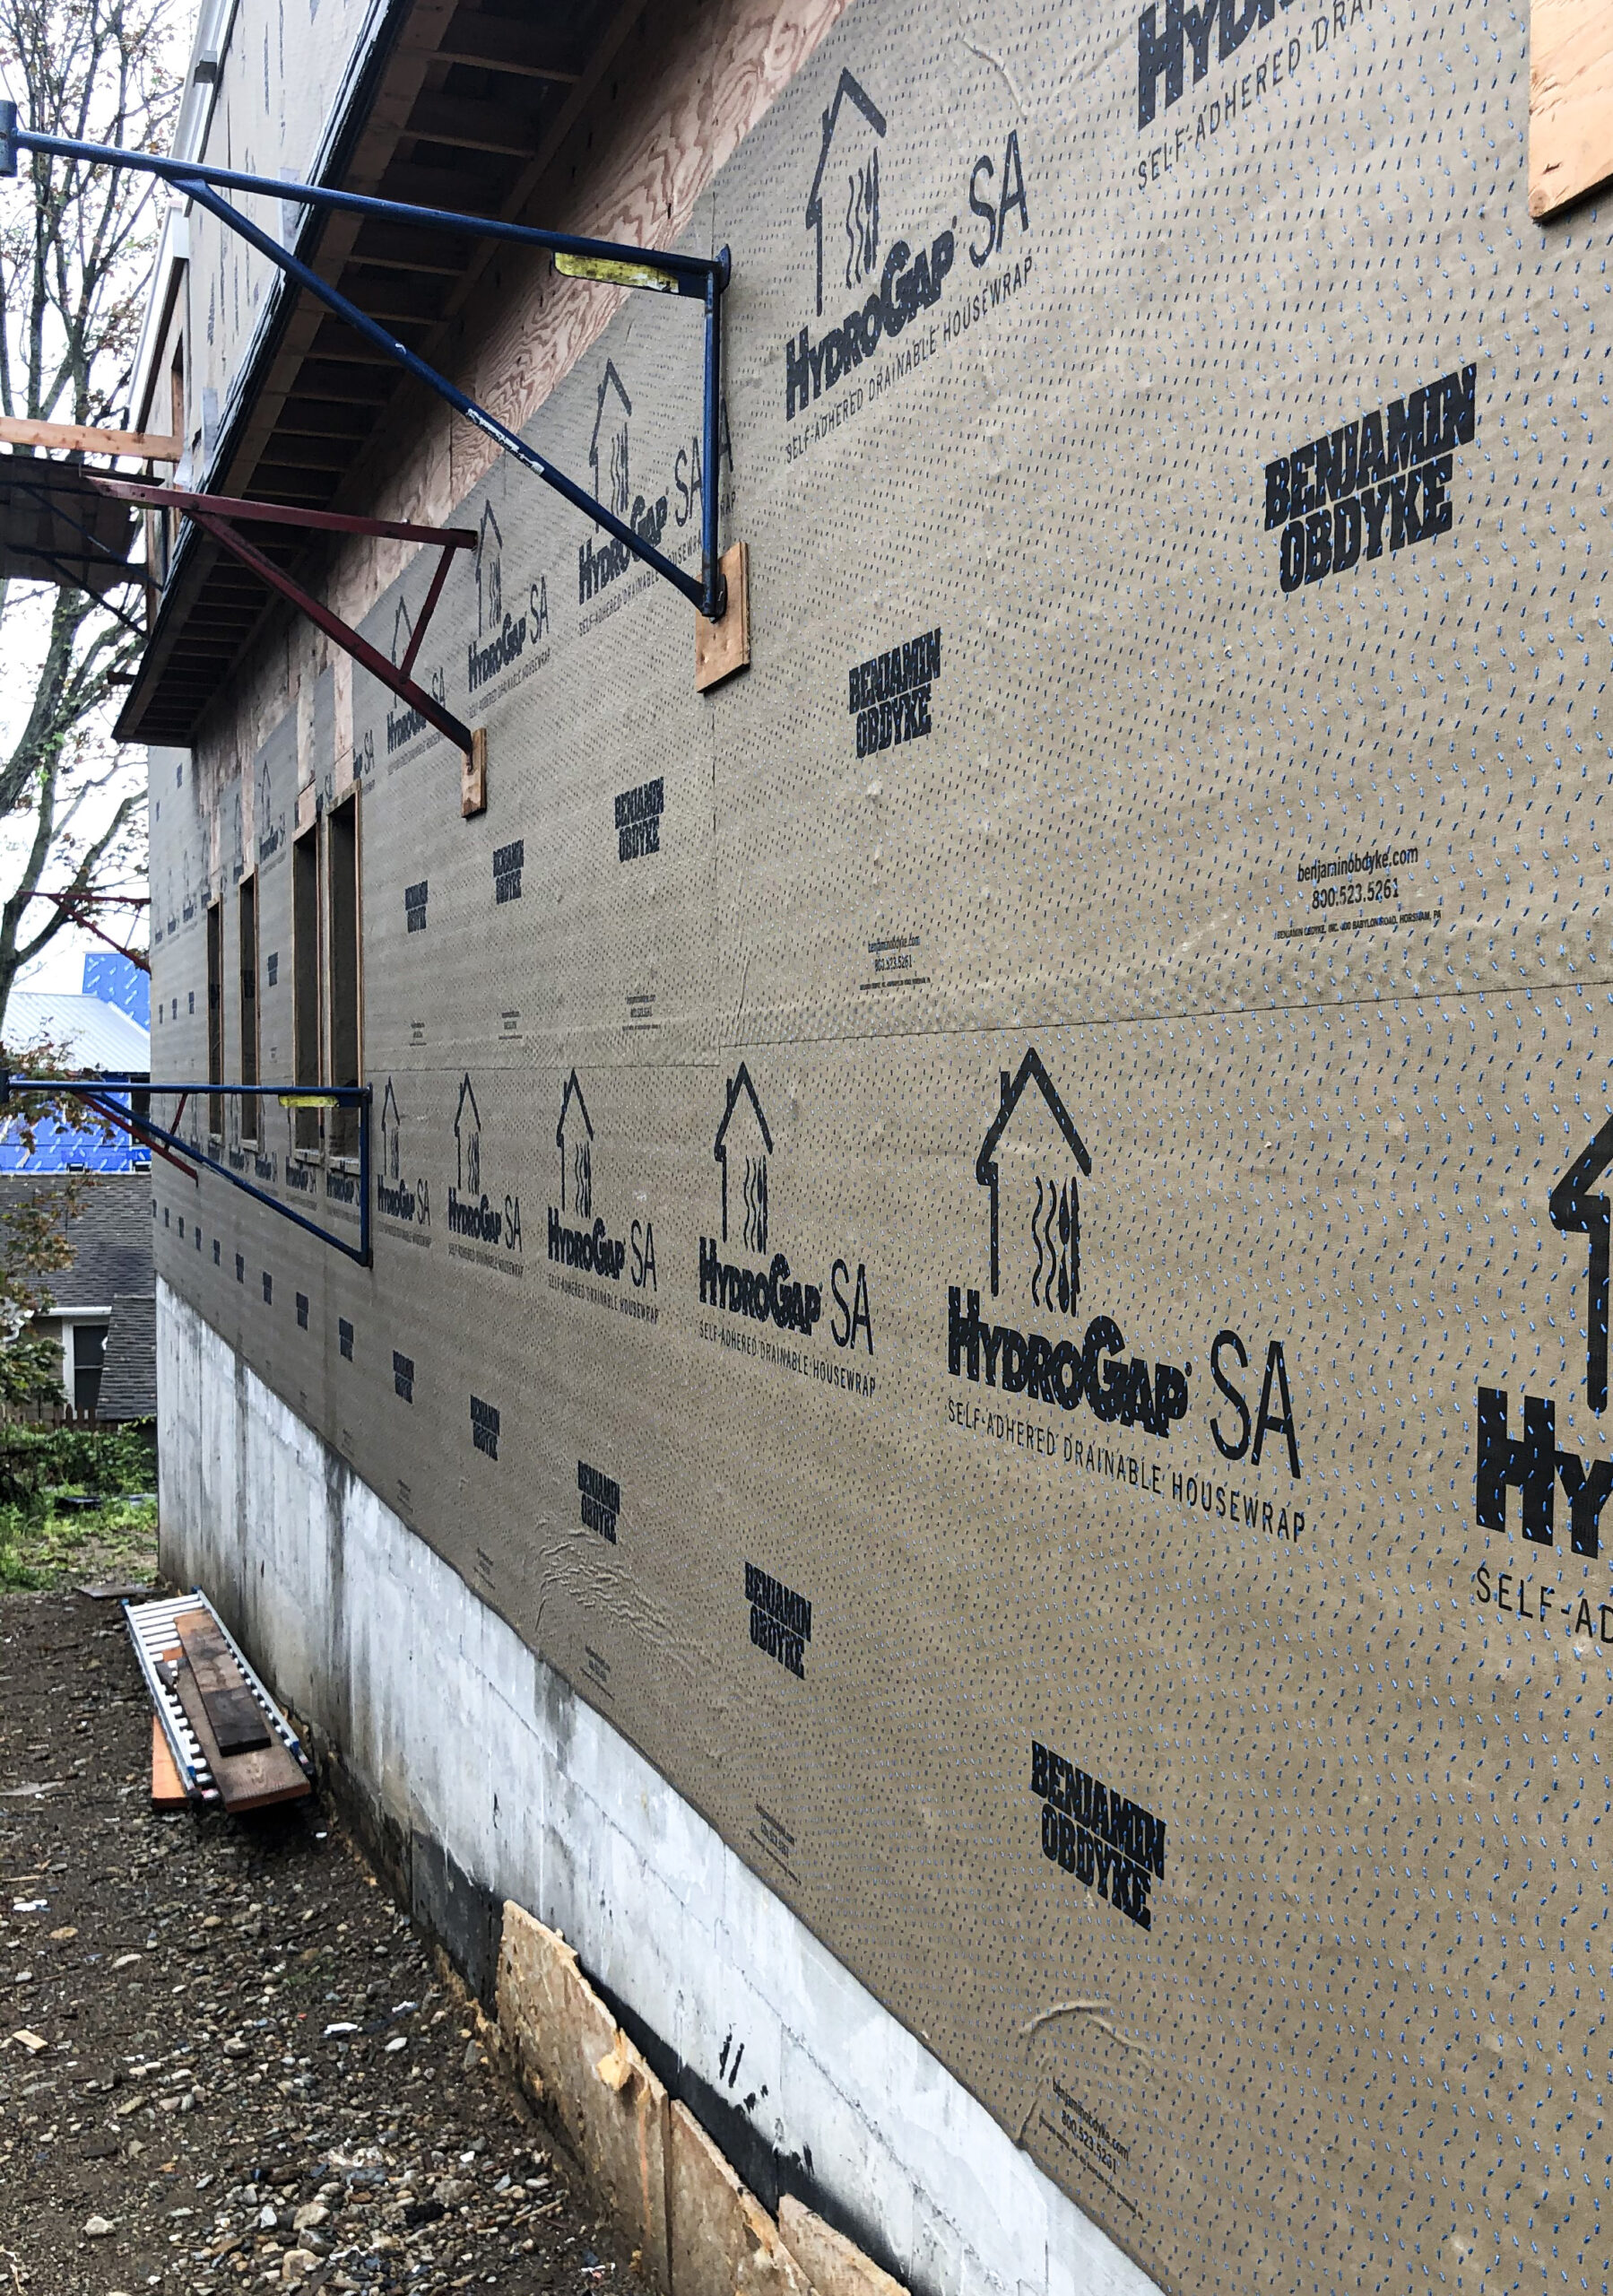
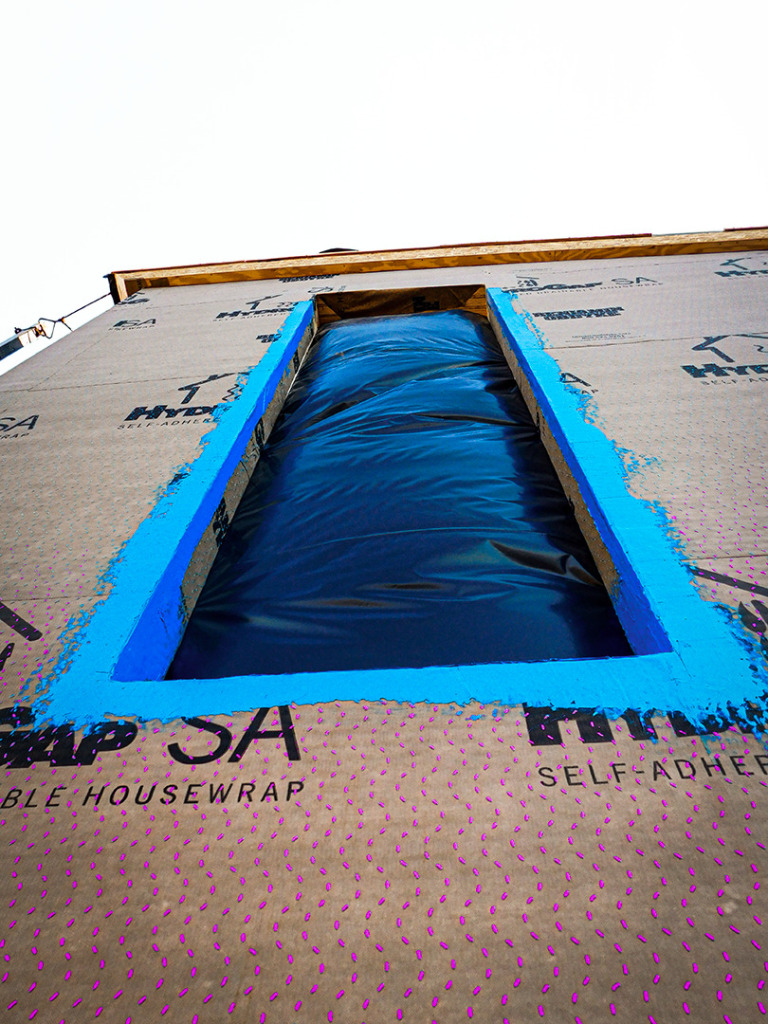
One of the biggest hold-ups during self-adhered housewrap application is having to reapply due to misalignment or wrinkles. Applying wrap straight is key when using adhesive products, and chalk lines are the best way to keep things even and tidy to ensure the best bond without wrinkles.
3. Pre-cut the roll when installing housewrap
When applying housewrap to long expanses of walls with many windows, precut a length of self-adhered housewrap, slightly larger than the needed size. It will be easier to maneuver across the wall than the full roll, especially on windy days. Keep the smaller piece rolled and pull the release liner as you go along the chalk line.
4. Try a top sheet cutter
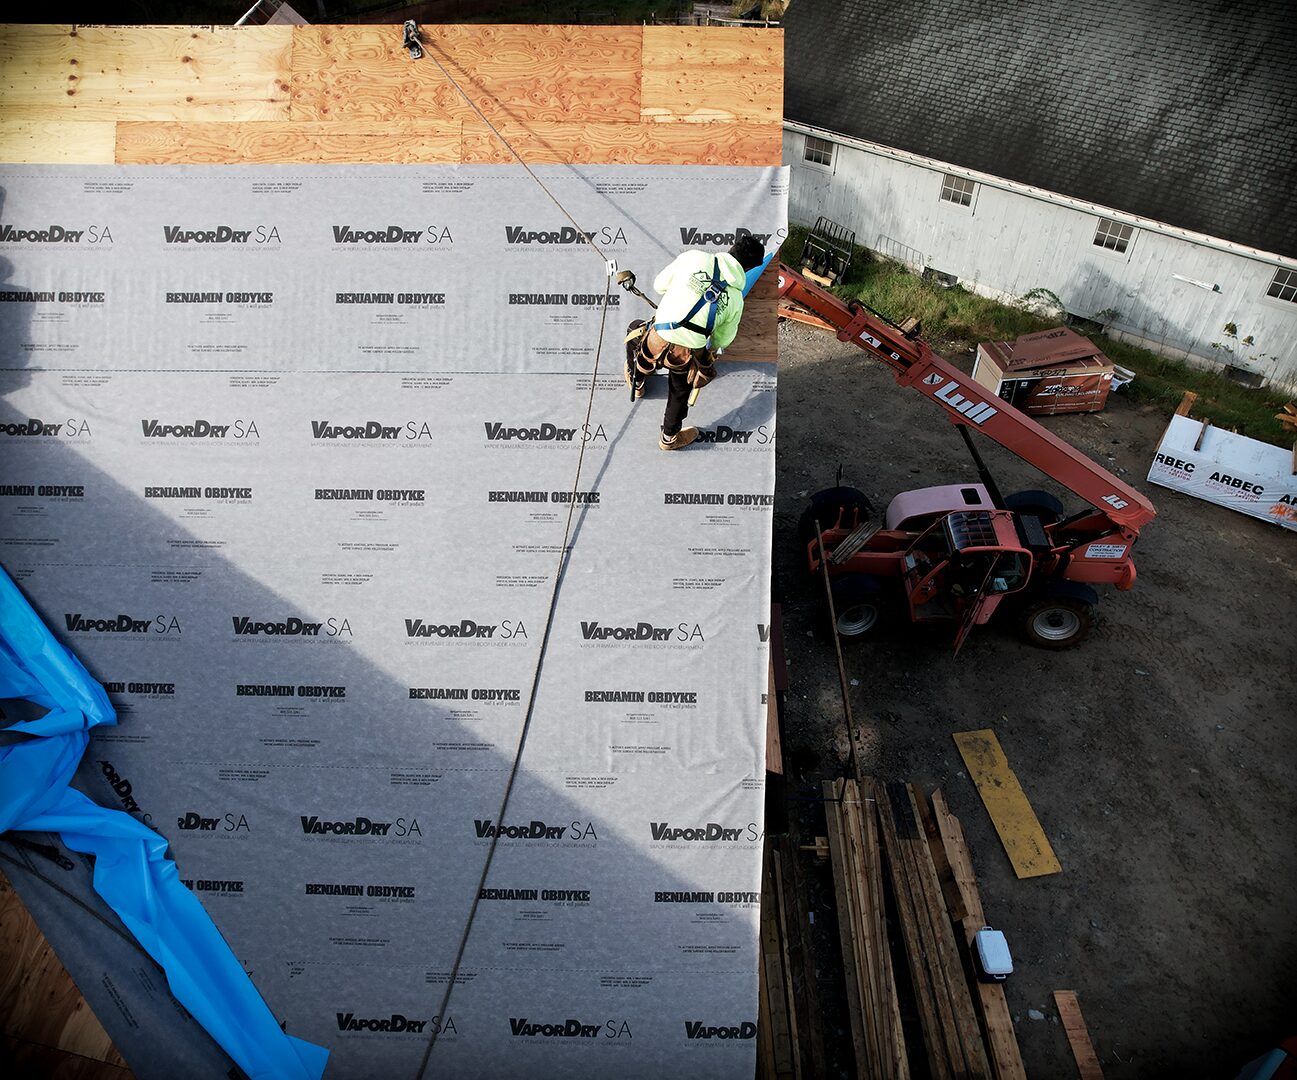
A top sheet cutter fine-tunes the blade to a precise depth, allowing you to cut through the release liner of VaporDry SA or HydroGap SA without cutting into the material itself. This makes it easier to leave a smaller amount of release liner in place, such as for tucking roofing underlayment under a drip edge or leaving 6” of WRB release liner in place at the top of the wall for roofing installation later.
5. Leverage liquid-applied flashing for easier remodeling projects
Along with other applications, HydroFlash LA offers elasticity that is well-suited for remodeling projects, where the pre-existing structure may not be square. When sealing in a new window, flashing tape requires 1” of contact, which may not be possible in these situations; HydroFlash LA only needs ¼” to make a connection between the window and the structure. Another opportunity is for flashing irregular masonry veneer.
Air Barrier Drainable Housewrap Samples
GET YOUR FREE SAMPLES TODAY
6. Measure liquid flashing properly
When using HydroFlash LA liquid-applied flashing, only a thin layer is needed; our simple business-card-style wet film thickness gauge has gauged teeth that make it easy to measure.
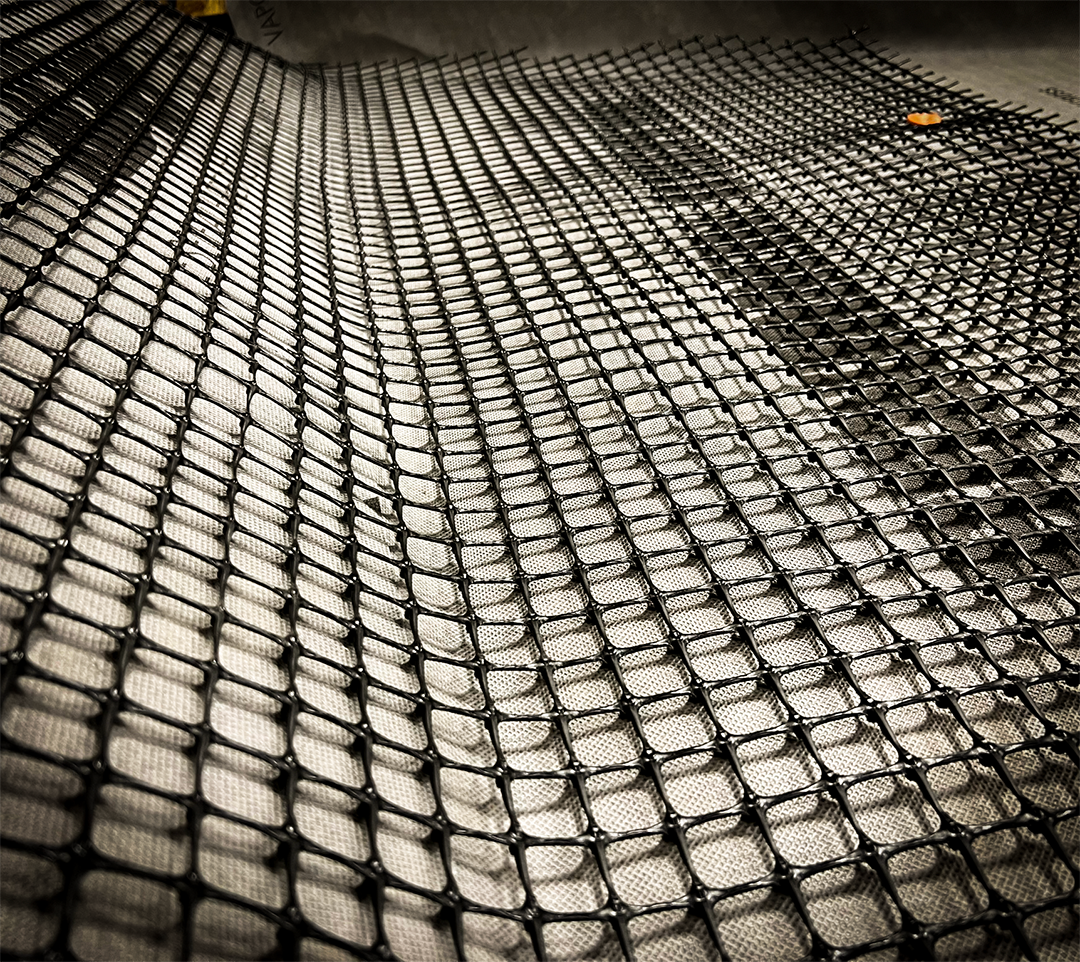
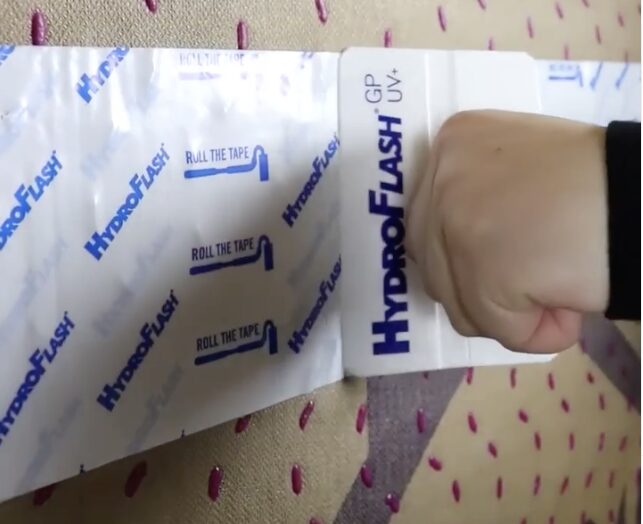
7. Apply adequate pressure with ease
Acrylic adhesives require pressure to fully activate. Using your hands alone is not enough. A push broom is an easy option for both self-adhered roof underlayment and housewrap, particularly for drainable housewraps because the bristles reach between the dimpled gaps. In small areas or for flashing, a small scrub brush or credit card-style hand applicator will do the trick.
(Watch pressure application in action)
8. Speed up window flashing
If using pre-cut flashing “bowties” at sill corners, speed the process by having a crew member pre-make them; an assembly-line process on the ground is faster and safer than crafting them one by one up on the ladder. Or, to save even more time, use HydroCorners, which are prefabricated to fit into the window. Similarly, if installing windows first, pre-cut apron skirts for the sill treatment. Take the window schedule and cut down the sheets (typically 10”-12″-wide housewrap under the sill that’s the width plus 6” on each side).
Get even more installation tips on our resources page and Instagram.