Even the most top-of-the-line building materials can fail if improperly installed. Whether you’re working with traditional, liquid-applied, or metal kick-out flashing, it’s crucial to follow best practices. Here are a few common mistakes to avoid—and what to do instead.
Skipping Flashing Altogether
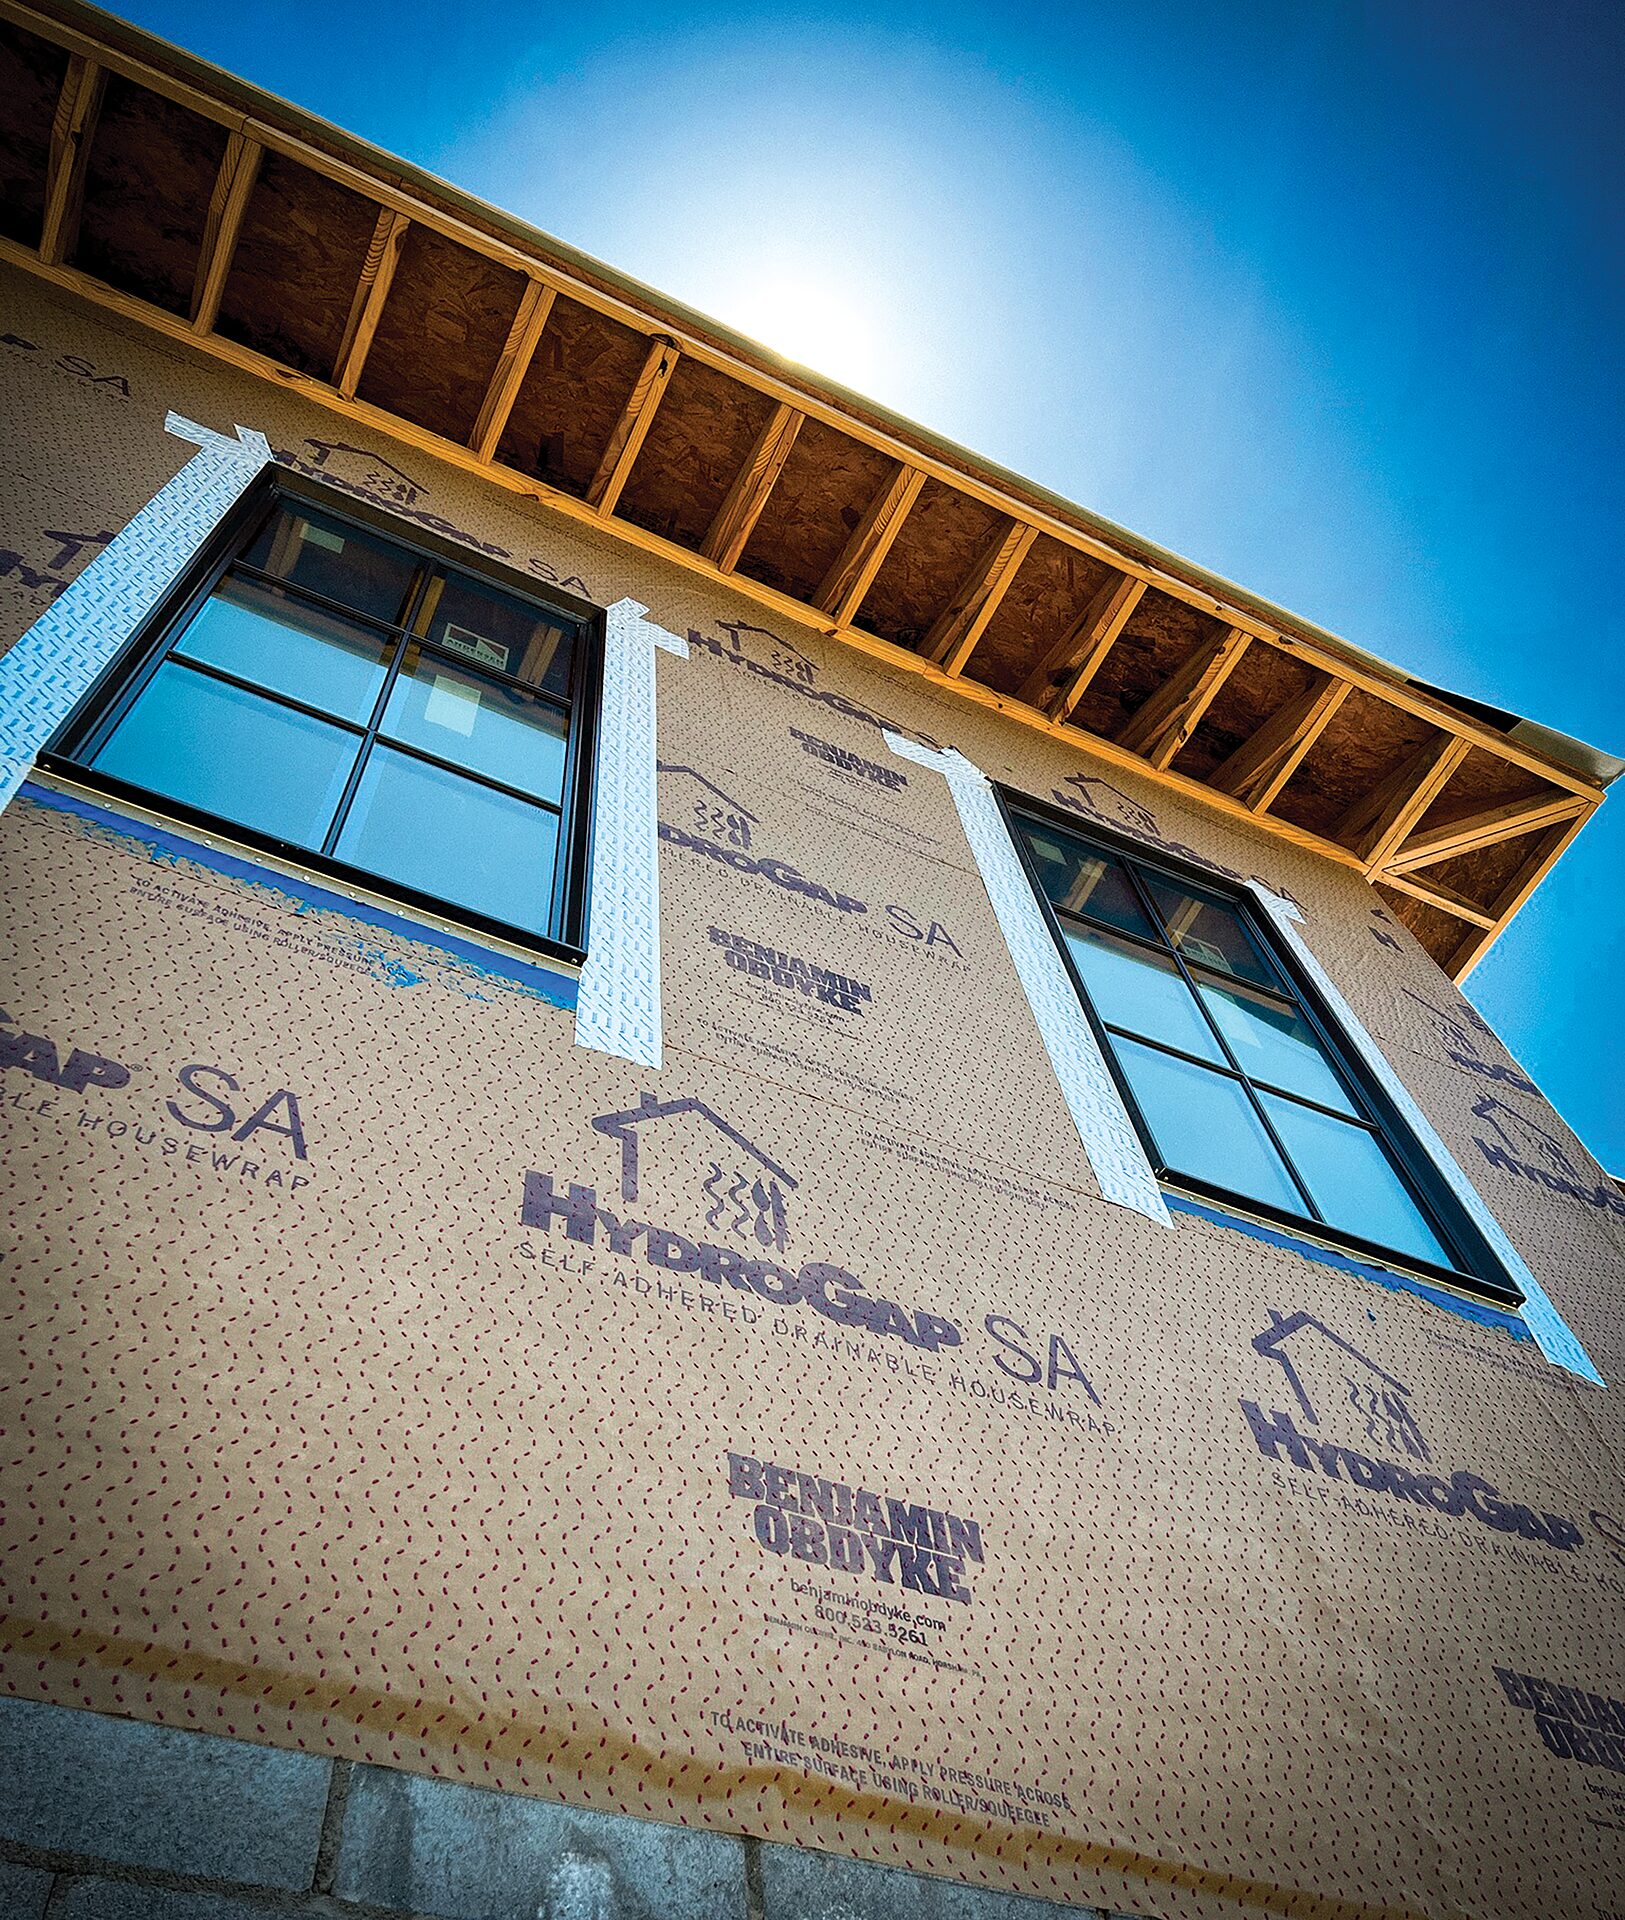
Failing to flash critical areas is a failure from the get-go. Kickout flashing is one area that is particularly overlooked; substituting caulk for window flashing is another.
Choosing Sub-Par Materials
Often, homeowners allocate budget for more visible items in the home such as granite countertops and other highly visible items. But choosing the cheapest, least-labor-intensive options for the building envelope can lead to very visible problems down the road. Materials that degrade will lead to moisture problems and rot. For example, using HydroFlash LA liquid-applied flashing is a slightly higher cost but can better address difficult-to-flash areas that are most prone to problems, such as windows. Invest up front for long-term durability.
Reverse Overlaps
Proper sequencing with a shingle overlap at all intersections is one of the most critical steps to ensuring moisture flows down and away from the wall system. One problem area, for example, is where the roof and the wall meet.
Poor Execution Around Roof Penetrations
Failure to plan ahead for challenging obstacles, such as the chimney and pipe boots, can lead to MacGuyver-ing flashing. Communicate with installers how those areas will be flashed and sequenced, how the masonry will be cut, etc. to ensure proper practices are followed.
Not Applying Pressure
Many of today’s self-adhered flashings are designed to stick for a long time—but only if the installer applies proper pressure. Some adhesives require pressure activation, so be sure to follow manufacturer instructions. This is one of the biggest mistakes our field reps see on a regular basis—and one of the easiest to avoid.
Failing to Account for Exterior Insulation
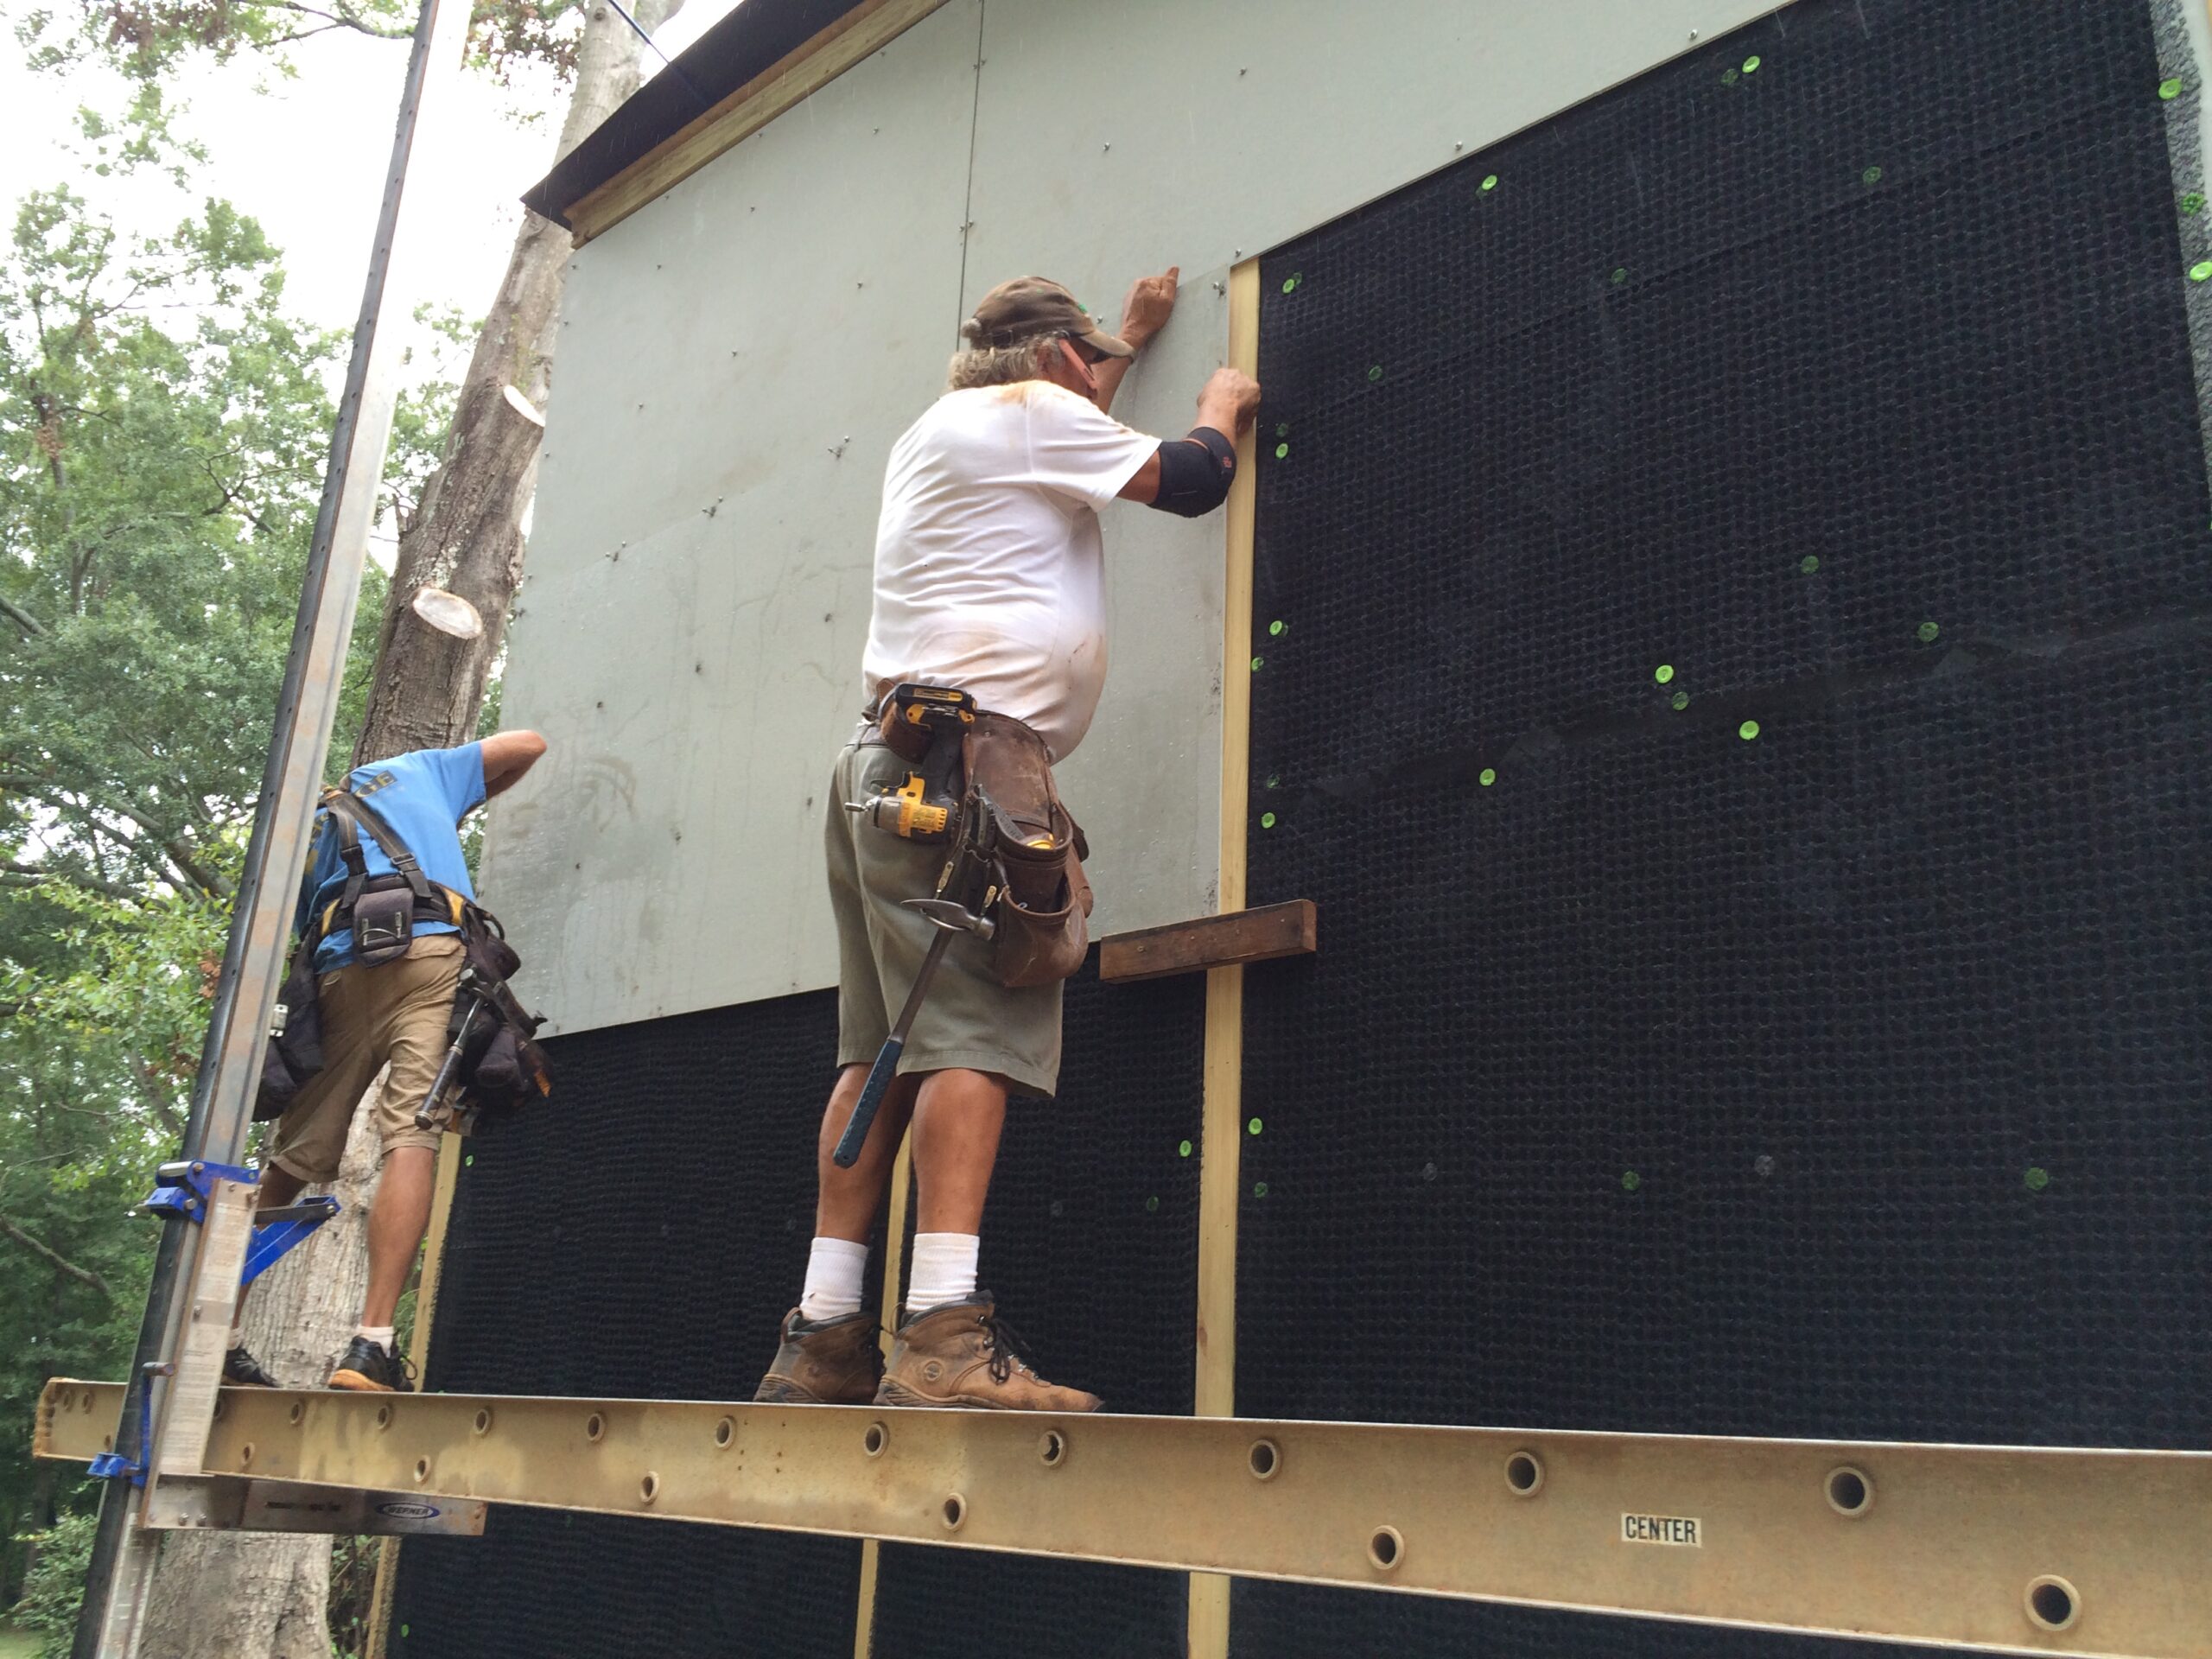
In climate zones where exterior insulation is needed, the added thickness will affect your window flashing because the window may be sitting flush or may have a deeper recess. See our previous blog post to learn how to address this potential issue.
Above all, proper flashing relies on similar principles as the rest of the envelope: plan ahead, sequence properly, and use a systems approach. Following manufacturer best practices and avoiding these common mistakes can make a dramatic difference in the performance of your wall and roof systems.
For more best practices, browse our library of how-to videos.


