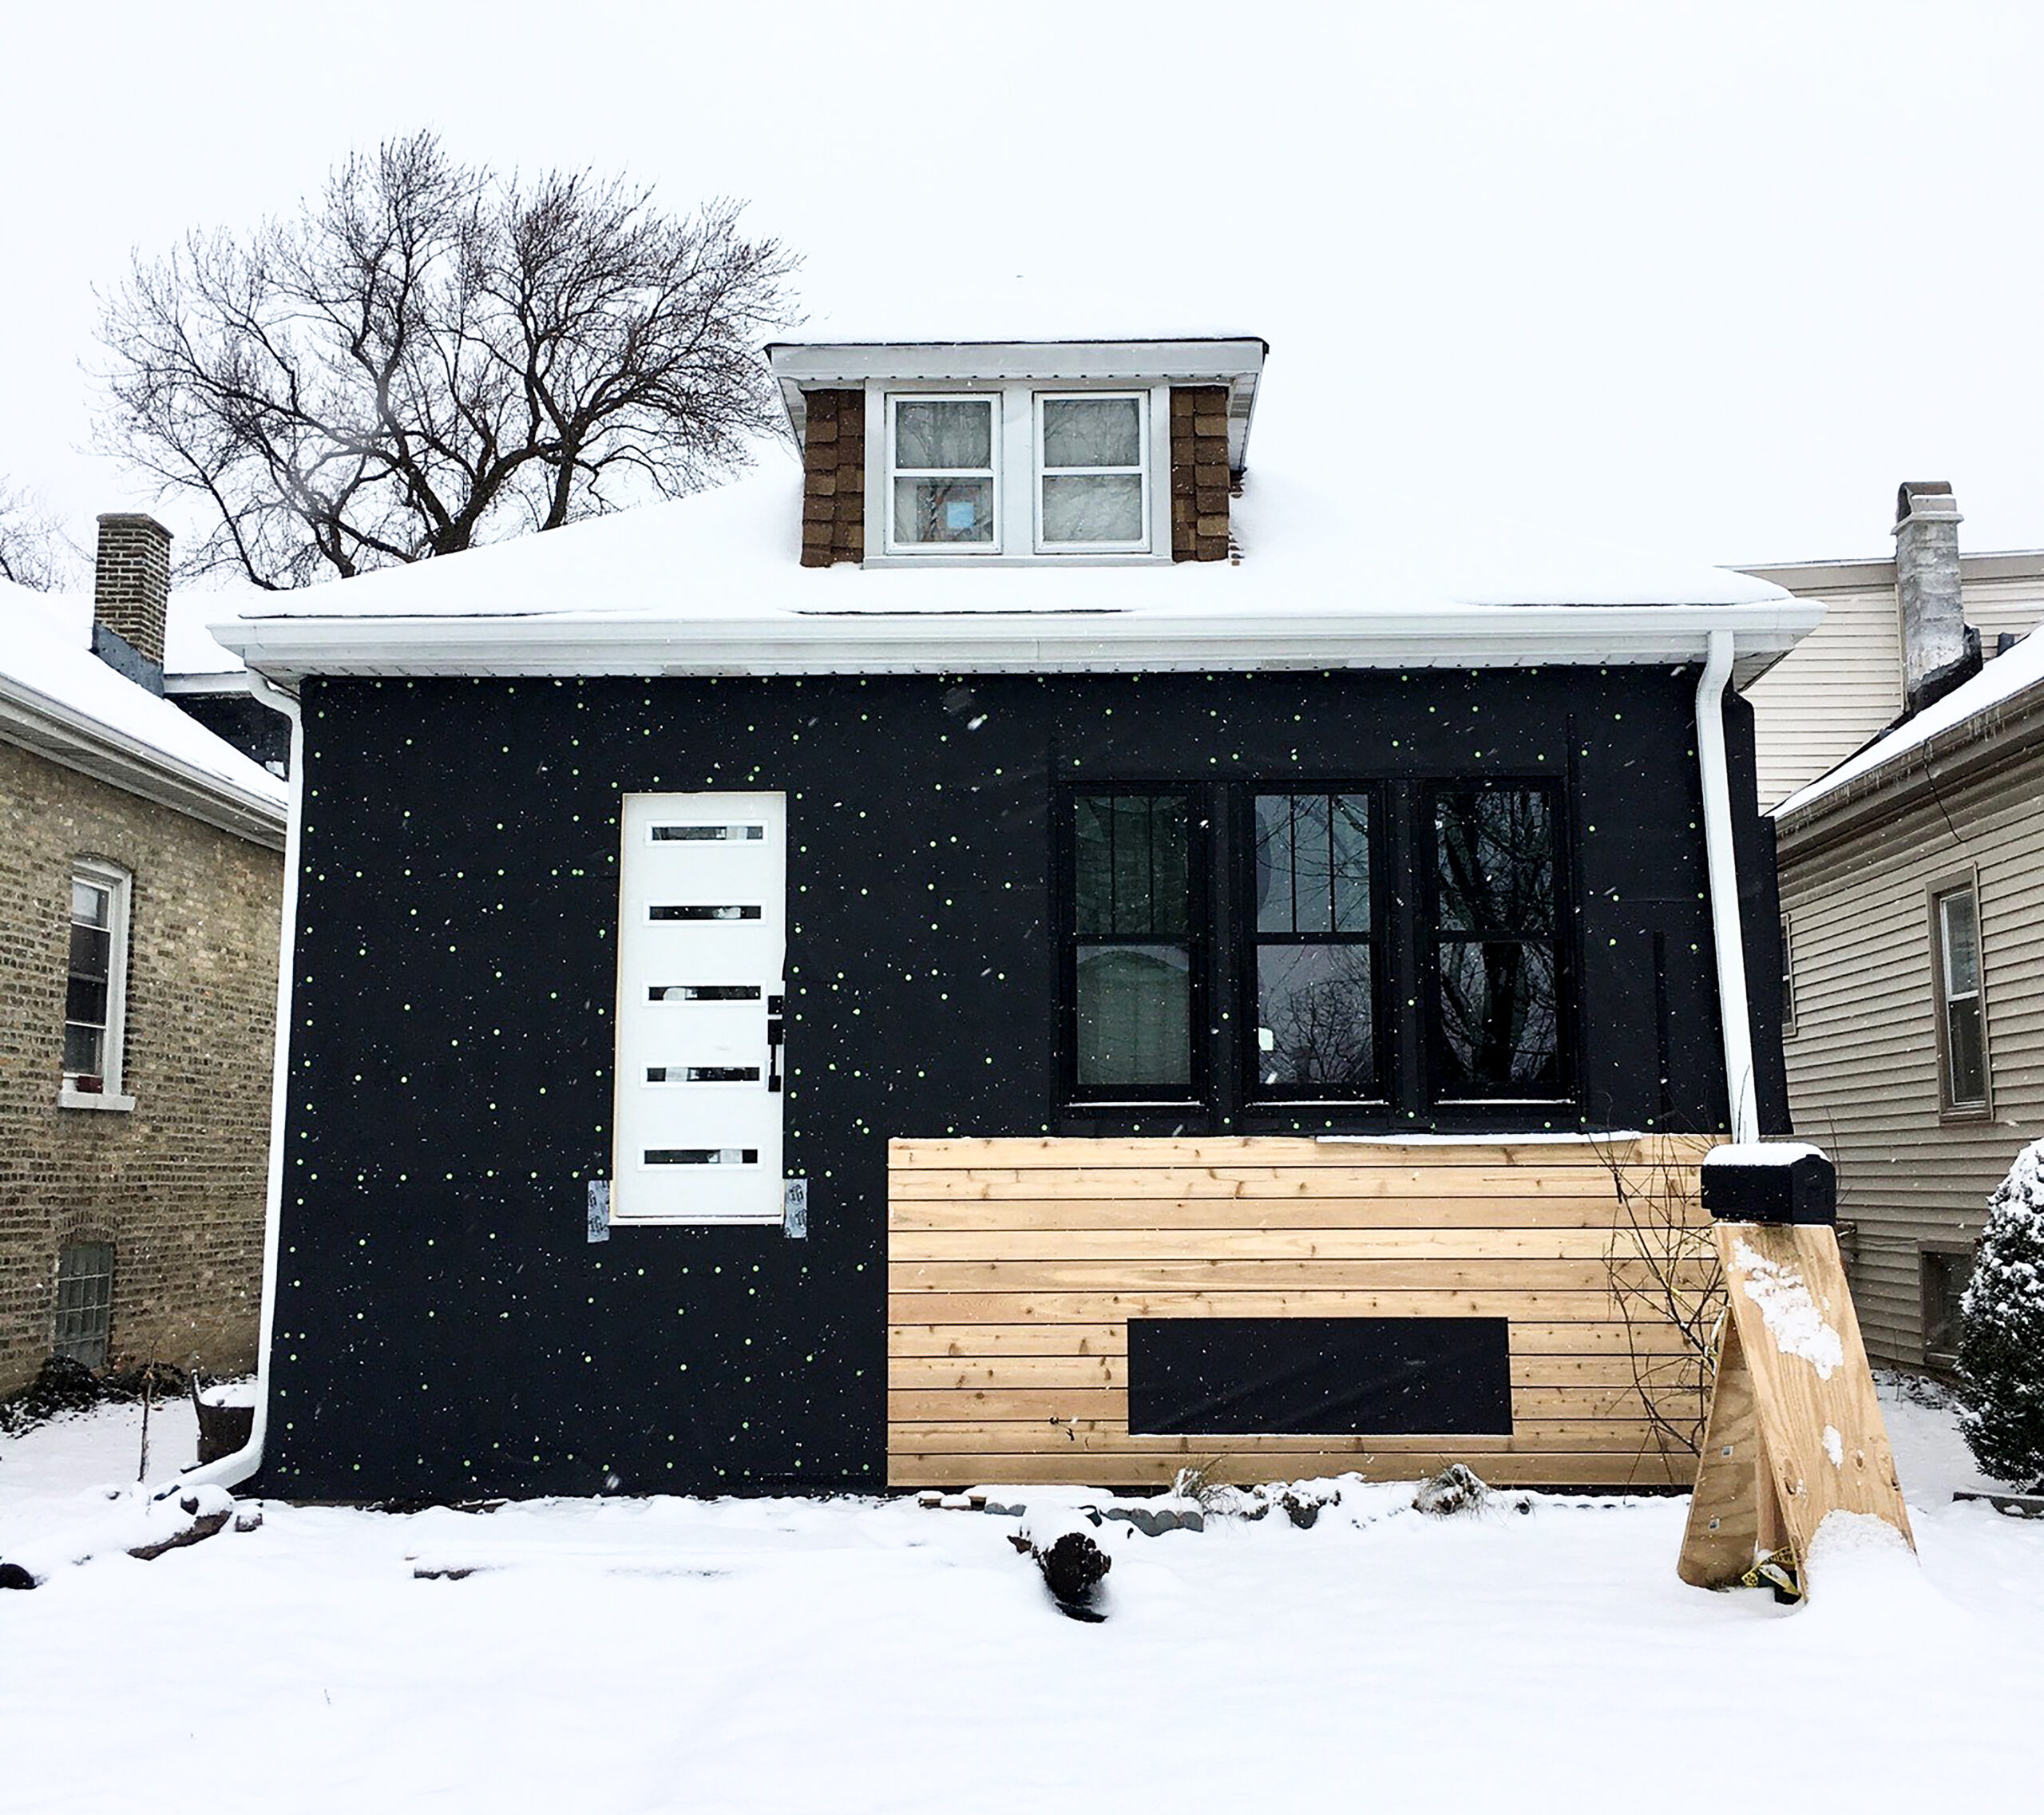
Structural insulated panels, also known as SIPs, offer builders several advantages, particularly for green building projects. SIPs, which consist of a foam core between two layers of sheathing (usually OSB), can help speed up installation, offer factory-controlled manufacturing, and provide continuous insulation to reduce thermal bridging compared to stick framing.
Like all wall and roof systems, SIPs must be weatherized properly to manage air and moisture infiltration and ensure both energy efficiency and protection against damage and mold. Though SIPs are a more tightly engineered wall/roof assembly, moisture failures may be more complicated to fix; if the OSB of a SIPs panel gets wet with no way to dry out, the entire panel may need to be replaced versus individual sheathing or framing members in a stick-built home.
Important Steps for Weatherizing SIPs
If building with SIPs, there are a few best practices to keep in mind when it comes to moisture management and vapor control. Here are a few strategies to consider:
1. Air-Tight Installation Is Critical
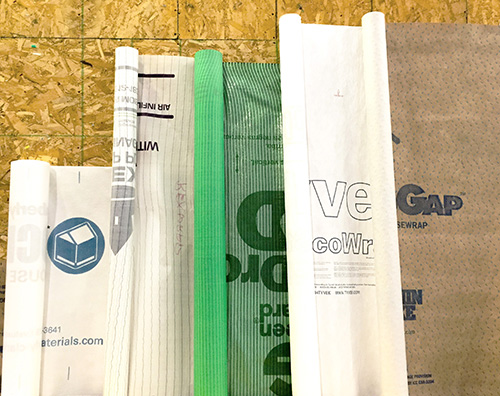
One of the benefits of SIPs is they are mostly solid and continuous versus stick framing. However, they’re only as air-tight as their weakest points. Seams, intersections, and penetrations can create leakage spots. Proper air sealing is crucial to avoid leaks that can lead to vapor diffusion and moisture buildup on the OSB. In addition to proper sealing, a self-adhered housewrap, such as HydroGap SA, for SIPs walls will add an air-control layer in addition to a moisture control layer, thereby providing redundancy — a backup in case one component fails.
2. Use a “Cold Roof” Assembly
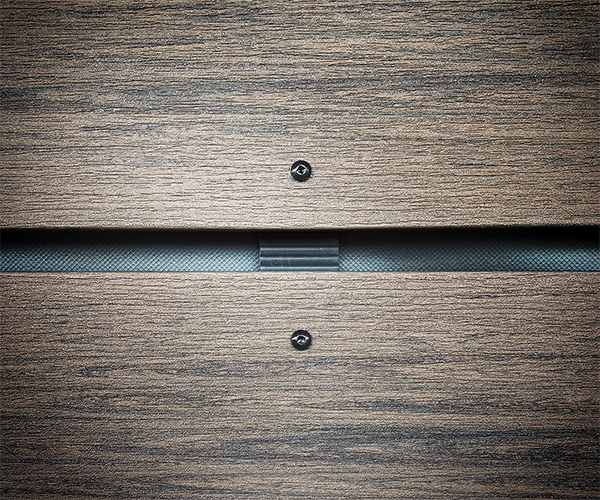
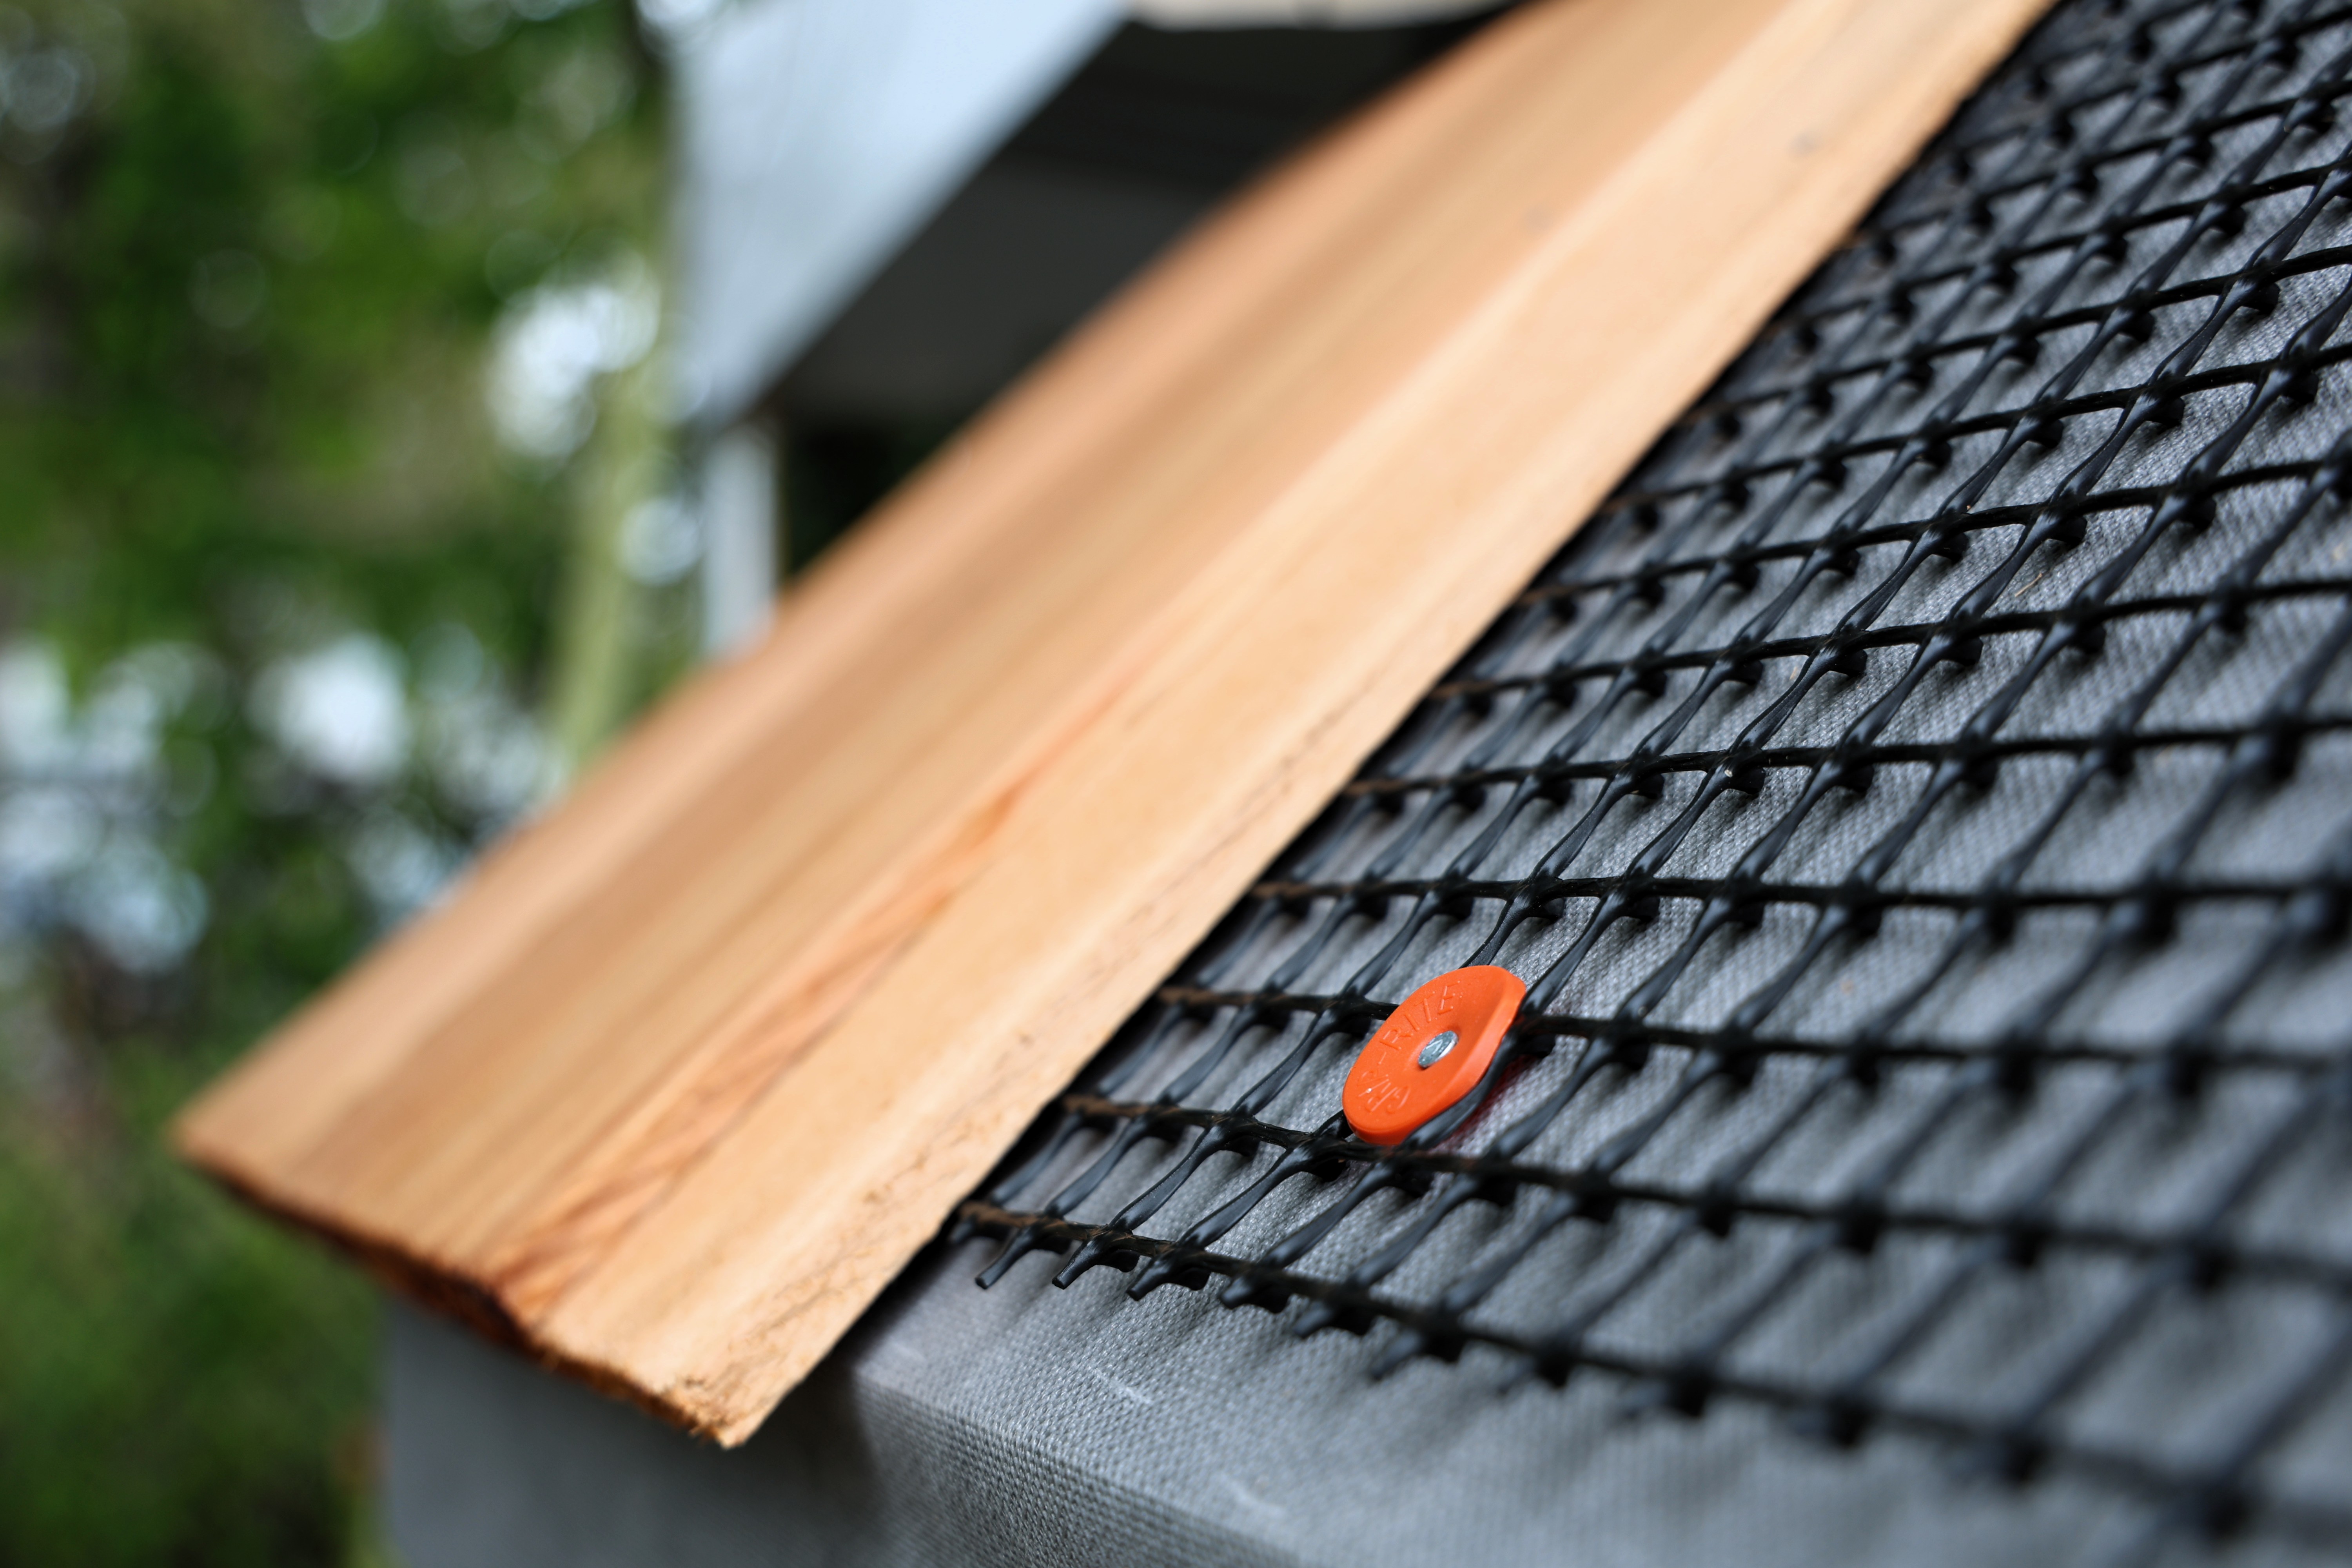
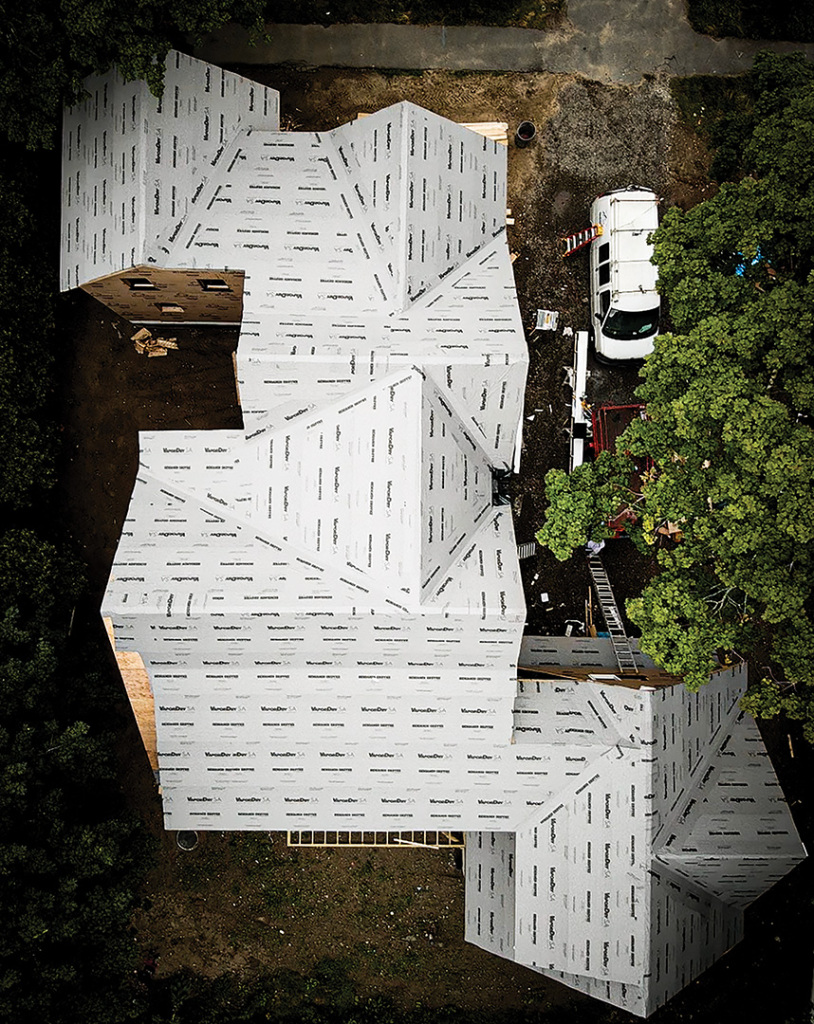
On the roof, the most critical point of a SIPs installation is the ridgeline; it’s the spot that will accumulate the most internal moisture and historically is where many SIPs installations have failed. A “cold” or “ventilated” roof includes ventilation, drawing cool/dry air through the eaves and pushing hot/moist air up and out through the ridge vent. This airflow helps the roof sheathing stay cold and dry compared to the hot, humid interior space, which can help prevent moisture buildup and condensation. Create a ventilation space between the roofing material and the underlayment by using strapping or a ventilation mat like AeroNet. Add in a vapor-permeable underlayment, such as VaporDry SA, which can increase air tightness, along with the ridge vent to allow water vapor to dry to the exterior.
VaporDry® SA Samples
GET YOUR FREE VAPORDRY® SA SAMPLES TODAY
3. Pre-Plan for Wiring and Plumbing
Unexpected holes and cuts in SIPs without proper sealing can create gaps for air and moisture. Plan for pre-cut holes as much as possible. And instill in subcontractors the importance of proper sealing if on-site holes must be made.
4. Use Proper Flashing Techniques
Flashing around windows and penetrations is always critical for wall systems, but it’s even more important to get it right the first time with SIPs. If there’s a water leak, it’s a lot harder to fix because the panel is a system versus a stick-framed wall.
5. Consider a Vapor-Permeable Underlayment
Proper sealing to perfection is rare. Having a vapor-permeable self-adhered barrier, such as HydroGap SA housewrap on the walls and VaporDry SA underlayment on the roof, can provide redundancy to ensure that if moisture does get through to the roof deck, it doesn’t become trapped.
Protect the Performance of SIPs Systems
While SIPs offer an energy-efficient solution for walls and roofs, proper flashing and sealing techniques along with redundancies like vapor-permeable housewraps and roofing underlayments can help better ensure long-term performance and promised efficiencies.
Want to learn more about weatherizing SIPs homes? Schedule a virtual jobsite visit today.