A high-performance building envelope is only as good as the installation of the products within it. Get the step-by-step breakdown of how to install AeroNet,™ Benjamin Obdyke’s roof and wall ventilation mat, which redefines airflow and drainage.
1. Install a WRB or Underlayment
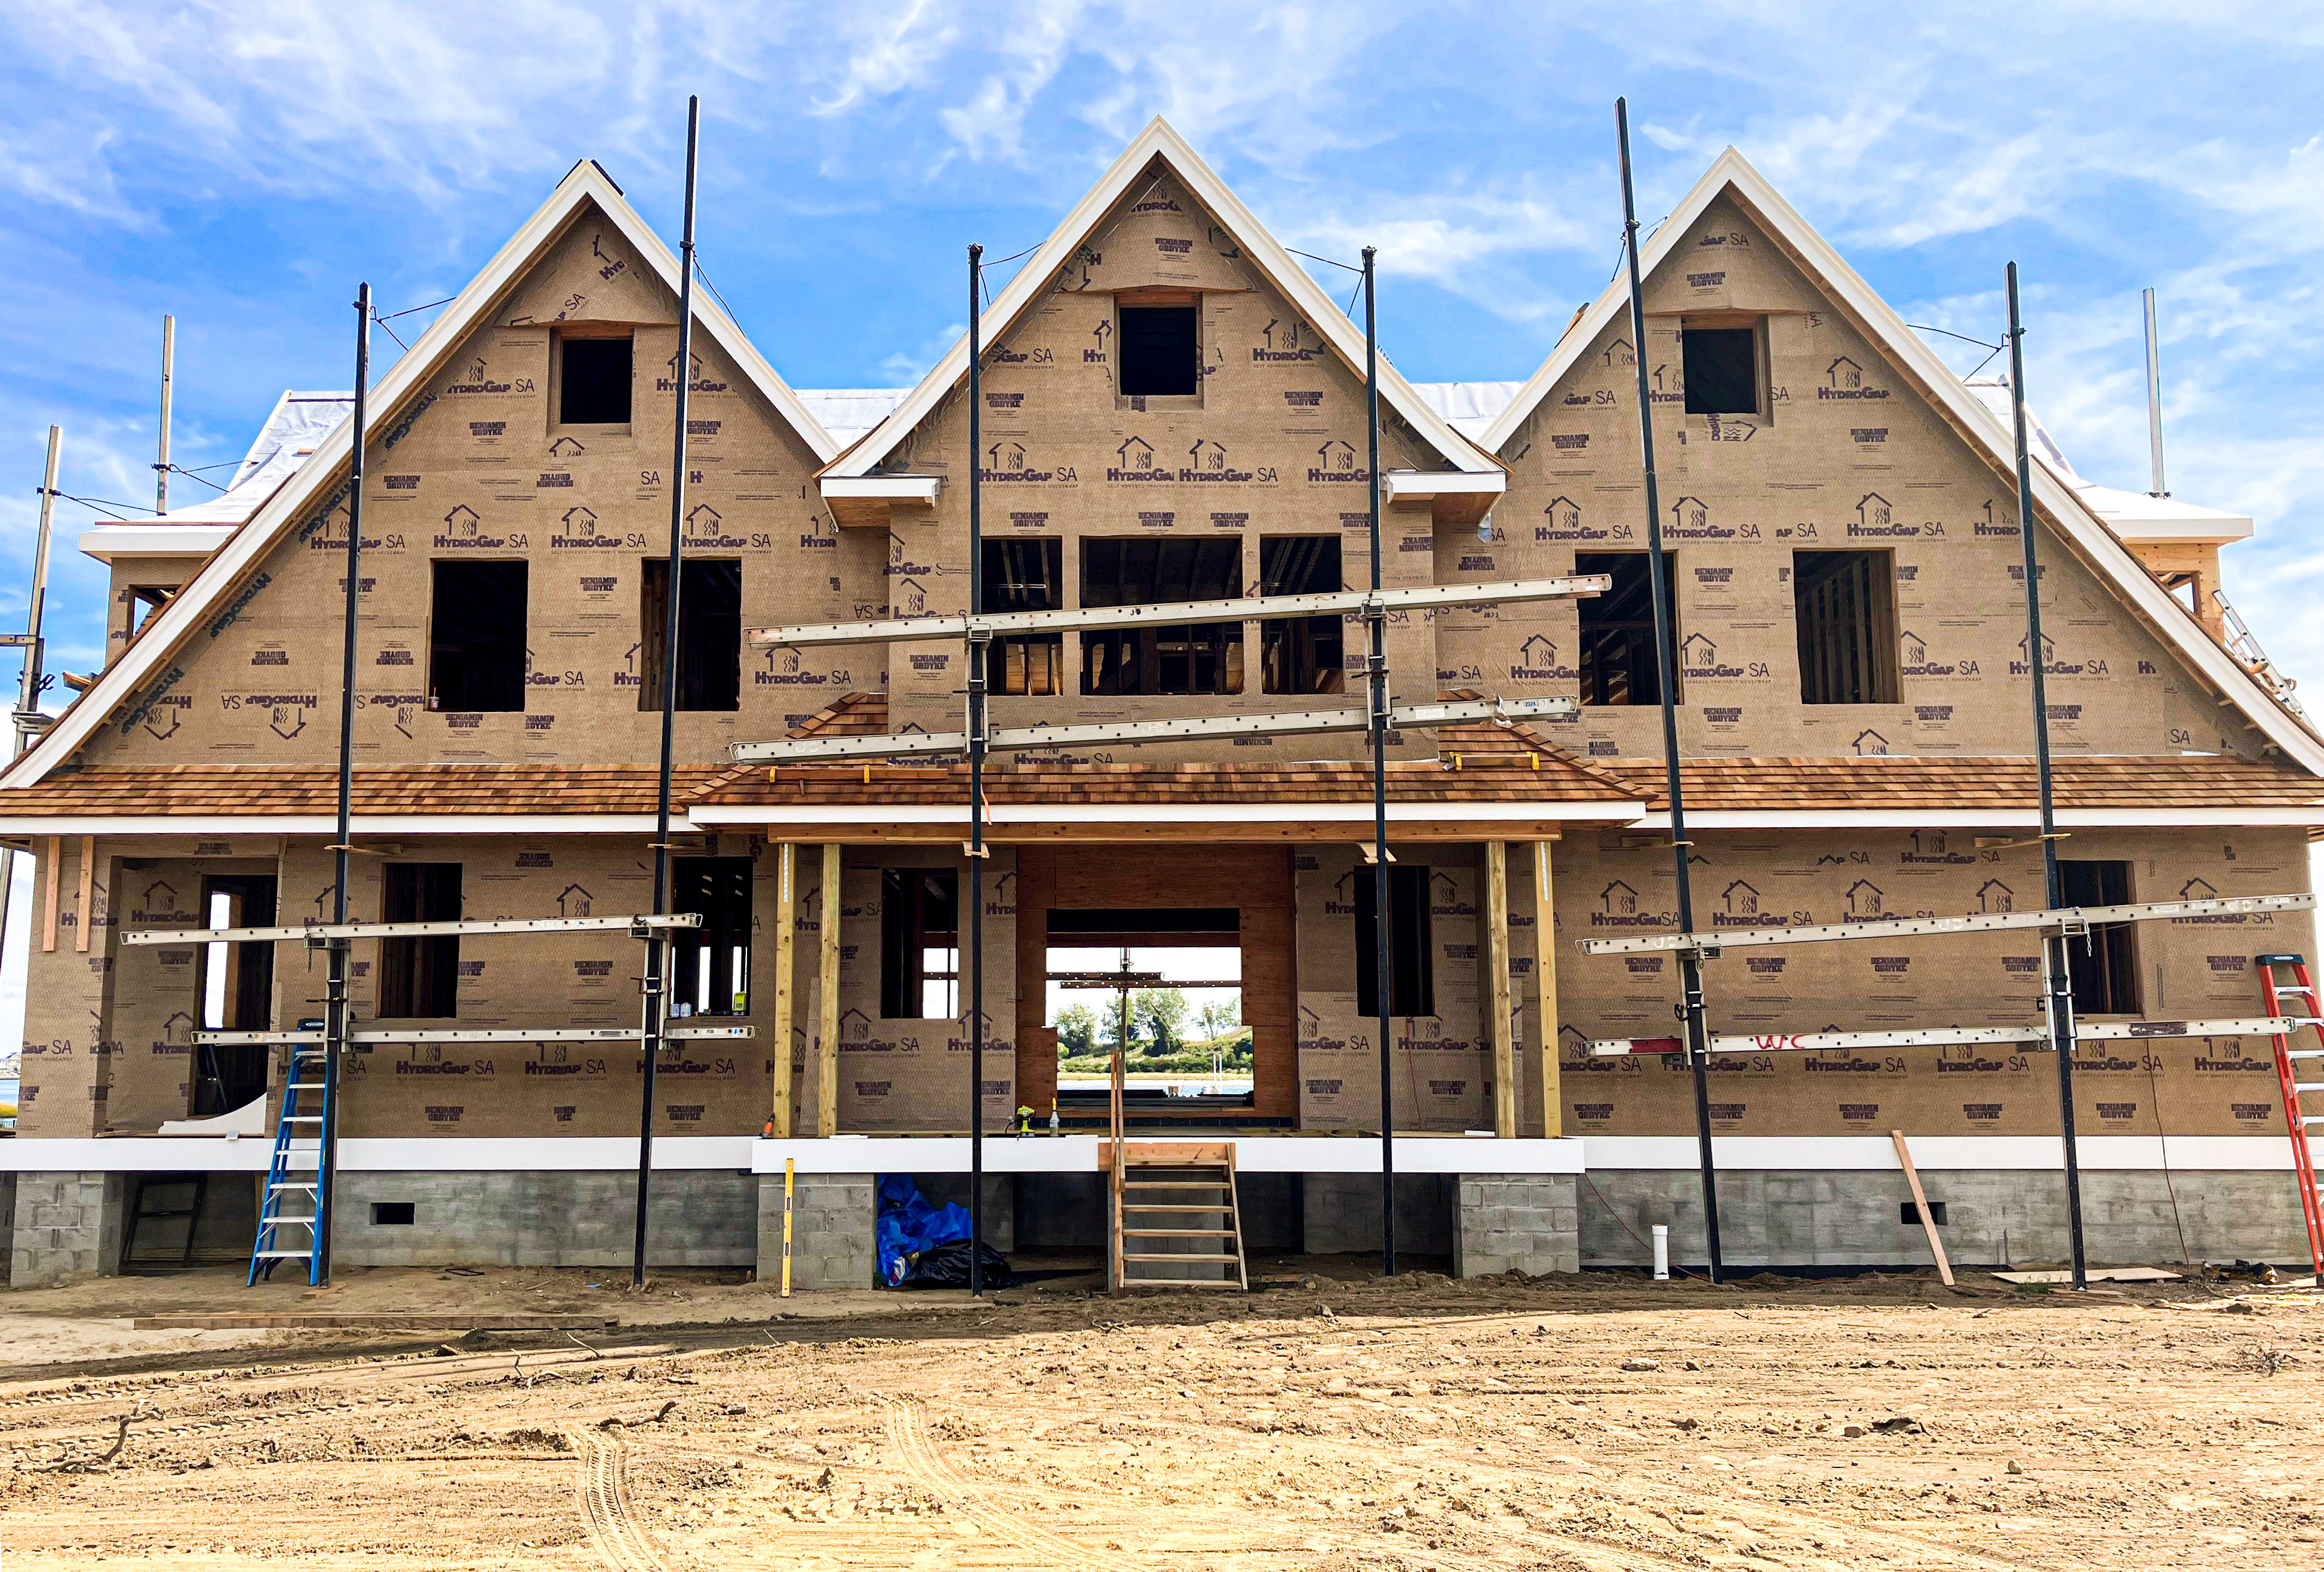
First, install a water resistive barrier (WRB) or underlayment, such as BenWrap™ or VaporDry® SA, onto the sheathing. Proper WRB and underlayment installation starts with selecting the right system based on cladding or roofing type, climate, and performance needs, ensuring effective water and air control. To prevent failures, properly seal all penetrations using recommended fasteners and compatible system components, and follow manufacturer guidelines to ensure long-term performance and warranty coverage.
(Looking for more details on housewrap installation? Read our step-by-step guide. And get the best practices for installing roofing underlayment here.)
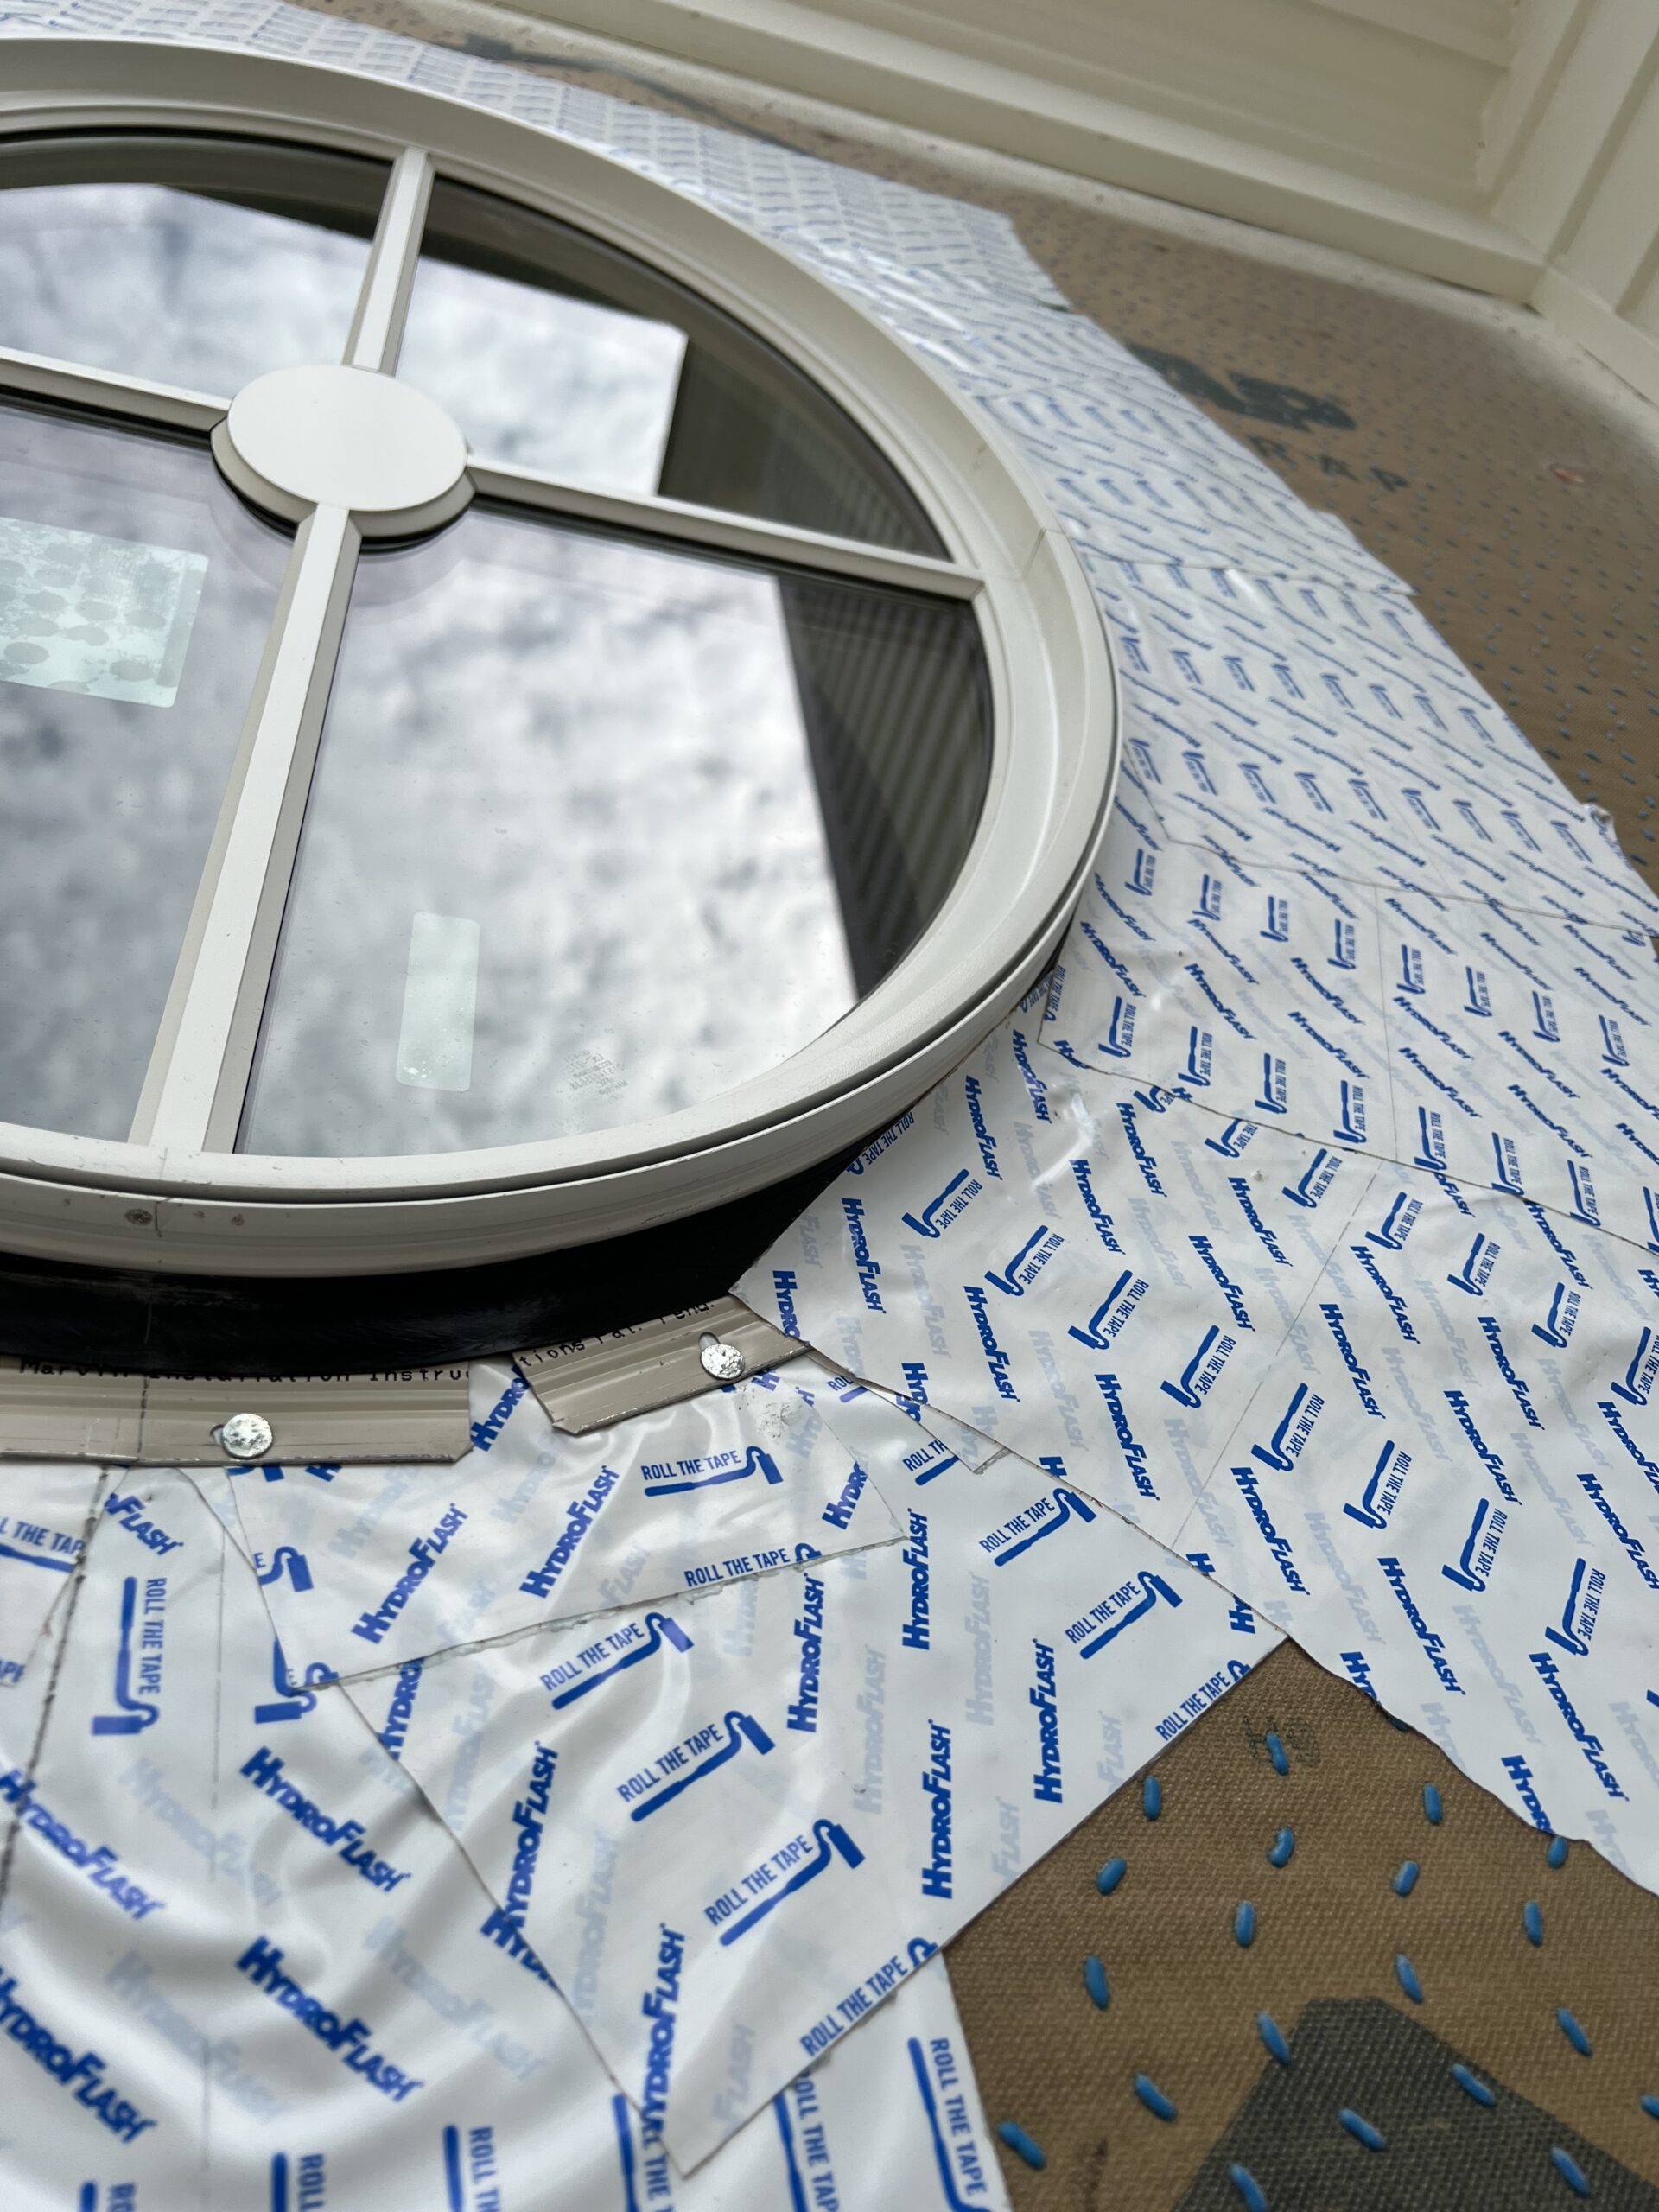
2. Ensure Proper Integration With Windows
Install AeroNet™ after the windows and WRB are properly installed and flashed. It’s important to install windows with a sealant around the jambs and head, avoiding the sill. We walk through one method to install the WRB and windows on our YouTube (Window-First Installation with HydroGap).
The same principles and techniques used with HydroGap can be applied to most WRBs; just be sure to confirm with the manufacturer’s guidelines.
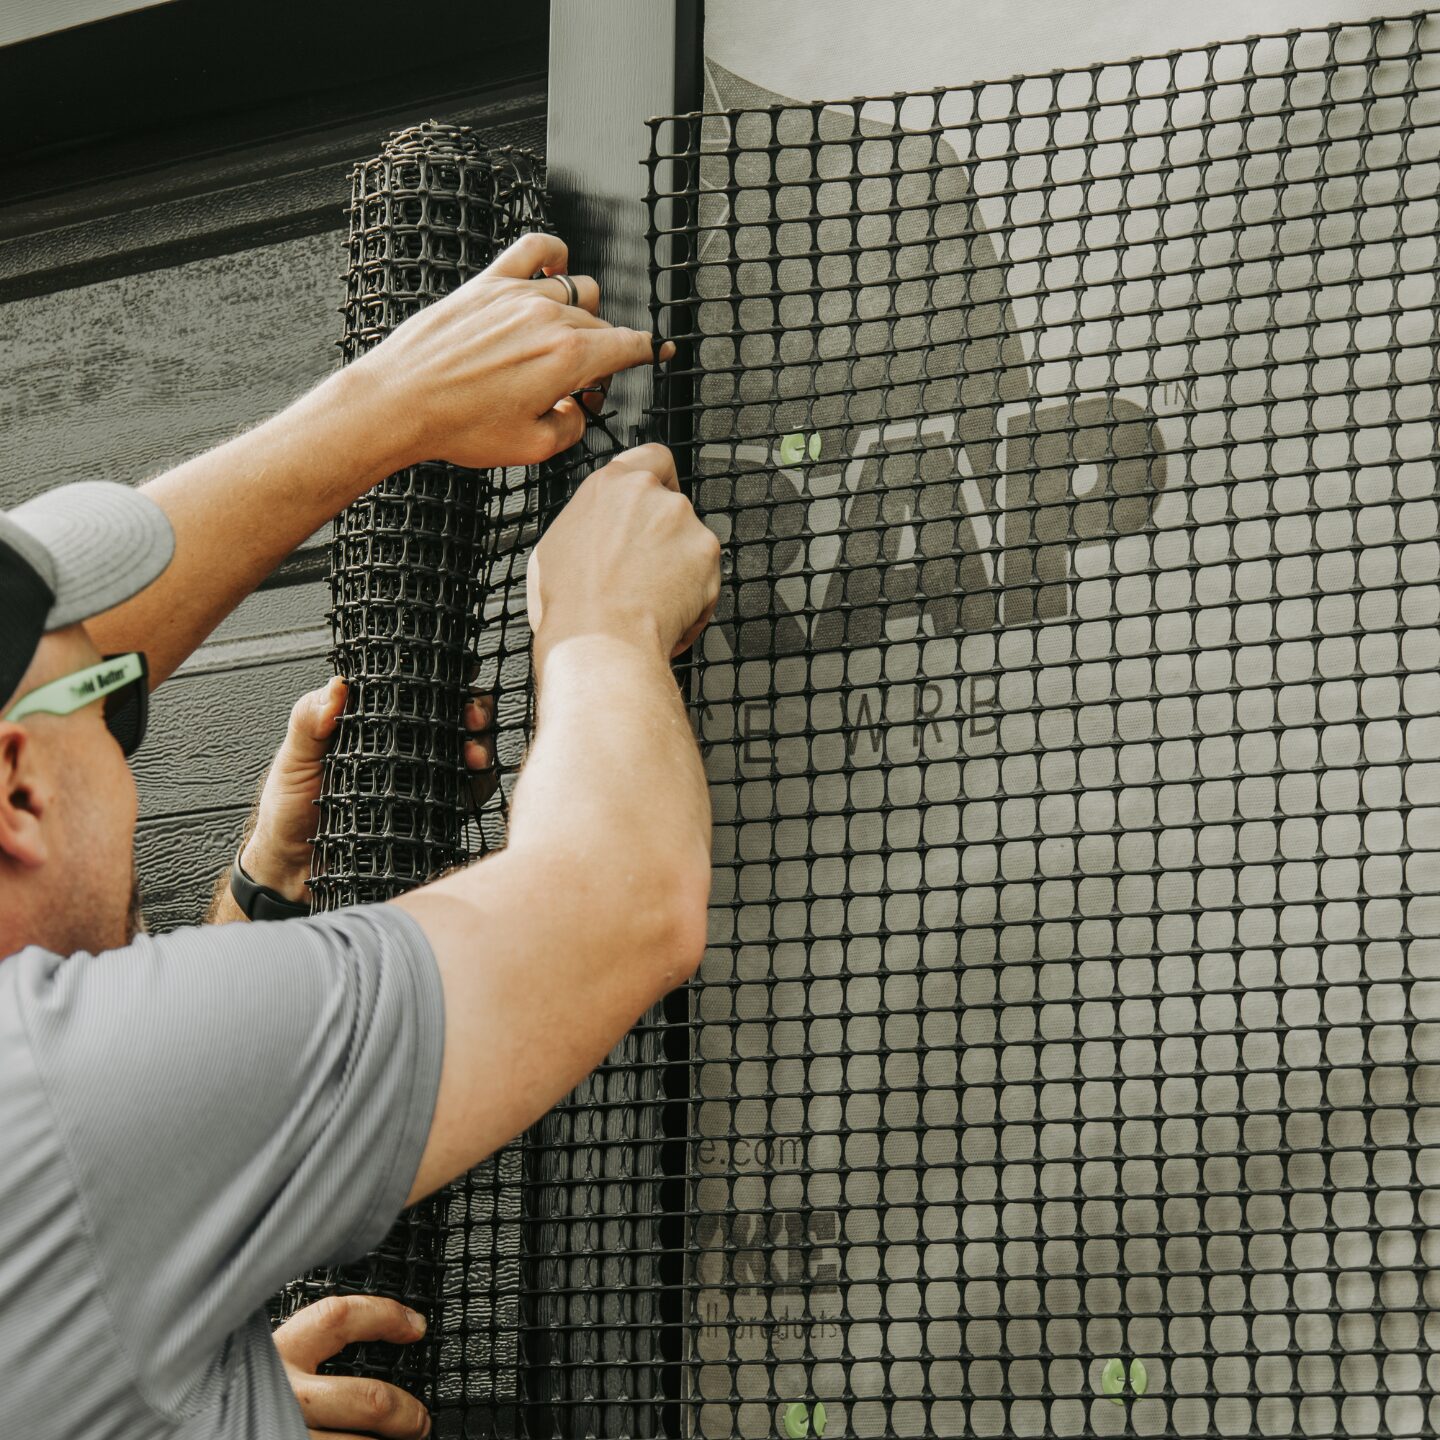
3. Apply AeroNet on the WRB or Underlayment
AeroNet has nubs, or “feet,” on one side. Unroll AeroNet with the “feet” against the WRB or underlayment. The flat side should be against the back of the siding or roofing material. To properly attach AeroNet, install 1” cap nails (or 7/8” staples) about every 2’ along the perimeter and about every 9 square feet in the field. Ensure you butt the edges of new rolls or courses together and never overlap the layers.
4. Install the Roofing or Siding
Now for the finishing touch! Install the roofing or siding on the flat surface of AeroNet, using longer fasteners to accommodate the additional ¼” thickness per the manufacturer’s installation instructions. Caution: Do not use AeroNet with asphalt shingles.
How Installation Differs from Entangled Matrix Rainscreens
With entangled matrix products, standard staples can be used without worrying about the placement. In contrast, AeroNet requires cap fasteners, or longer and wider staples or nails, and fastener placement is more critical. Proper installation must ensure either:
- The cap fully covers and contacts the web matrix,
- or the staple correctly straddles the web/strand.
The most effective and efficient option is pneumatic cap staples with a minimum 1″ length. Because AeroNet is easier to see through, it improves visibility of markings and stud locations, simplifying installation.
Ensuring Proper Installation
The key to properly installing AeroNet is to do it cleanly: seams should be butt-jointed, not overlapped, and coursing should stay consistent without leaving too much space. Transitions are straightforward since AeroNet can wrap around corners easily, while penetrations and complex geometries can be handled by cutting it to fit with a razor blade or scissors. For the most consistent results, a pneumatic cap stapler keeps the attachment secure, and chalk lines help guide placement, so everything stays where it should. For specific details on roof or wall installations, refer to our installation instructions.
Simplify product choice, logistics, and installation with AeroNet. Find where to buy near you or order a sample today!